Making sauerkraut is one of the easiest ferments there is, what some would call the gateway food to fermenting.
I’ve made sauerkraut in a crock many times over the years, and recently, I found a simple way to make a small batch using a canning jar with an air-lock system.
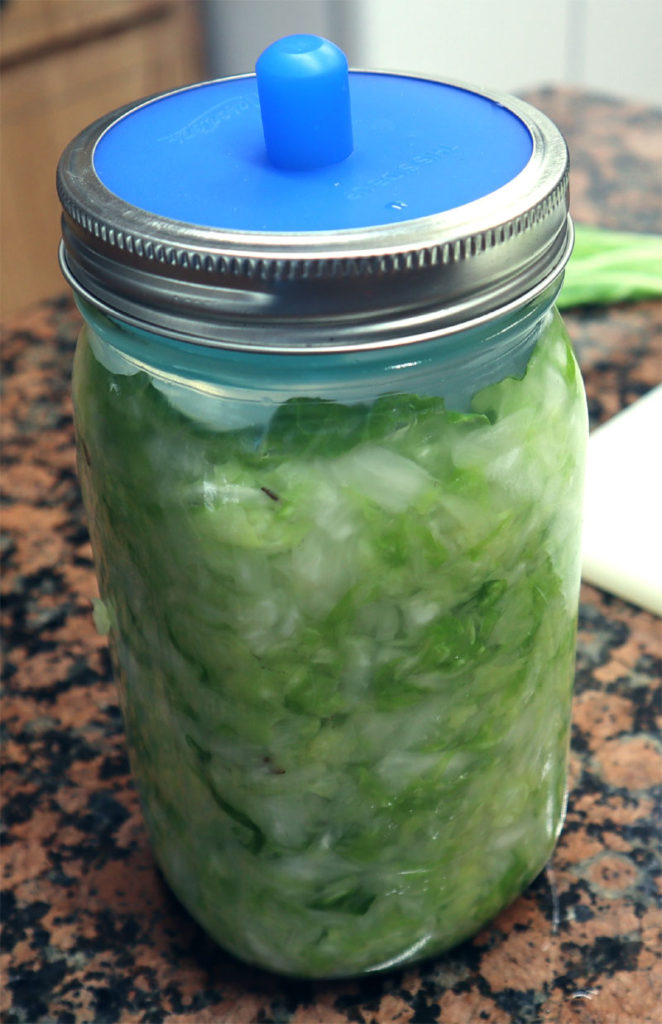
Small-batch fermenting is easy when using an air-lock system like this Masontops Fermenting Kit. Even if you don’t grow cabbage, a large head of cabbage from your favorite produce supplier is just enough to create this tangy, probiotic treat.
Let’s get started!
Contents:
- Supplies
- Ingredients
- Step-by-step Directions
- Signs of a Good Ferment
- Signs of a Ferment Not Going Well
- Tips
- Additional Resources
- Serving Suggestions
- Bonus Video
Supplies:
- 1 one-quart glass canning jar with a wide mouth
- Fresh Cabbage
- Sea Salt or Pickling Salt
- Air-lock that screws onto a canning jar
- Glass Weight
- Non-metal cabbage tamping tool
- Kitchen scale
Ingredients:
1 small cabbage, about or a little more than 2 Lbs.
1 TBS. fine grind sea salt (or pickling salt)
Step-by-Step Directions:
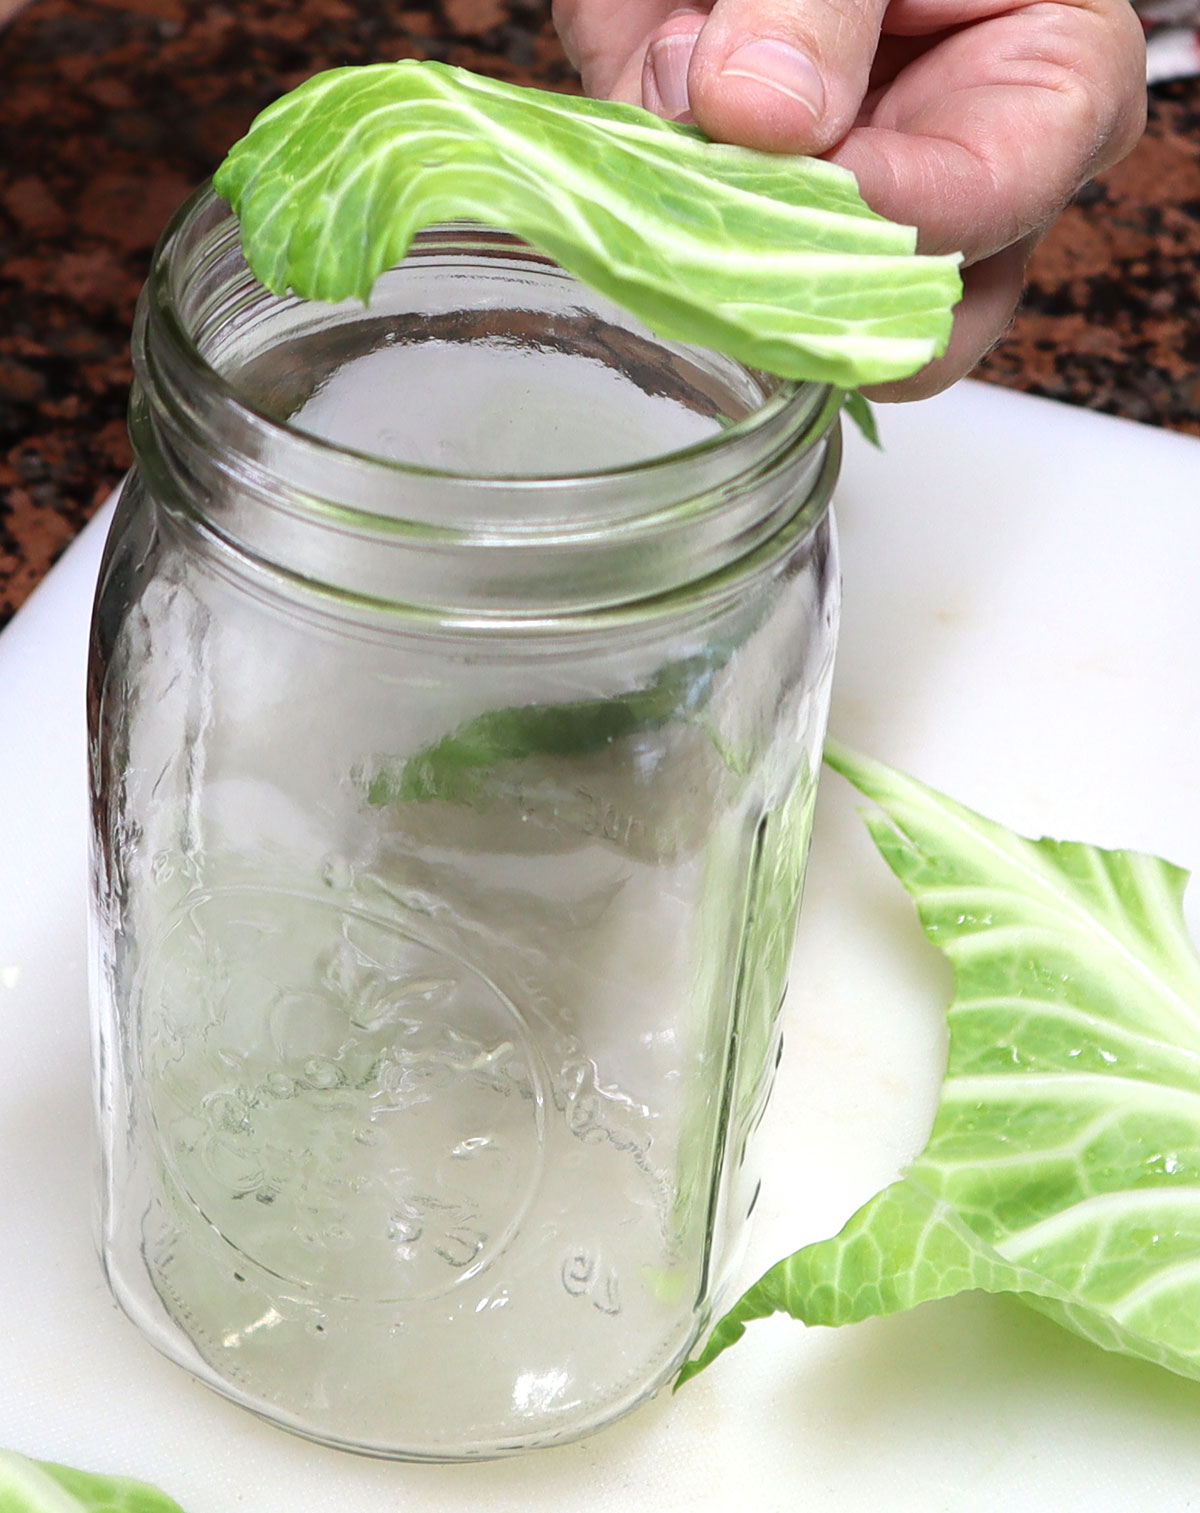
1.Rinse your cabbage, cut out the core, and discard any blemished leaves. Save one good leaf and cut out a circle the same diameter as the jar you are using. Set aside.
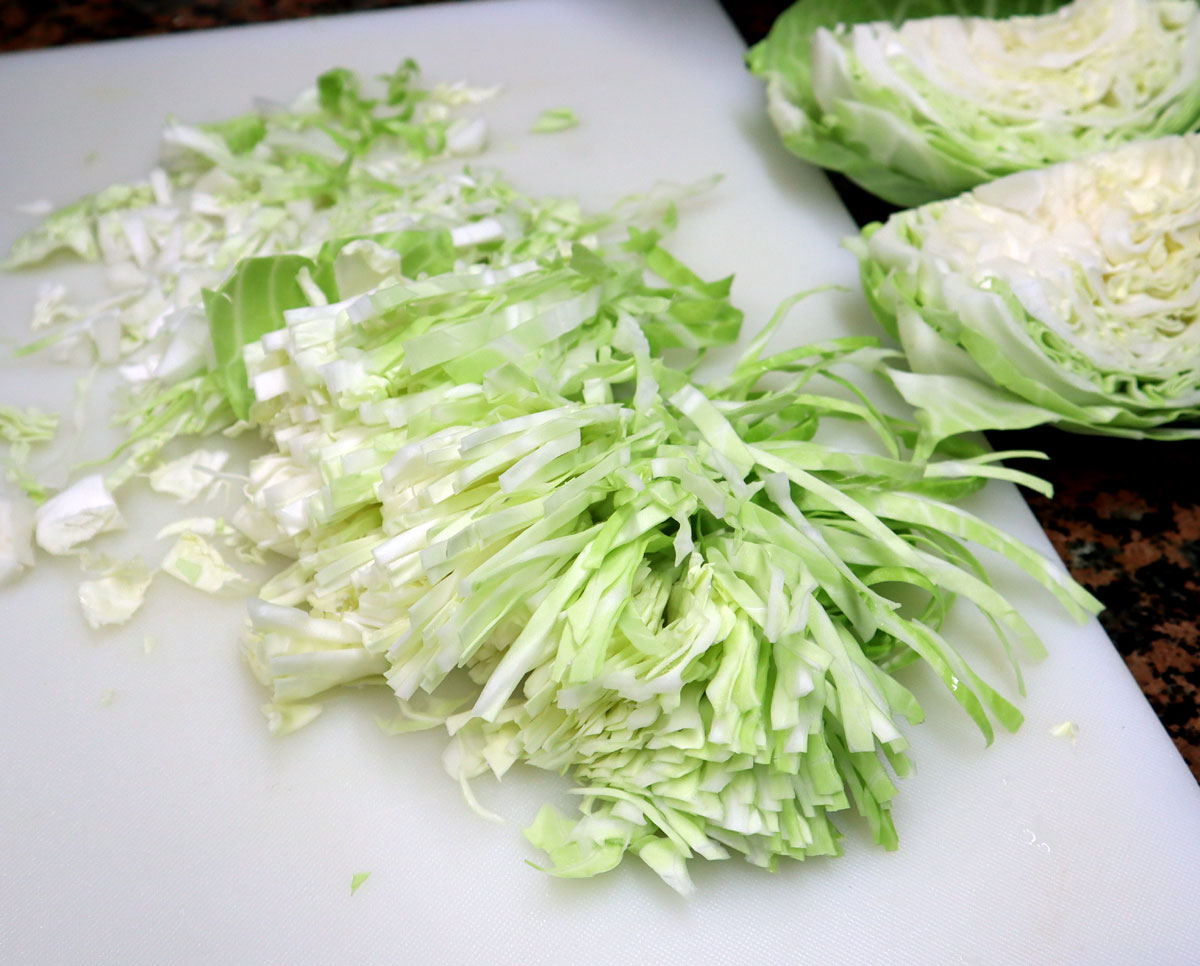
2. Cut and shred the cabbage using this method:
- Cut the cabbage into quarters, cutting from the top down through the core.
- Lay a wedge cut-side down on your cutting board and thinly slice.
- Continue cutting until you have exactly 2 pounds of cabbage cut.
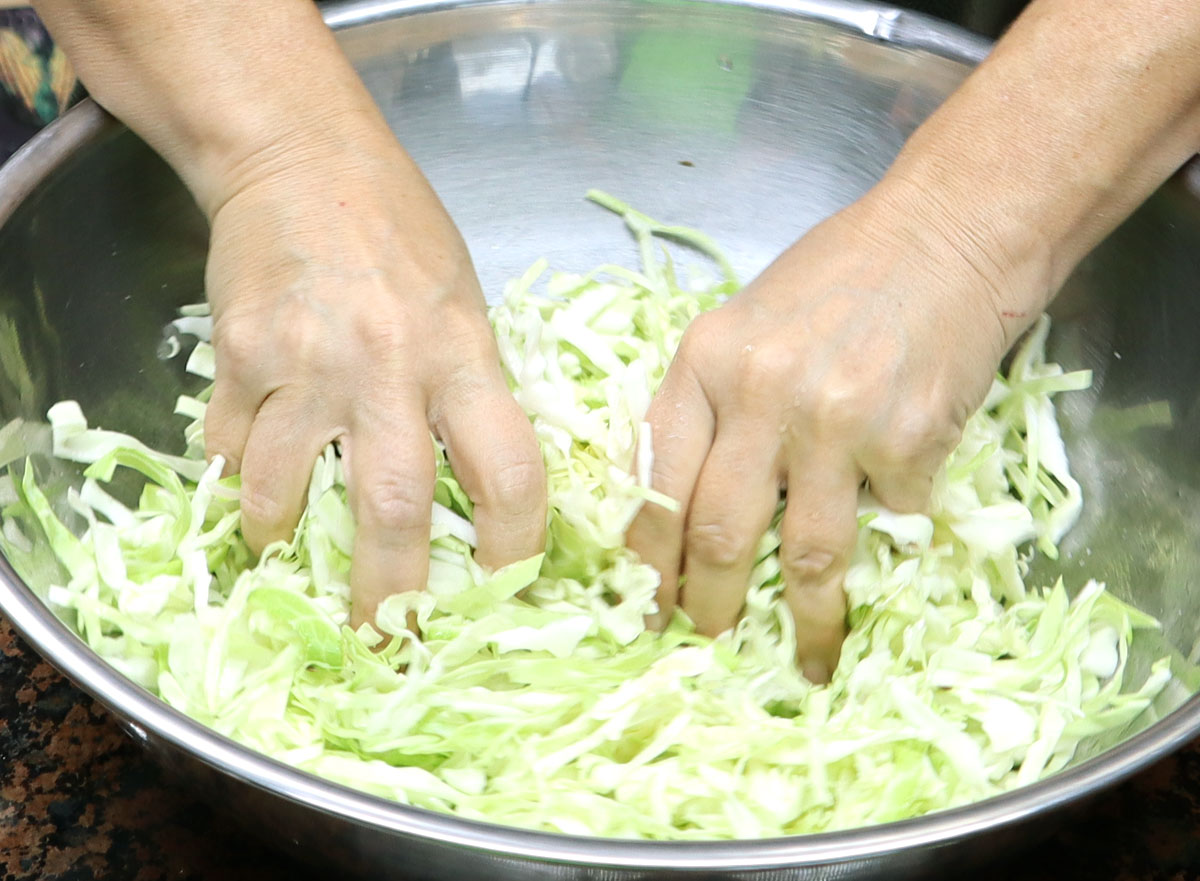
3. Next, alternate a layer of cabbage and ¼ TBS of the salt for four layers using all of the salt and 2 pounds of shredded cabbage. This layering helps the salt mix in faster. Squeeze and massage the salted cabbage a couple of minutes until it starts getting a bit juicy.
4. Mash it with a wooden cabbage tamper or similar non-metallic tool.
You could go right to packing the jar if you want, but I let it rest about an hour, then go back and repeat the mixing and pounding process. This gives the cabbage time to release more juice.
5. Begin packing it into the quart jar, a little at a time (about half a cup), tamping it down tight. Try to pound out any areas that might hold air pockets. The brine should build up as you pack the jar. Fill the jar to the shoulder.
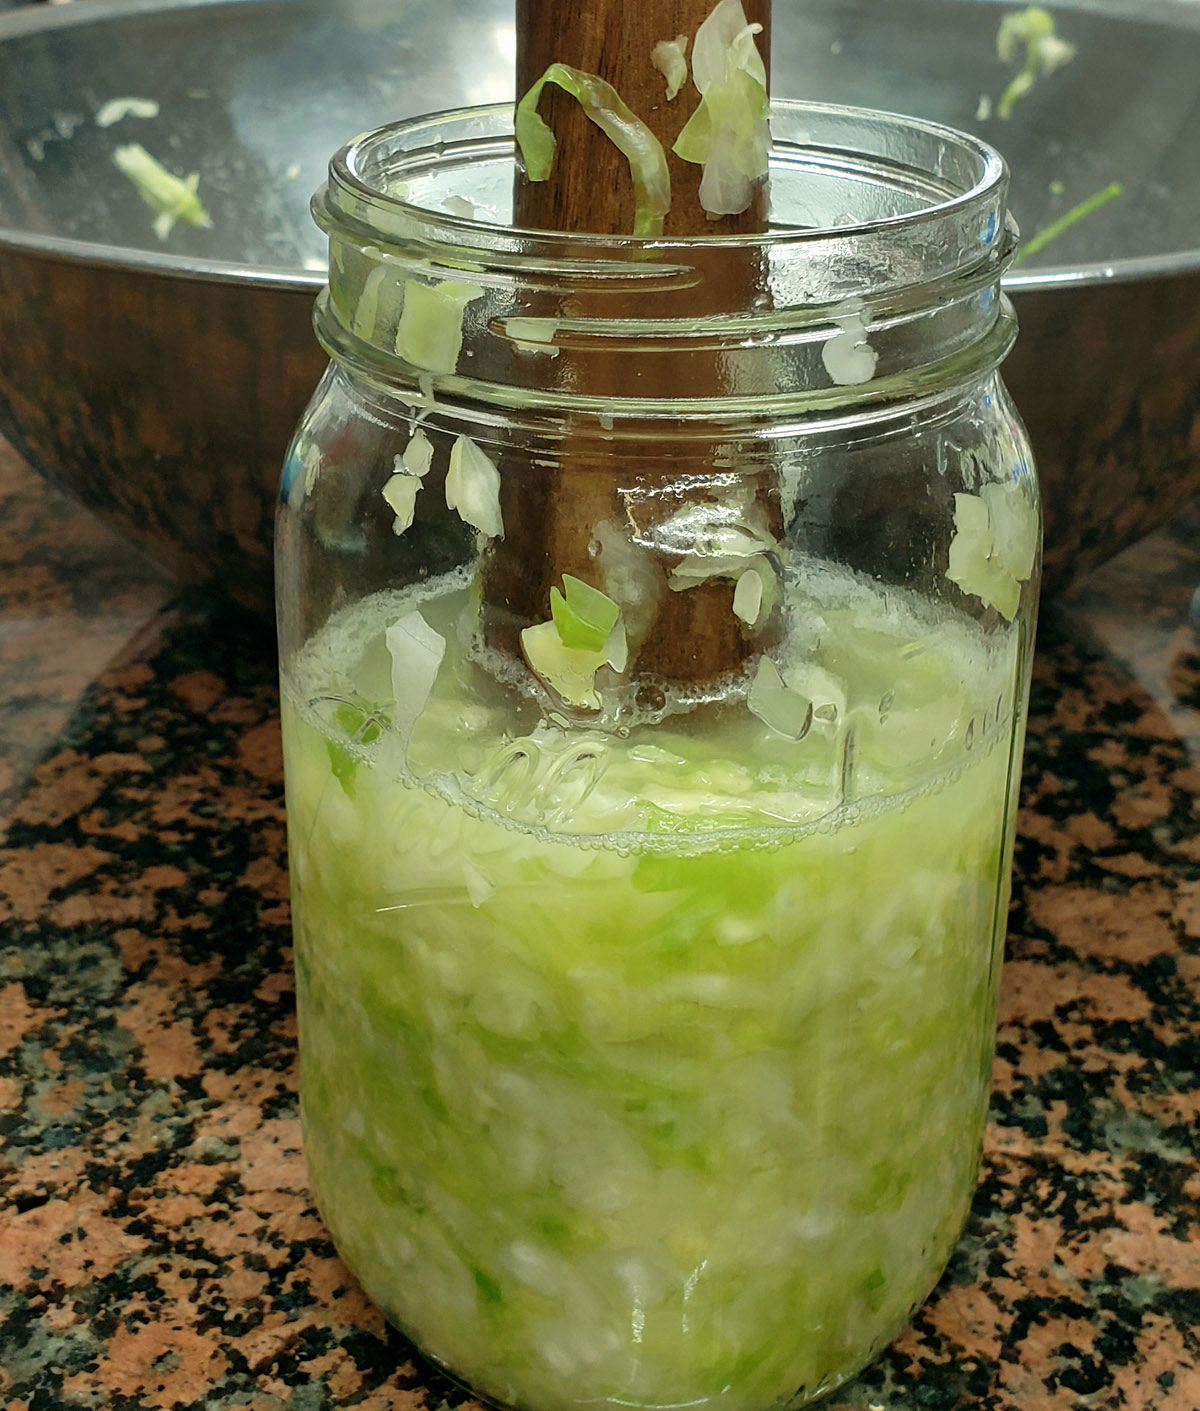
6. Once you’ve filled the jar, check the liquid level, and examine one last time for any air bubbles. If there is not enough juice at the top, add a brine of ½ tsp. of salt dissolved in ½ cup of room temperature water (non-chlorinated). Only add enough brine to bring the liquid level to the shoulder of the jar.
7. Place the cut circle piece of cabbage leaf on top, followed by a glass weight. You want to make sure no cabbage pieces are floating. If so, remove them at this time with a spoon.
8. Wipe the rim of the jar clean and attach your air lock system.
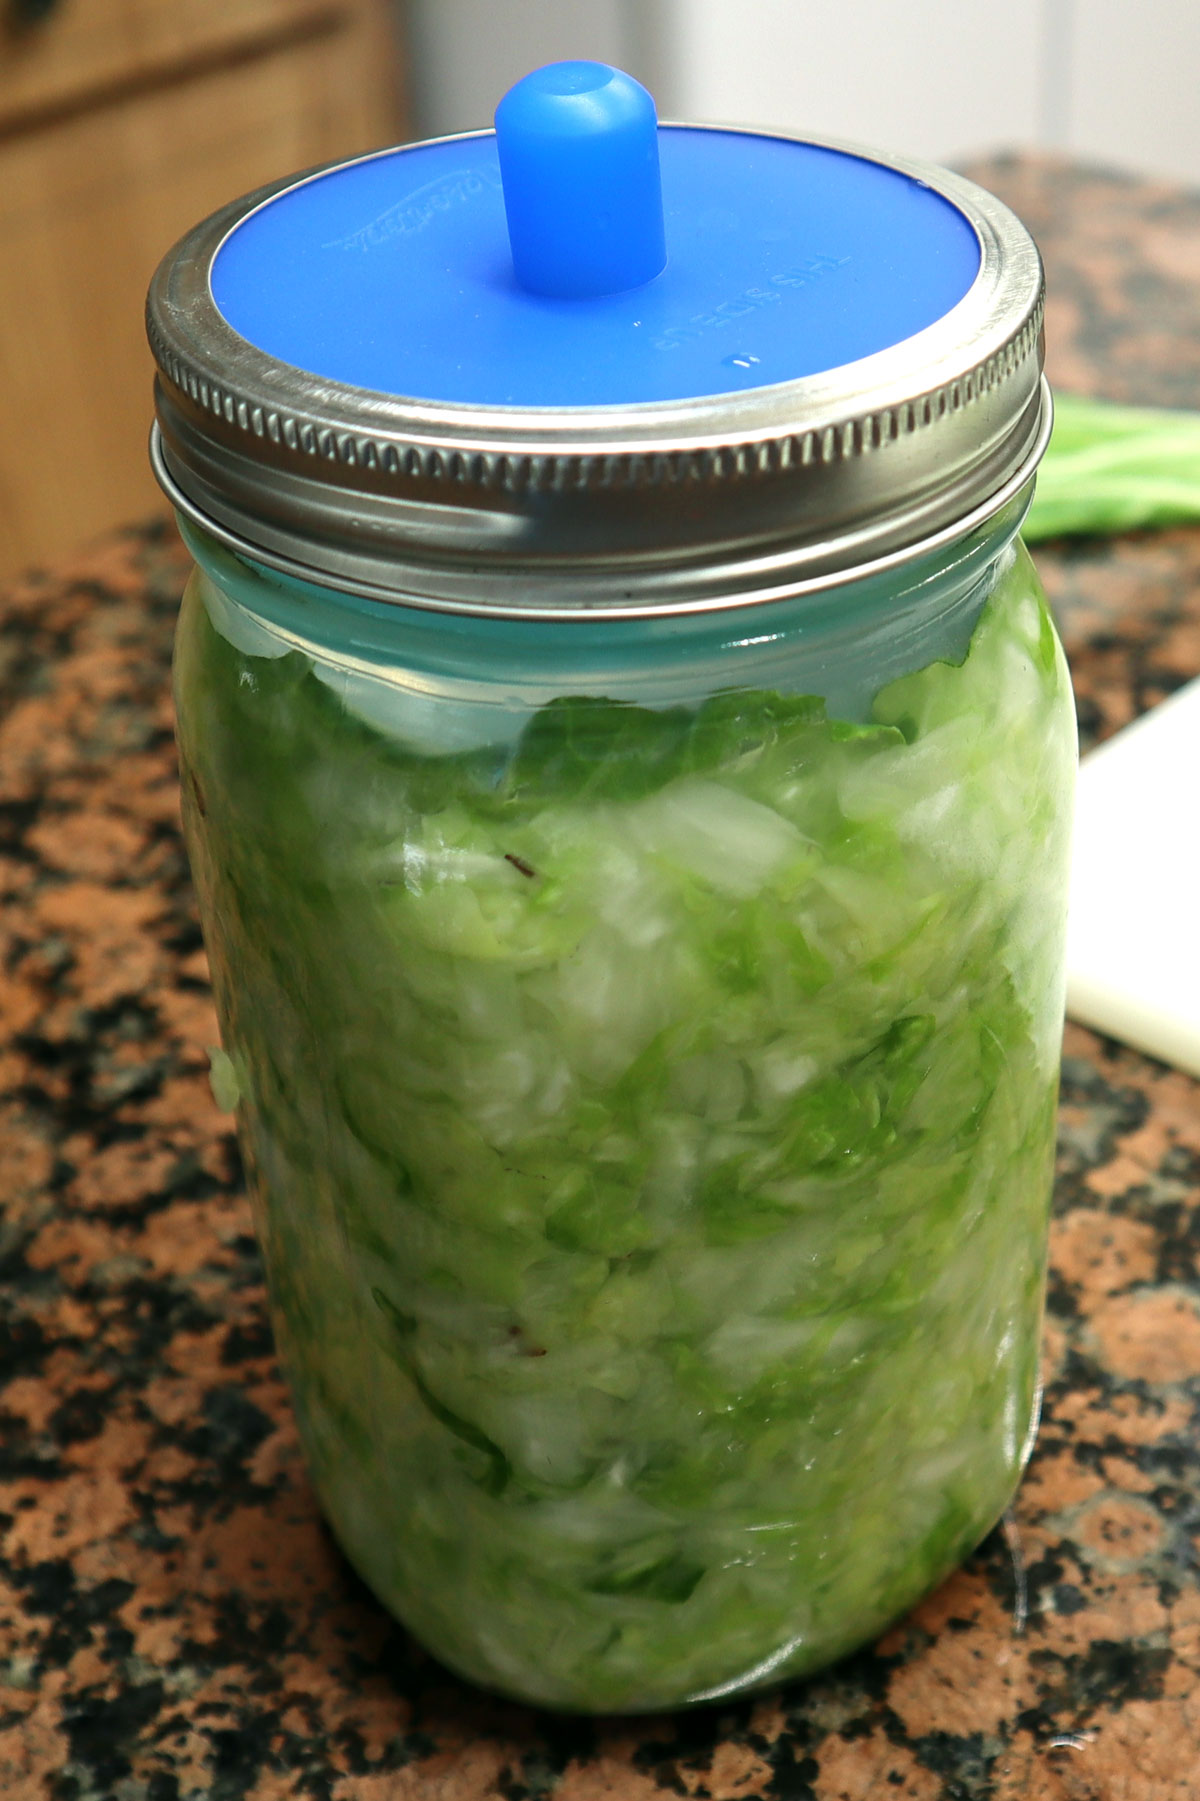
9. Give the outside of the jar a good wipe and attach a label with the date and contents. Place it in a dark cool place. I keep mine on the floor in my pantry. Within 24-48 hours, small bubbles should start appearing as it begins fermenting.
TIP: It’s a good idea to keep the jar sitting in a bowl or container to catch any juice that may leak out during the fermenting process.
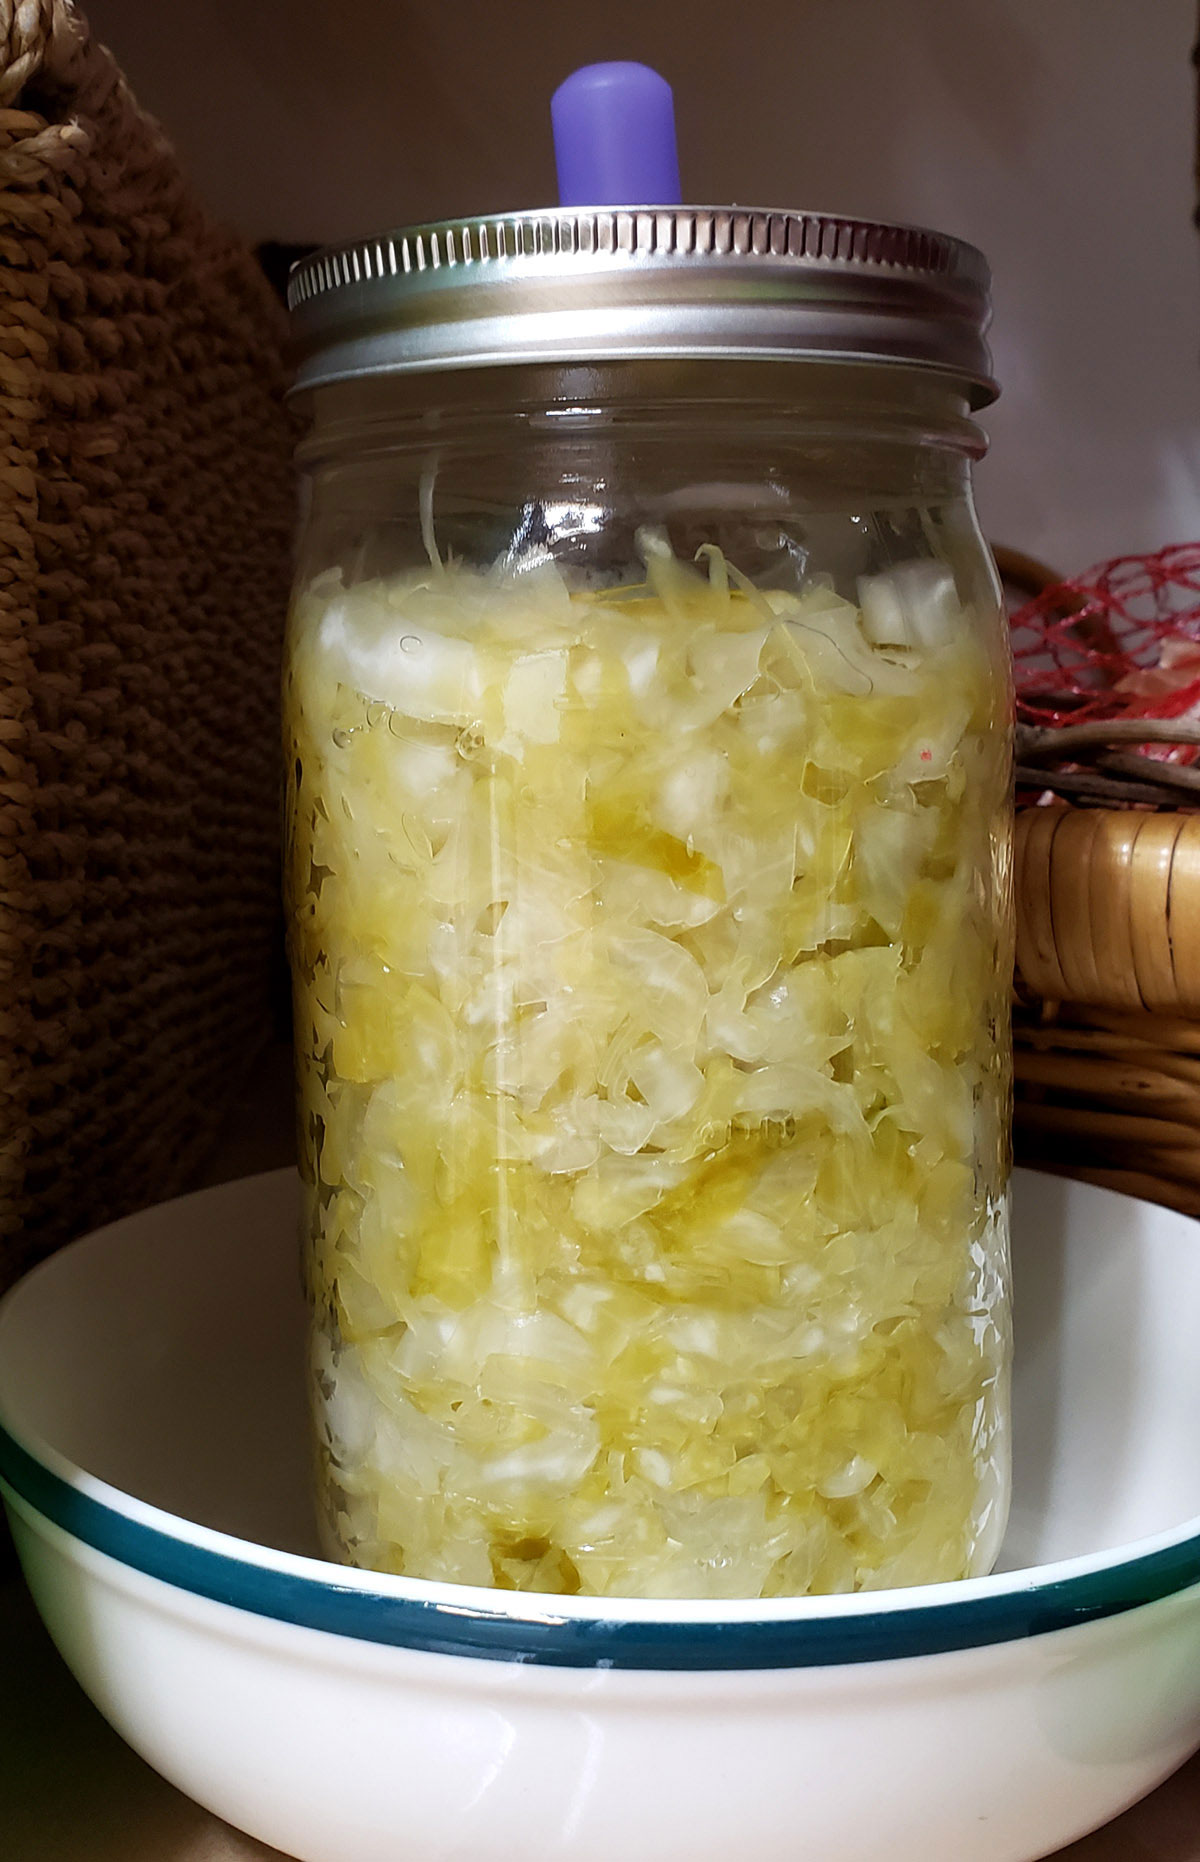
10. After ten days you can taste the sauerkraut to test the sourness. I let mine ferment 4-5 weeks. The warmer your room temperature, the faster the ferment. Recommended temperature is between 68° and 72°.
Once it’s reached your desired sourness, you can eat it right away, keep it in your refrigerator with a snug-fitting lid for several months, or can it. Note that the canning temperature will kill off the gut-healthy probiotics. However, you’ll still retain some of vitamins and minerals.
Signs of a Good Ferment Happening
According to the fermenting guide that came with my fermenting kit, plus my own observations over the years, these are all good signs of fermentation:
- The cabbage swells up so that the brine is almost touching the lid.
- Pockets of gas appear in the cabbage.
- The color changes from bright to drab green.
- Bubbles or foam appear on the surface of the brine.
- A sulfurous aroma emits from the jar.
- There is white sediment in the bottom of the jar.
Signs Your Ferment’s Not Going Well
- Soft sauerkraut – probably due to insufficient salt, or uneven distribution of salt. Air pockets in the jar may also cause this problem.
- Pink kraut – certain types of yeast will grow on the kraut if there is too much salt, uneven distribution of salt, or it was improperly covered or weighted during the fermentation process.
- Rotten kraut – usually found at the surface where it has been exposed to air. It can be scraped off without harming the ferment as long as you remove it all before fermentation stops.
- Darkness in kraut – there are several reasons this may happen including:
- Improperly trimmed cabbage
- Insufficient brine in the fermenting process
- Exposure to air
- Leaving kraut in the jar/crock after fermentation has stopped
- High temperatures during fermentation, processing, or storage.
Source: Stocking Up III by Carol Hupping and the staff of the Rodale Food Center.
Sauerkraut Fermenting Tips
- Don’t overfill the jar. Filling to the shoulder leaves enough room for a weight and space for release of carbon dioxide as the cabbage ferments.
- Don’t underfill the jar. Too much air space results in moldy or slimy cabbage.
- Vent the jar or crock. Gasses need to be released or the container will explode. Use an air lock system or covered fermenting weights.
- Give it time to ferment. Most sauerkraut takes 4 -6 weeks to get to the traditional sourness. A longer (6 week), cooler ferment will give better results at around 60° – 70°. Our house is usually warmer than that at around 75° – 78° in the pantry, so four weeks usually gives me my desired flavor and texture.
- Refrigerate. Once you’re at a desired flavor, keep the sauerkraut in the fridge. Fermenting will continue, but at a much slower rate.
Additional Resources
Masontops.com Here is the company that sells the fermenting kit that I currently use. Disclaimer: I’m not affiliated with this company, it’s just a product I recently purchased instead of buying a new crock.
Stocking Up III by Carol Hupping and the staff of the Rodale Food Center. This has been my go-to resource for food preservation since the early 1990’s.
Ball Blue Book Guide to Preserving. This is another of my go-to resources for food preservation. This book contains a recipe for a large-batch sauerkraut with canning instructions. Their recipe is identical to how my Mom taught me when I was a youngster.
Healthycanning.com has a basic recipe plus many variations of traditional sauerkraut. I will be using this resource when experimenting with new recipes.
Serving Suggestions
I grew up eating homemade sauerkraut. The smell of Polish Kielbasa and sauerkraut cooking always reminds me of my maternal grandparents and the many dinners I had at their home. Here are some additional ideas for enjoying your fresh batch of sauerkraut:
- Top grilled brats, hot dogs, or even burgers with sauerkraut and mustard or fresh chopped onions
- Simmer sliced kielbasa in sauerkraut and serve with a hearty dark bread
- Make traditional ruben sandwiches
- Bake up a sauerkraut casserole
- Serve a side of sauerkraut salad
- Bake a sauerkraut cake
[…] future meals for your family. Frugal food preservation techniques such as making turkey broth, fermenting, or freezing excess extend your harvest and offer opportunities for creative meal […]