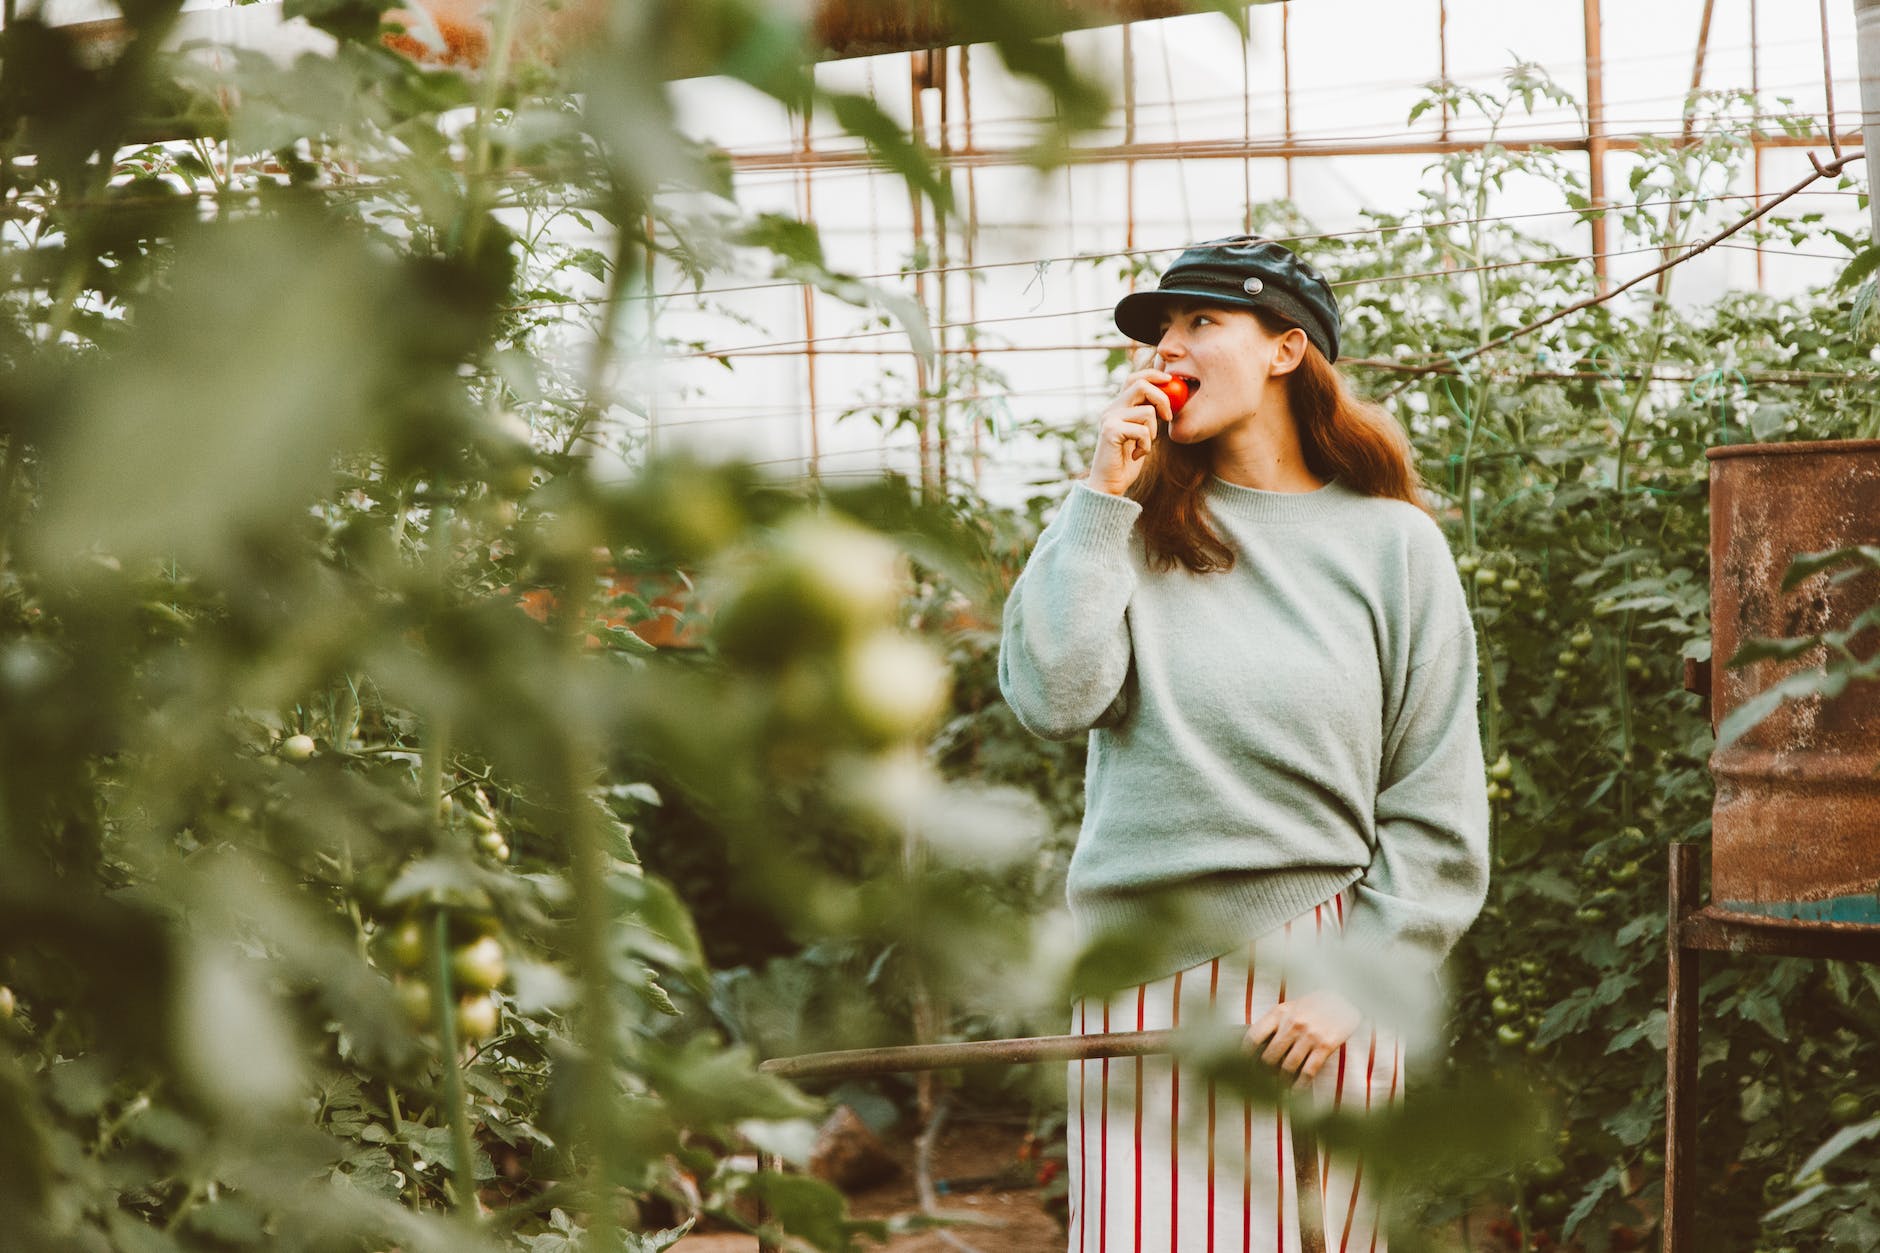
Saving seeds is a practice as old as human history. Centuries of careful seed selection have created the delicious palate of fruits, herbs, and vegetables that we consume today.

In these modern times, an abundance of seeds are offered for sale. So why should you save seeds? And where should you start?
Let’s dig into the basics of seed saving, its benefits, and basic techniques.
Contents
- Why Save Seeds?
- Best Beginner Seeds
- How to Select the Best Seeds to Save
- Seed Cleaning Methods
- Seed Storage Methods
- Learn More
Why Save Seeds?
There are many practical reasons why you should save seeds from your garden.
People save seeds from their home garden to save money. Most plants produce more than enough seeds to reproduce themselves. Free seeds from your garden can reduce your overall gardening expenses.
Flavor is another motivation to save seeds. Selecting seeds from the healthiest and tastiest plants allows you to reproduce plant varieties specific to your desires.
Saving your own seeds enables you to be more self-sufficient. This is essential for providing food when there may be supply chain disruptions or seed shortages.
Heirloom seeds are often seeds with a story. These seeds have been saved for generations and reflect different cultural and historical traditions. They are also bred to easily reproduce true-to-type.
Best Beginner Seeds
Most garden seeds fall into two types when considering seed saving methods: dry or wet seeds.
Dry Seeds
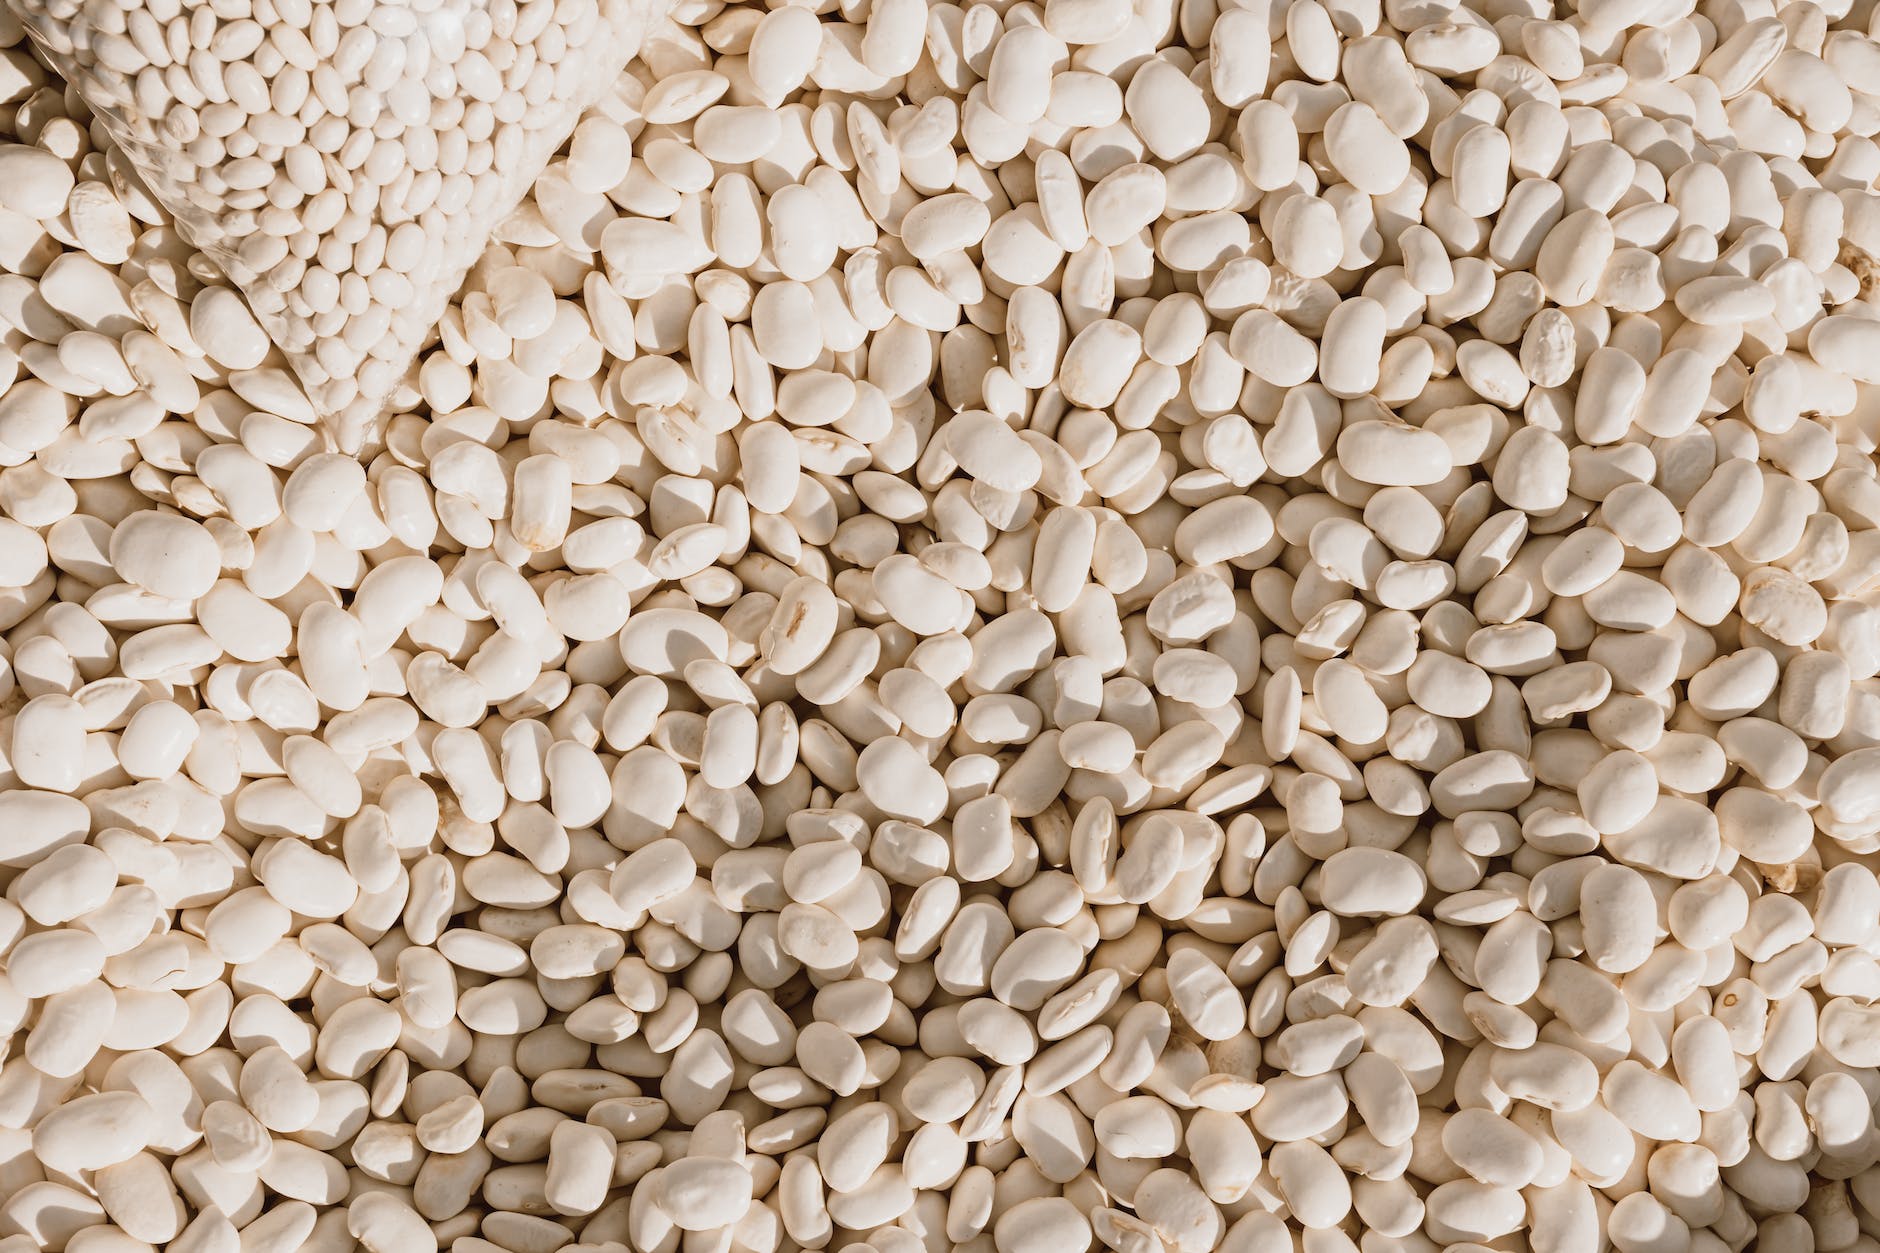
Dry seeds include: beans, peas, corn, or any others that grow in pods or husks. They dry in the shell or on a husk, and are easiest to harvest. The are threshed and winnowed after drying thoroughly. Some of the dry seeds I have saved include: lima beans, long beans, luffa, peas, and popcorn.
Wet Seeds
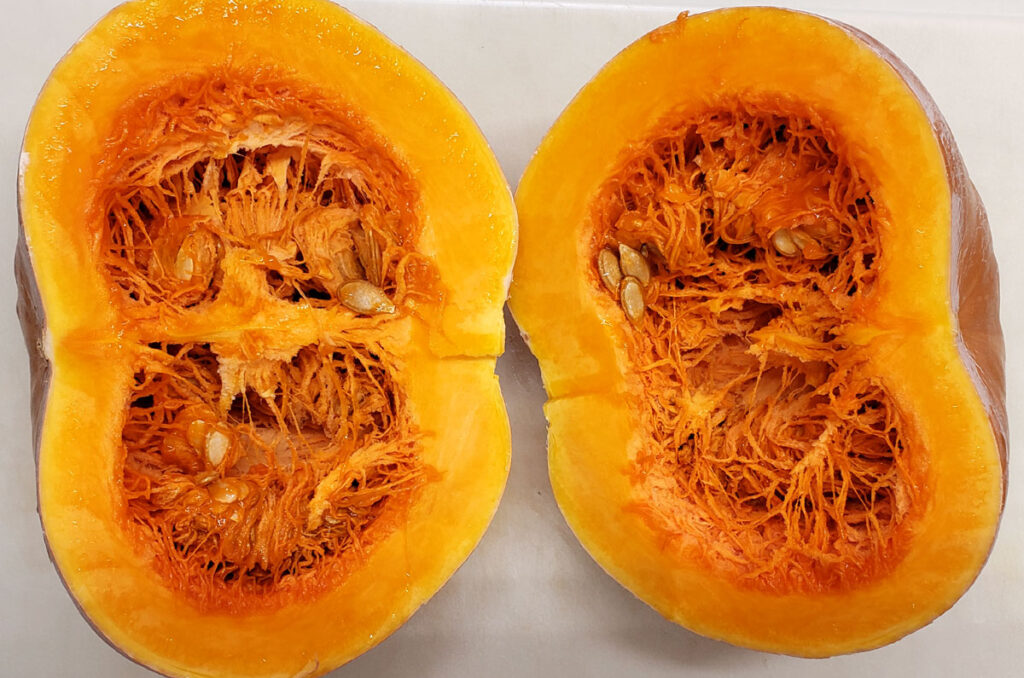
Wet seeds usually come from fruits such as melons and squashes, tomatoes, or cucumbers. The seeds are within the fruit and must be removed from the juice and pulp before drying and storing. The most common are watermelon with its dark seeds, and the many varieties of tomatoes.
How to Select the Best Seeds to Save
Begin your seed-saving journey by choosing a plant that you’re already good at growing. Try something from the dry seed category first, such as beans or peas. It’s best to start with one type of plant until you’re comfortable with the seed-saving process.
Choose open-pollinated seeds and heirloom seeds. Hybrid seeds are grown from two different parents and will not give you the same fruit as you collected the seed.
When starting your garden season, plant more of that variety than you would normally grow for food production. Harvest as you usually do, but section off your seed plants. Most dry seeds need to ripen on the vine until they are dry and crisp.
When harvesting wet seeds, you often need to let the fruit get over-ripe, almost rotting, only then are the seeds truly developed and ready to reproduce.
Whichever seed type you choose, always pick the very best-looking fruits from the healthiest plants. This will give you the most success in your next growing season.

Seed Cleaning Methods
Wet and dry seeds require different cleaning methods.
Dry Seed Cleaning
Dry seeds are much easier to clean than wet seeds. It’s best to let them dry on the plant. Pull the plant out of the ground when it’s fully mature, but the pod is not totally dry. You could let the seeds totally dry in the garden, but they are more at risk for mold or insect damage.
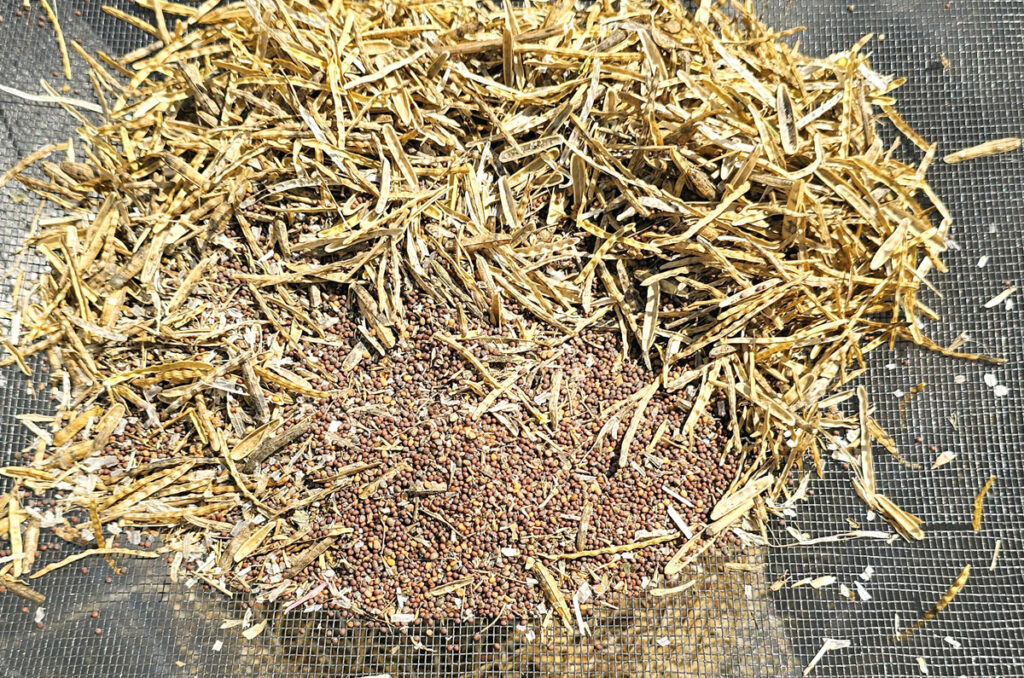
Hang the plants upside down to dry until the seed pods are so dry that the seeds almost fall out when they’re shaken or slightly crushed.
Just before cleaning, make sure there is no mold or insects on the plants.
Several ways to get the seeds out of their pods include: pouring them on a tarp and crushing them with your feet or a tool, pouring them into a pillow case or similar cloth bag and banging it against a post or the floor, and some pods open as easily as shelling peas.
Seeds and chaff (pods and plant debris) can be separated using the wind or a fan, or sifted through a screen of appropriate size.
Wet Cleaning Seeds
Wet cleaning is a 3-step process: remove the seeds from the fruit, wash the seeds, and dry the seeds.
Remove the Seeds
To remove the seeds, simply scoop them out of the flesh of fruits such as squashes or melons. Rinse the seeds under cool water and let them dry on a paper towel.
Any wet seed that has a gelatin-like substance around it should be fermented. Tomatoes are a great example. That gel is what protects the seed from microorganisms such as bacteria and yeast. In the wild, once the proper conditions are met, the gel will quickly ferment and induce sprouting.
To ferment your seeds and replicate the natural process, simply crush the fruit and pour the fruit with its juices into a large bowl or bucket. I just squeeze the tomato juice and pulp into a quart canning jar. You could also use a sprouting jar if you’re fermenting a small quantity of seeds.
Do not add water to the seed pulp. Let ferment at room temperature for 1-3 days. The warmer the air, the faster the fermentation. It’s best not to keep it in the house due to the scent of rotting fruit.
Wash the Seeds
Keep an eye on your ferment, and once mold has completely covered the top of the mixture, add enough water to double the quantity. Stir vigorously, then let the seeds settle. Good seeds should drop to the bottom, and infertile seeds should float to the top with the pulp.
Skim or pour off the pulp, mold, and undeveloped seeds. Then pour the seeds through a fine strainer and rinse under running water until the seeds look clean. Use your fingers to push any remaining pulp through the strainer.
Dry the Seeds
Dump the seeds onto a glass or ceramic plate. Do not use plastic or paper towels because the seeds will stick.
Let dry for a few days, stirring occasionally to expose all surfaces to the air and prevent them from sticking to each other.
Seed Storage Methods
Traditionally, seeds have been stored in many ways. People have hung plants in rafters to dry over winter. In some traditions, people wove the plants with the seed pods still on them into baskets. More recently, paper bags, cardboard boxes, and feed sacks have been used to save seeds.
Today, it is best practice to store seeds in air-tight containers such as glass or metal jars with tight seals. Seeds are first sorted into small paper bags, envelopes, or muslin bags before being packaged into the larger glass or metal containers.
The best location to store them is in cool, dark places such as root cellars, a cool basement, the back of a refrigerator, or in the freezer. Seeds that are less than 8% moisture are safe to freeze.
Do not store seeds in warm, humid areas such as an attic or anywhere temperatures fluctuate.
Make sure when storing seeds that you record the plant variety, harvest date, quantity, and anything helpful for future plantings.
Keeping a record book or journal of your seed saving efforts can help you repeat productive results and avoid making the same mistakes year after year.
Learn More
If this article has piqued your interest, and you’d like to dive deeper into seed saving, here are some of my favorite resources for learning how to save seeds.
Seed Saving Resources
Seedsavers.org – My favorite place to find answers to all my seed-saving questions.
University of Florida Gardening Solutions. – My go-to online resource for all things gardening in Central Florida.
How to Save Tomato Seeds. A great step-by-step approach to fermenting seeds before storing them.
[…] Some of the ways they include biodiversity are by planting a large variety of crops, including native plants in their gardens and landscapes, companion planting and selective seed-saving. […]