When I was a little girl, I remember following behind my dad as he dug holes for planting potatoes in the garden. I’d drop one of the seed potatoes into each hole, following him down the row. When I was older, he taught me to hill the potatoes, then how to gently harvest them with a shovel or pitchfork.
Now that I’m on my own homestead, I still enjoy growing potatoes. Digging around the potato roots and looking for those delicious tubers is one of my favorite harvesting times. I’d like to share with you all that I’ve learned about harvesting and storing potatoes from your garden.
Here’s how you can harvest, cure, and store your potatoes.
Table of Contents
- Determining When to Harvest
- The Harvesting Process
- Curing Potatoes
- Storing Potatoes
- Preserving Potatoes
- Quick-Steps Summary
- FAQs
Determining When to Harvest
Potatoes are a great vegetable to grow because you can gradually harvest them over several weeks, or if you choose, harvest the whole garden full at once. Your potato plants will give you several signs that the tubers will soon be ready to harvest.
Flowering has finished. Many potato plants will flower near the end of the growing season. Some varieties may produce small fruits that resemble tiny green tomatoes, which are not edible. If you have children around, it’s best to remove them. It will not affect the plant’s growth. Potatoes are in the nightshade family, and the green parts of the plant produce a toxin called solanin, which can cause extreme illness when eaten. Only the potato tubers are edible.
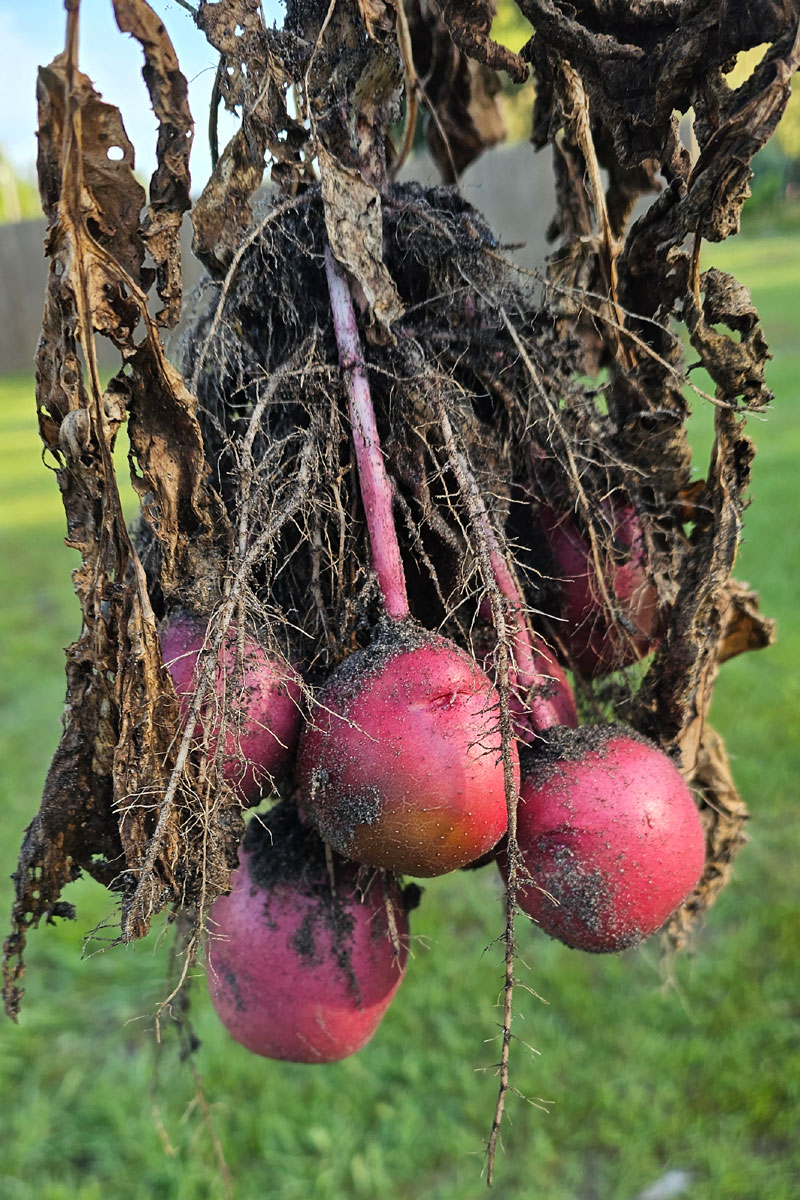
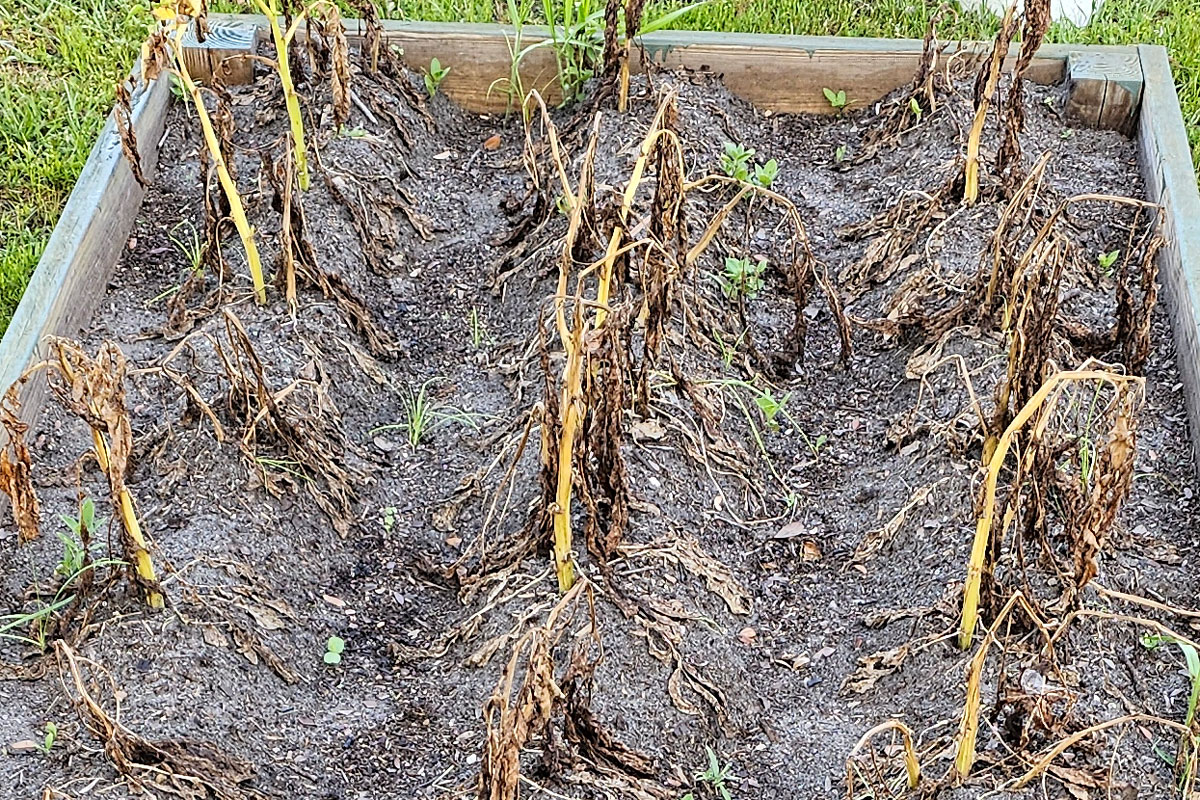
Foliage starts dying back. This is how I usually determine when I will dig my potatoes. The plants will begin to look droopy and turn yellow. By the time the plant has died back about two-thirds, the potatoes should have received all the benefits of the leaves and stems and will be ready to harvest. I’ll even let them die down until the plants are completely brown. As long as the soil is not overly wet, the potatoes will be fine.
Tuber bulking slows down. You can carefully dig around one potato plant with your fingers to check the tuber size. When you feel a few potatoes around golf ball to baseball size, you know the bulbing rate has slowed down, and you can begin harvesting.
Count the days after planting. There are early-season and late-season varieties. Early-season potatoes mature in about 90 days, while late-season potatoes can take up to 120 days, especially in cooler climates, before maturing. Use your gardening calendar or a garden planning app like Seedtime to track your planting and harvesting dates.
Soil Cracking and Peeking Potatoes. Since potatoes grow on the stems just below ground level, you may see the ground cracking around the base of the plant. If you’ve had rain wash down the soil, or have not planted the potatoes deep enough, an occasional potato may peek out from under the soil. Cover any exposed potatoes with several inches of soil to prevent them from turning green, which is caused by an increase in solanine.
The Harvesting Process
There are several different ways you can harvest potatoes from your home garden. I have used several methods depending on where I had gardened, sometimes with a garden tool, other times, just digging with my hands.
Harvesting With Tools
If digging in clay or heavy soil, it’s best to use a garden fork or specialized potato fork to loosen the soil around and deeply under the plant. Gently pull up on the plant’s main stem, or get under the roots and lift with the fork, shaking out the soil as you lift.
You can also use a shovel, but you’ll need to dig further away from the plant to avoid cutting any tubers. When I was a kid, my parents gardened in heavy clay, and it was the best way to get the potatoes out of the soil. We occasionally chopped a few potatoes with the shovel, but we just cooked them right away, and they were delicious!
Harvesting By Hand
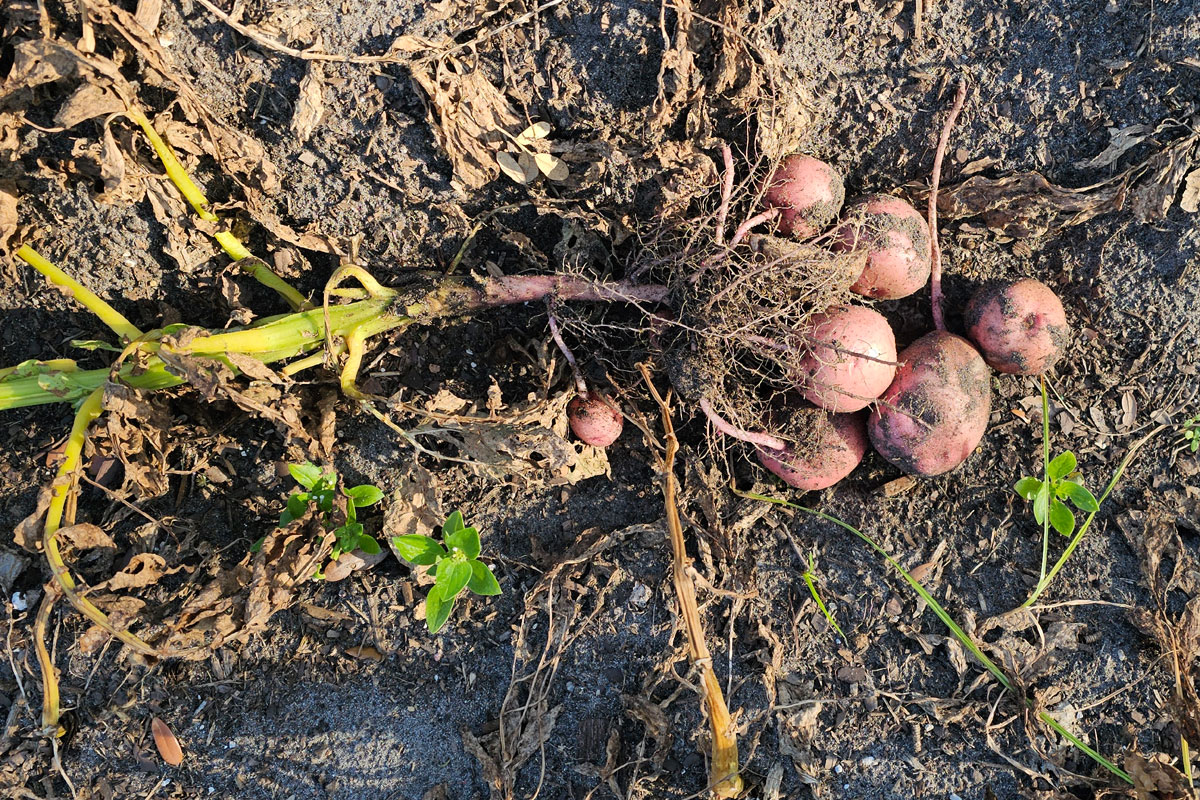
If you’re growing in lighter humus or sandy soil, the best method is digging by hand. You can easily push or scoop the dirt away from the tubers. Pull up on the stem as you dig. Most tubers will be hanging from it. Search around with your hands in the soil to double-check for any strays.
Harvesting Tips
Here are some additional tips and tricks for efficiently harvesting potatoes:
- Lightly brush the soil from the potatoes; do not wash them unless necessary
- Harvest in dry soil conditions whenever possible to avoid soil sticking to tubers
- Work carefully and slowly to avoid nicking, cutting, or bruising potato skins
- Use buckets or baskets to gently collect harvested potatoes, not bags
- Potatoes exposed to light will turn green, so cover harvested tubers
Curing Potatoes
Common methods for curing potatoes include curing right in the garden and curing indoors. Both methods allow the potatoes to form a tough skin that will protect them and increase their storage time. It also gives them time to heal from any cuts, nicks, or bruises that may have happened during the harvesting process.
Curing in the Garden
Once the stems of the potatoes have completely died back, the potatoes can remain in the garden for up to another 2-3 weeks as long as the soil isn’t overly wet, too hot, or freezes. Here in Florida, we try to get our potatoes harvested before the hot weather arrives. When I lived in the Midwest, we’d leave the potatoes until frost. Leaving them in the ground will allow the skins to begin toughening up.
Curing in the ground jump-starts the process, but you’ll still want to cure them indoors another week or two before putting them into storage.
Curing Indoors
Once you’ve harvested your potatoes, make certain the soil has been brushed off, and the potatoes are dry. Spread them out on a rack, large screen, or some other structure where they can get good air flow. Try to keep them from touching.
You can cure them outside in a dark area like a garage or shed. We cure ours in the machine shed, which is fairly dark and has good air flow. The ideal temperature should be between 45°F and 60°F with high humidity between 85-90 percent.
Storing Potatoes
Within 2-3 weeks, your potatoes will be ready for long-term storage. Sort your cured potatoes, checking for any unhealed cuts or minor imperfections. These should be eaten right away.
Storing Methods
Place the potatoes in cardboard or wooden boxes, on trays or shelves in a dark location. Continue to keep them at around 45-55 degrees. Places like a cellar, an unheated basement, or a cool, dark closet are good places to store potatoes.
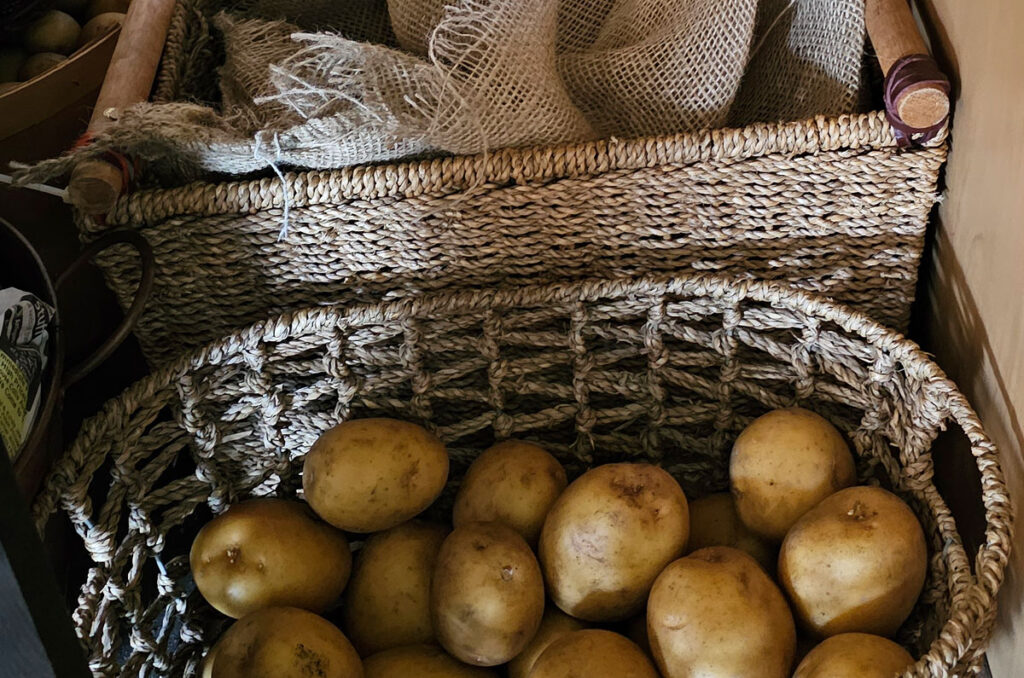
Since we don’t have a cellar or basement, I store my potatoes in a dark kitchen cabinet on floor level as far away from heat as possible. My favorite containers are burlap potato sacks and wicker baskets, which provide good air flow.
Periodically check your stored potatoes for sprouting, rotting, or drying. With proper climate conditions, most varieties of potatoes will store well for 6-8 months.
Foods That Store Well with Potatoes
- Other root vegetables like carrots, beets, turnips, and rutabagas
- Hardy winter squashes like pumpkins, butternut, and acorn squash
- Apples – there is even evidence that apples prevent potato sprouting!
These crops all share similar storage requirements – cool temperatures around 40-50°F and moderately humid conditions. Just take care not to store potatoes and other veggies too tightly together to avoid moisture transfer.
Foods to Store Separately from Potatoes
- Bananas, citrus fruits, and other high-ethylene-producing fruits
- Vegetables like broccoli, lettuce, cucumbers, and tomatoes
- Pears
- Mushrooms
The ethylene gas released by these foods can cause potatoes and other stored crops to spoil faster. Potatoes also release some ethylene that can degrade certain other produce.
It’s best to store potatoes in their own dedicated bins or containers if possible. If using shared cool storage like a basement, just ensure good separation and air flow between different crop types.
Storing Potatoes Near Ferments
Many homesteaders ferment foods such as sauerkraut, kimchi, or beverages such as kombucha, wines, and beers. These ferments could cross-contaminate your potatoes, causing them to spoil or absorb odd flavors. If you ferment in the same room as you store potatoes, try to keep them as far apart as possible.
Preserving Potatoes
Another way to store potatoes, especially if you don’t have a root cellar or basement, is to preserve them. Common preservation methods included pressure canning, freezing, dehydrating, or freeze-drying.
Summary
Here’s a summary of the key steps for harvesting, curing, and properly storing potatoes:
Harvesting Potatoes:
1) Watch for signs plants are ready – tops yellowing, skin set, 90-120 days after planting
2) Dig carefully with a fork or pull plants gently for sandy soils
3) Avoid cutting/bruising tubers and harvest in dry conditions
4) Collect in breathable bins/baskets and cover tubers from light exposure
Curing Potatoes:
1) Spread harvested potatoes in a single layer in a cool, dark, well-ventilated area
2) Ideal curing conditions are 45°F-60°F temperatures with 85-90% humidity
3) Cure for 1-4 weeks to allow skin to toughen up before storing
4) Higher humidity is needed for curing compared to storage
Storing Potatoes:
1) After curing, gently brush off any remaining soil
2) Discard any bruised, cut, or sprouting potatoes
3) Store in ventilated bins/boxes at 40°F and 90% relative humidity
4) A cool basement, root cellar, or spare room works well
5) Check stored potatoes periodically and remove any sprouting tubers
6) Properly cured/stored varieties can keep for 4-8 months
Click HERE to get the printable version of this Potato Harvest Summary!
FAQs
Exposure to light and warm temperatures is the main culprit. Potatoes kept in dark, cool conditions will stay dormant longer. Any green portions should be removed before eating, as they can be slightly toxic.
Signs of rot, shriveling, sprouts longer than a few inches, soft/mushy spots, or a strong off-odor mean potatoes have spoiled and should be discarded.
Yes, as long as the sprouts are relatively short (under 1 inch), you can just remove them with a vegetable peeler or knife. Longer sprouts and any green areas should be cut away before eating.
The versatility of freshly dug potatoes is nearly endless! My favorite way is to make potato salad or fresh potato soup. You can also try: simple roasted potatoes, mashed potatoes, home fries, or baked potatoes.
[…] How to Harvest and Store Potatoes – Our Frugal Florida Homestead […]