What Actually Works (And My Biggest Mistakes)
Back in 2021, when my husband and I bought our homestead land, one of the first things I did was choose a spot for a food forest. I wasn’t just dreaming of an orchard. I wanted a beautiful place you could wander through and find something to eat along the way. A space where, with a little steady care, food would return year after year.
Like many people, my early inspiration came from social media and YouTube. The possibilities looked almost effortless. But once we began planting here in Florida, the learning curve came quickly. Between sandy soil, stubborn pests, and the intense afternoon sun, this young food forest has taught me more than I expected.
Now, several years in, some plants are thriving beautifully. Others have humbled me. Today, I want to share with you what I’d do differently, how to plan from the start, and the small steps that helped us build something that works in this climate.
What a Food Forest Looks Like in Florida
At its heart, a food forest is simply a layered planting of mostly perennial food crops, purposefully designed to work together over time. Instead of neat rows of plants replanted each season, a food forest is built in layers that mature slowly and begin to support one another.
Most food forests include several basic layers. There’s usually a canopy of large fruit or nut trees, smaller understory trees beneath them, then shrubs, herbs, groundcovers, and sometimes vines weaving their way through the system. You don’t need every layer on day one, but understanding the structure helps you plan wisely from the start.
Here in Florida, food forests tend to grow quickly thanks to our long warm season and generous rains. But that heat and humidity also bring challenges. Pests, disease pressure, and rapid growth mean our systems need good spacing, healthy soil, and a bit of patience while everything settles in during the early years.
It also helps to know this from the beginning: a young food forest rarely looks polished. But over time, steady soil-building and thoughtful pruning knit the space together into something both productive and quietly beautiful.
Step 1: Start By Observing Your Space
When I began planning our food forest, I was starting with what looked like a blank canvas – an open patch of land on a high corner of the property. But the land was already telling a story. Only thin grass, a few hardy pioneer plants, and species that tolerated sandy soil near the pine trees were growing there. It was a quiet reminder that not every plant would thrive without some thought and preparation.
As I spent time watching the space, more details began to appear. The tall pines along the eastern fence blocked part of the morning sun. Greenbriar vines crept underground and pushed up through the grass. By late afternoon, the western sun baked the soil with almost no shade. The ground sloped away from the area I wanted to plant, meaning water would run off rather than soak in. And during our first winter, I discovered we even received a few frosts across the property.
These small observations helped shape the decisions we made about what to plant and where to place it.
As you’re starting your own food forest, take time to observe your space before planting.
Here are a few key elements worth noting:
- Sun: How does sunlight move across the area throughout the day? How might it change between summer and winter? Is there existing shade?
- Water: After a rainstorm, does water collect, flow through, or run away from the space?
- Wind: Is the area exposed, or protected by buildings, fences, or trees?
- Soil: What is currently growing there? Weeds and native plants often reveal a lot about soil conditions. A soil test can give you helpful details before planting.
- Wildlife and surroundings: Are there animals that may browse young plants or steal fruits? How close are neighbors, fences, or structures?
The more time you spend observing these patterns, the easier it becomes to choose plants and spacing that work with your land rather than against it.
Step 2: Decide What You Actually Want
Before planting your first tree or shrub, take a little time to decide what you want from your food forest and why.
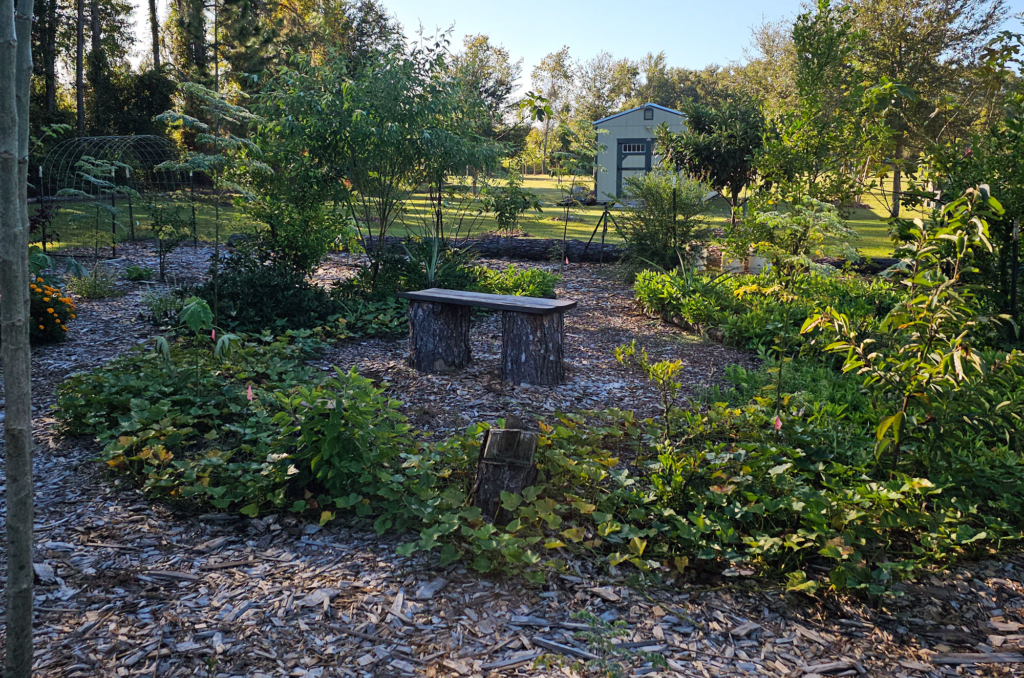
For us, the main goal was fruit we could eat fresh through much of the year, with a few perennial vegetables mixed in. But I also wanted the space to feel restful. I imagined a simple bench tucked among the trees where we could sit and enjoy the plants around us.
My husband and I were already in our fifties when we started planting, so we tried to think long-term. We wanted something to tend, not constantly manage. That meant choosing trees we could keep at a comfortable size for harvesting and building the system slowly in ways we could maintain as we got older.
Budget also shaped our decisions. We started some trees from seed, like lemons and kumquats, and grew others from cuttings, including figs and longevity spinach. Building the food forest didn’t have to happen all at once.
Your own goals may look completely different, and that’s perfectly fine. Take a little time to think through what you want this space to become.
Consider questions like these:
• What is the main purpose of my food forest? Fresh fruit, perennial vegetables, medicinal plants, shade, or a peaceful place to enjoy nature?
• How much time can I realistically spend caring for it each week?
• What is my starting budget? Can I grow some plants from seed or cuttings to save money?
• What resources do I already have access to? Free wood chips, plant divisions, helpful friends, or local plant swaps?
• What already exists on my property that I can work with? Native plants, existing trees, or natural water flow?
• How do I imagine using the harvests? For family meals, sharing with neighbors, or possibly small sales?
Write down your ideas and give yourself some time to let them settle; adjust as needed. Food forests naturally evolve as plants grow, climates shift, and our own goals change.
Keeping a simple garden or food forest journal can be helpful as you experiment and learn.
Once you’ve thought through what you want from the space, the fun part begins—choosing the plants that will help bring that vision to life.
Step 3: Start With the Trees That Will Shape Your Food Forest
In a food forest, the larger canopy trees are the foundation. They’re the longest-lived plants, and over time, they’ll provide much of the shade and structure that shapes everything beneath them.
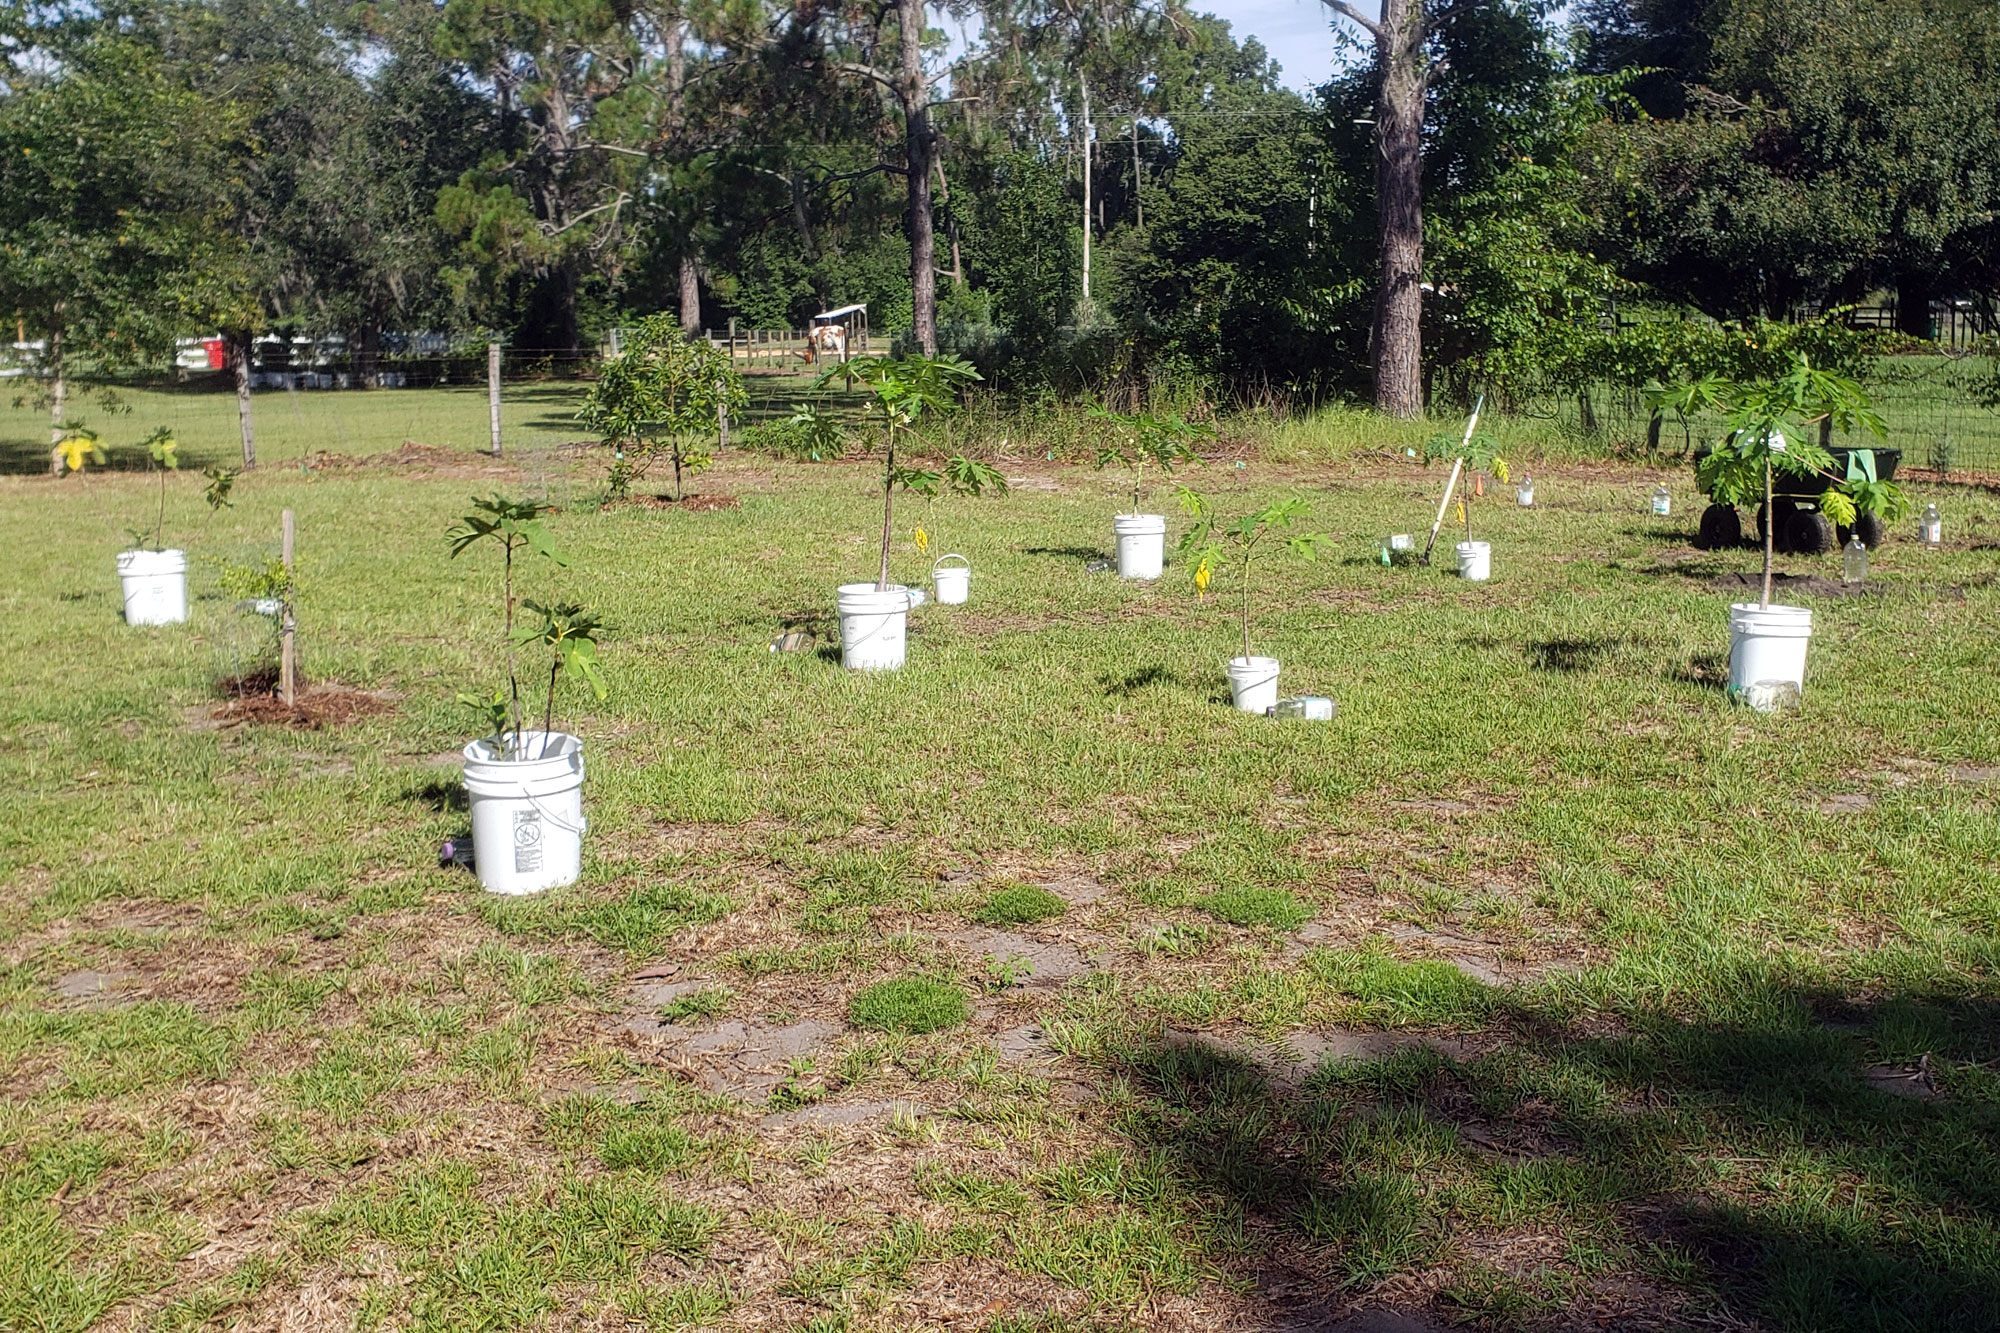
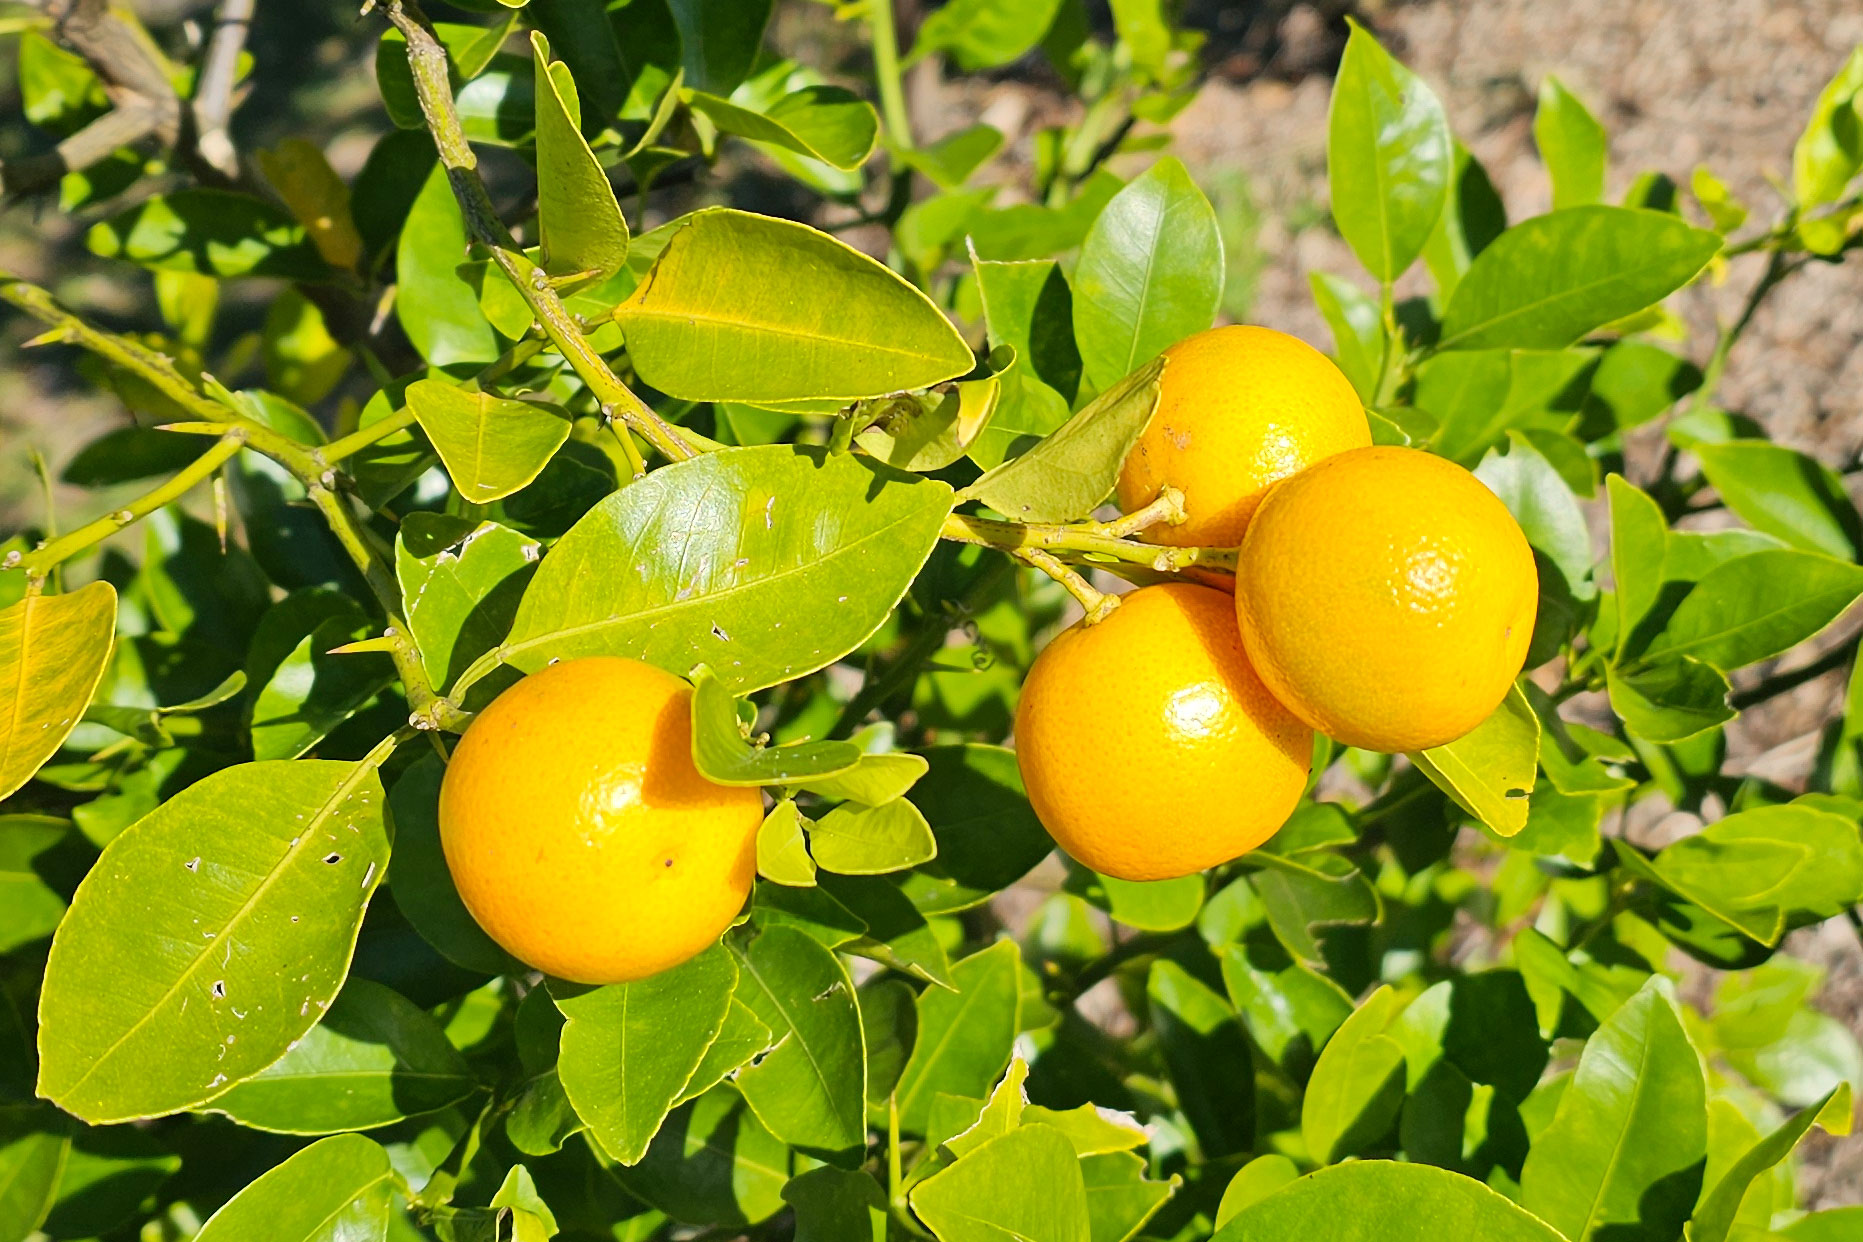
When we began planting, I started with a few trees that would shape the future of the food forest. We planted four avocado trees first, placing them where they could eventually provide shade and create a natural flow through the space. Around them, we added smaller fruit trees like lemons, limes, and kumquats. Beneath those, I tucked in plants like longevity spinach and sweet potato vines to begin filling the lower layers.
Your choices may look completely different depending on where you live in Florida. In some areas, mango and papaya thrive. In cooler zones, you might see peaches, mulberries, or persimmons instead. One of the best ways to learn what grows well in your area is simply to look around. What fruit trees are thriving in nearby yards or local farms?
I also like visiting local nurseries and small growers whenever I can. Walking through rows of fruit trees and asking questions is often the easiest way to discover what varieties perform well in your region.
Once you’ve chosen a few canopy trees that fit your space and climate, you can slowly begin filling in around them with smaller trees, shrubs, and ground-layer plants. There’s no need to plant everything at once. In fact, giving your trees time to establish first often makes the rest of the food forest easier to build over time.
Step 4: Build the Soil Before You Fill the Space
If there’s one thing Florida gardeners learn quickly, it’s that good soil doesn’t just exist here. Much of our land is sandy and low in organic matter. Native plants manage just fine, but most fruit trees and edible plants grow best when the soil is gradually enriched with compost, mulch, and living plant material.
Each time I planted a tree, I mixed compost into the native soil and added a thick layer of mulch around the base. That mulch does a lot of quiet work. It protects the roots from intense heat, slows moisture loss, and gradually breaks down to feed the soil.
Water also matters, especially during the dry season, while trees are getting established.
Another helpful strategy is growing plants that feed the soil for you. Around our trees, we plant support species like moringa, pigeon pea, and extra longevity spinach. As these plants grow, we trim them back and lay the cuttings on the ground around the trees. This “chop and drop” method slowly builds a natural forest floor, adding organic matter and nutrients back into the soil.
Healthy soil is one of the best long-term investments you can make in your food forest. The more you build it early on, the easier it becomes for the whole system to thrive.
Step 5: Layer Slowly and Leave Room to Learn
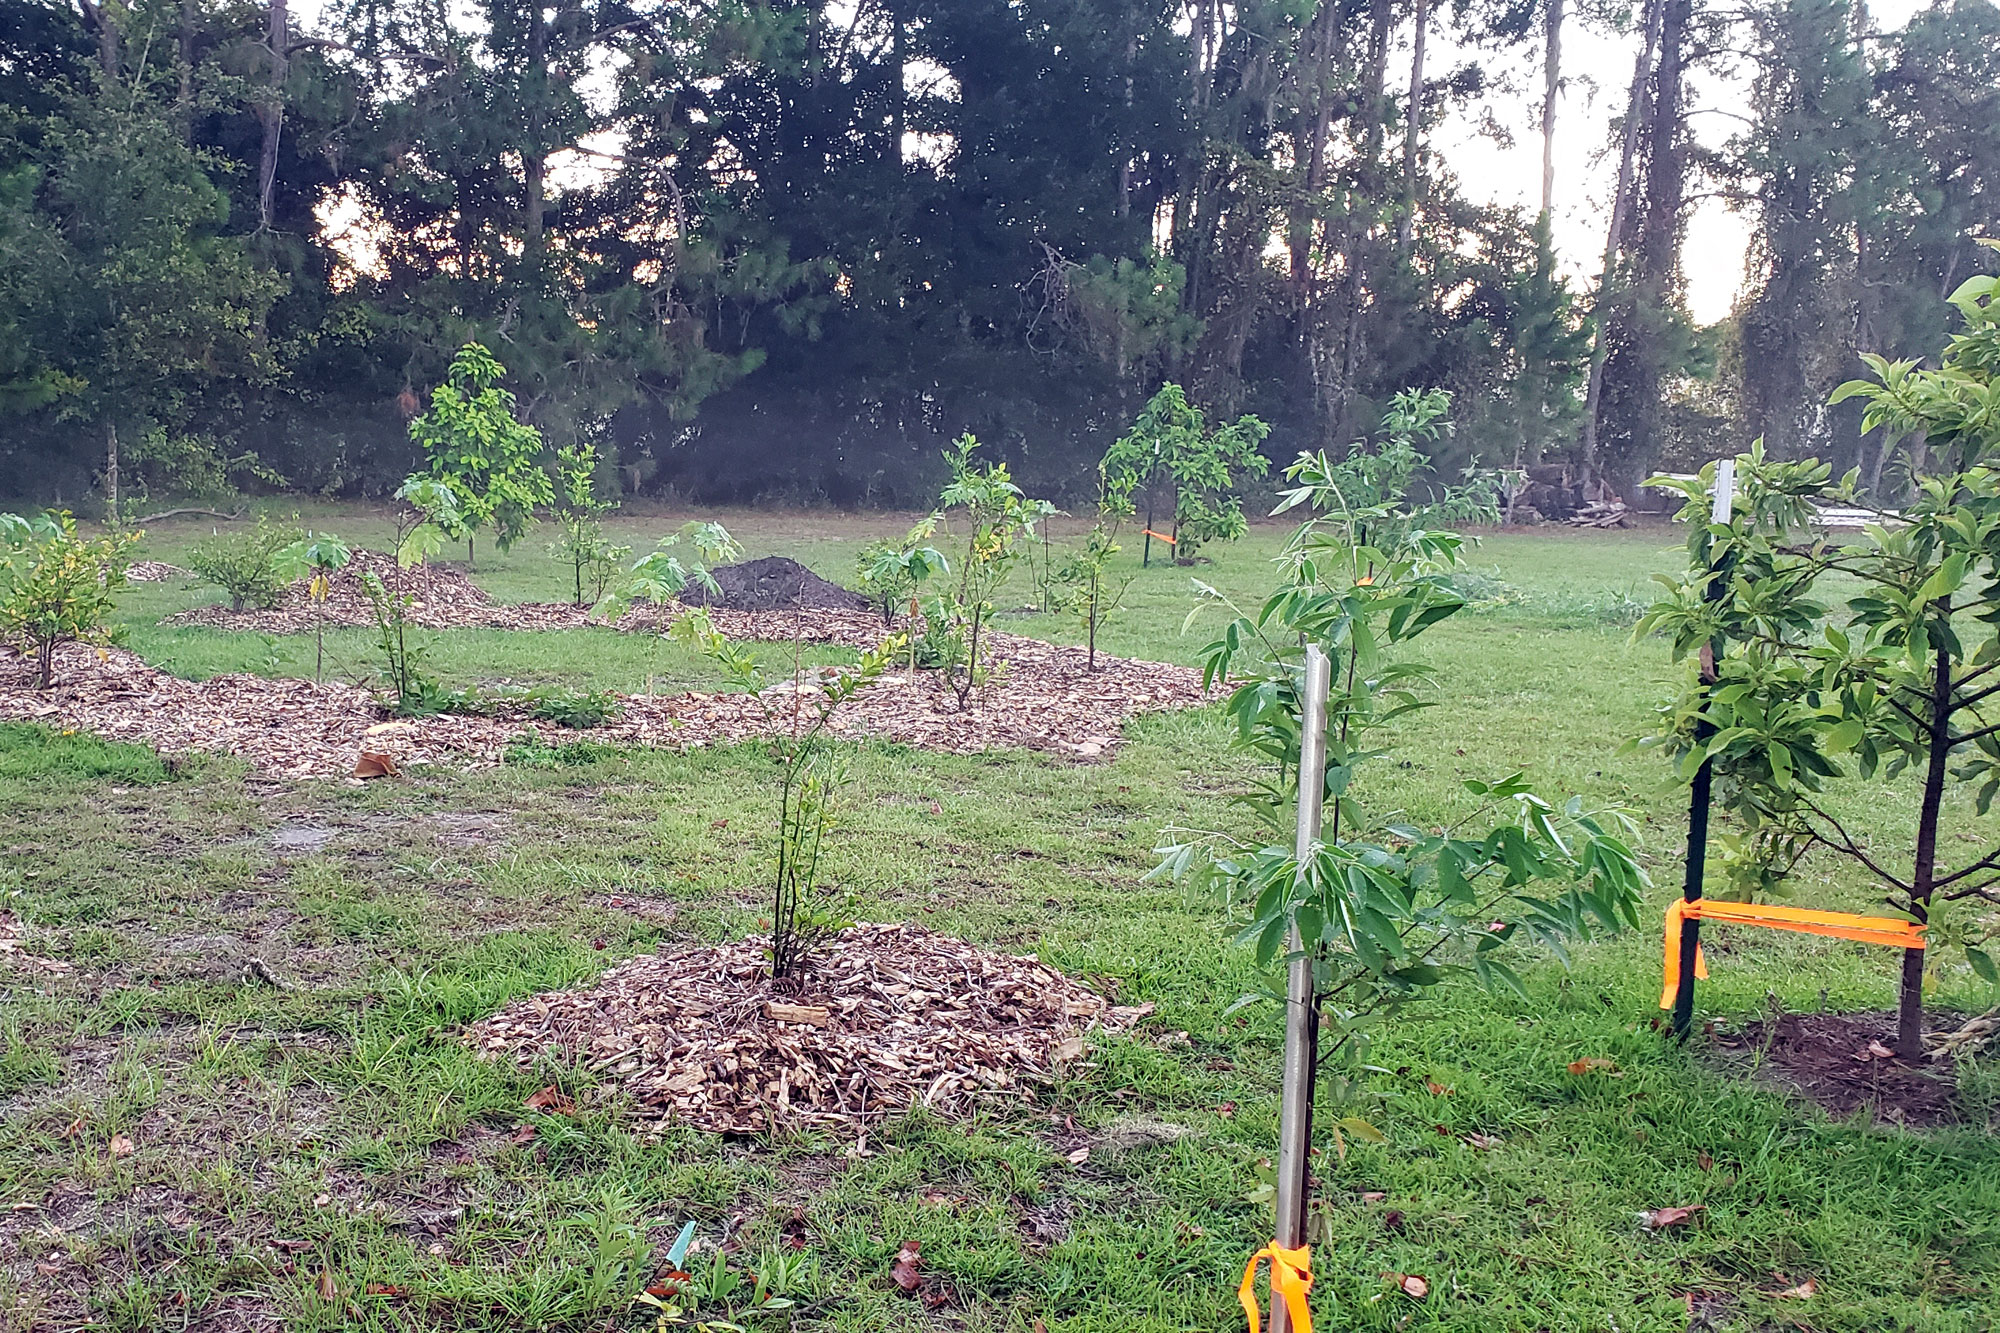
A food forest takes time to grow into its final shape. Even after they become established, plants continue to shift and change as they mature, produce, and occasionally die back. The larger trees take the longest to grow, so giving them time to establish before planting too closely around them is one of the best decisions you can make.
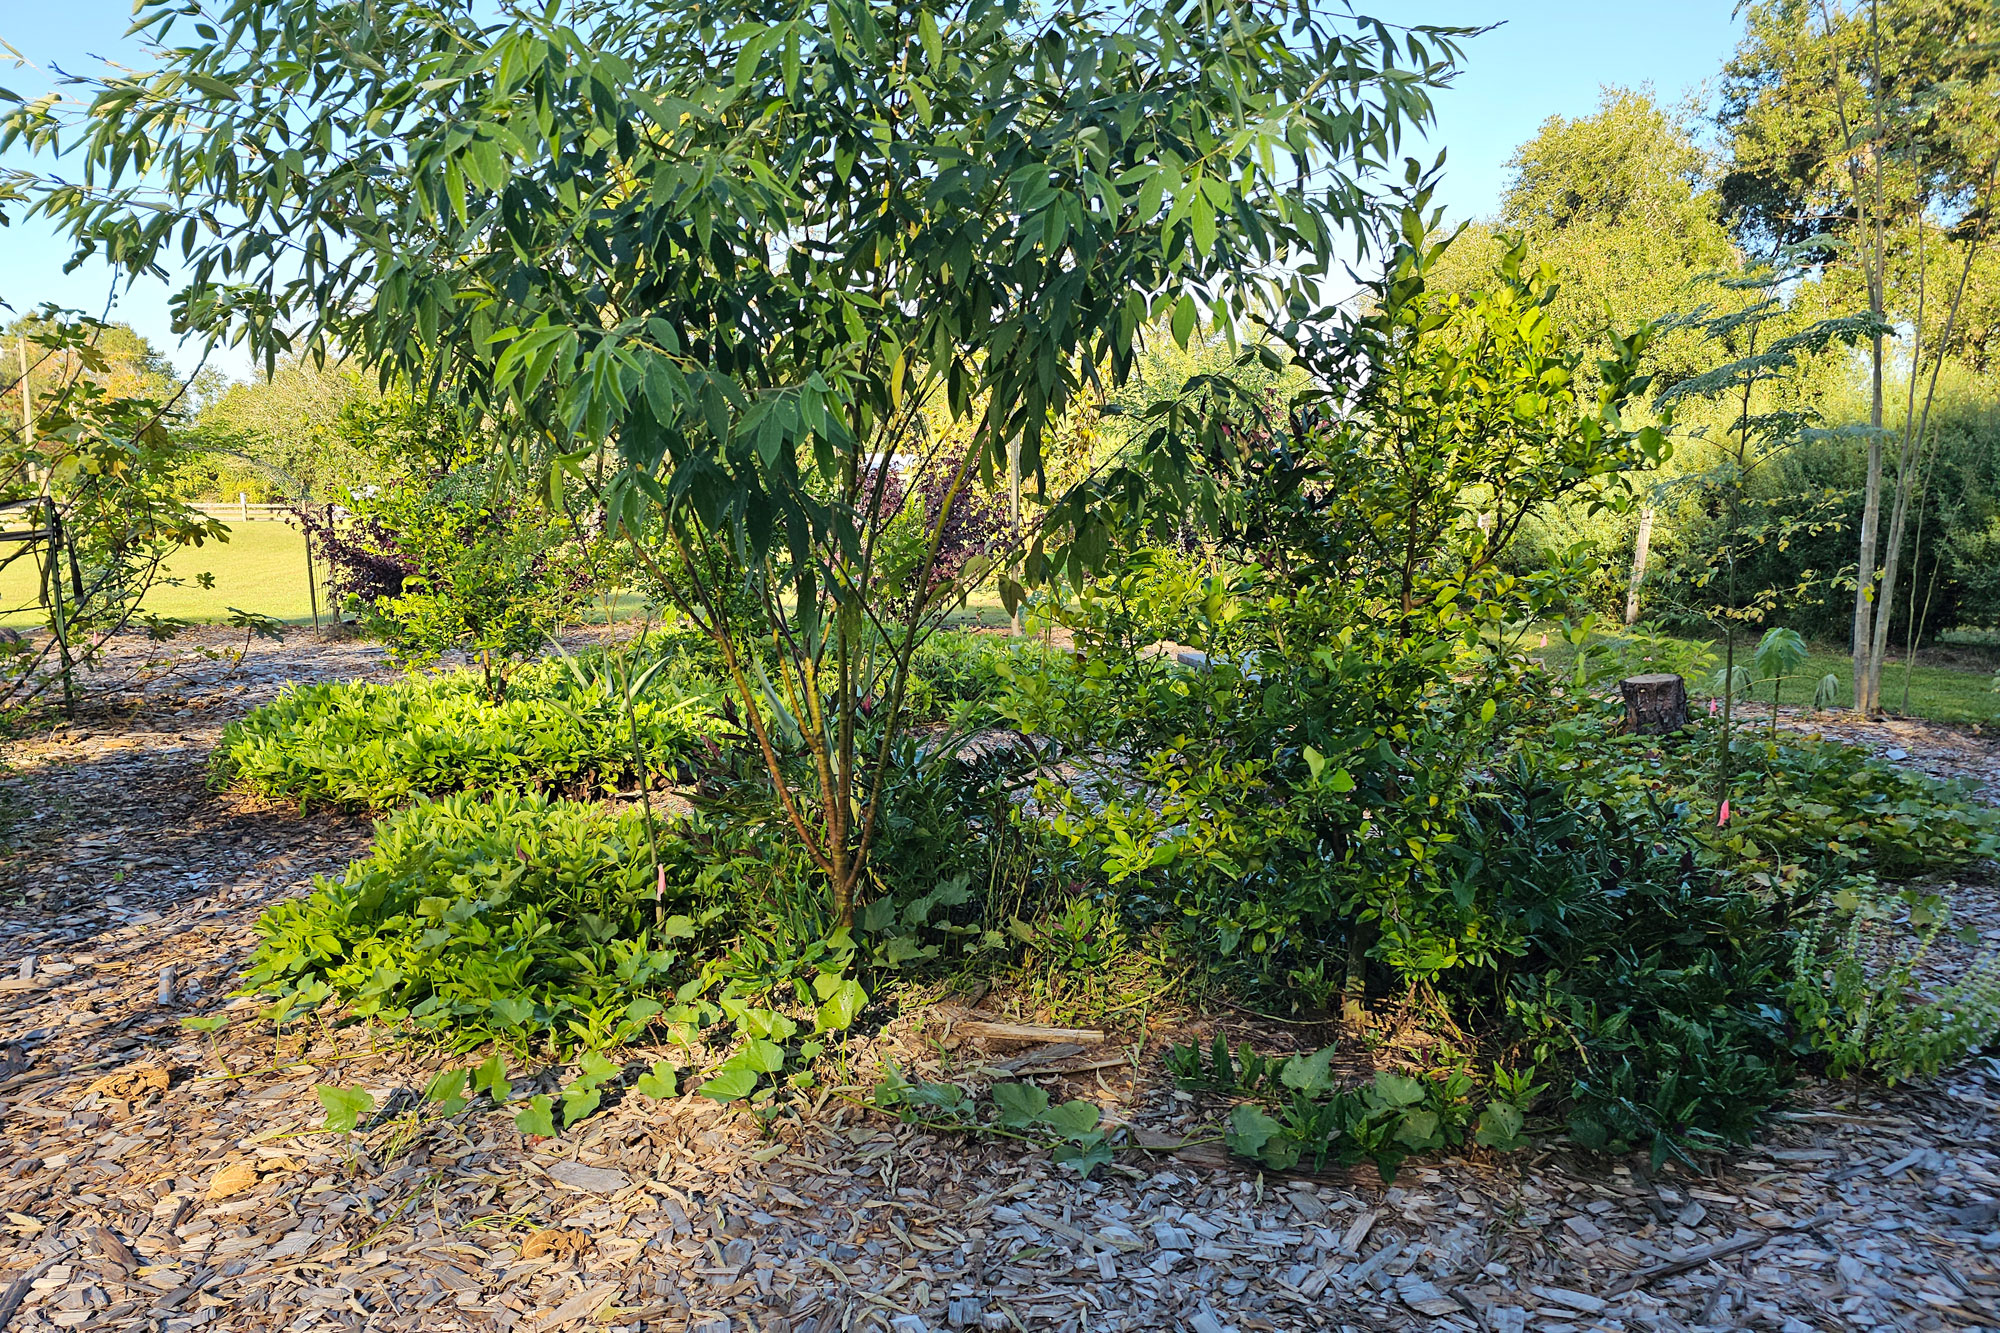
Once our first trees had settled in, I slowly began adding more plants underneath them. Groundcovers filled the open soil, and I tucked in smaller shrubs like blueberries, cranberry hibiscus, and native beautyberry. Later, I added a few more citrus trees where the space allowed and began growing self-seeding plants like Everglades tomatoes and peppers that behave almost like perennials here in Central Florida.
We’re still discovering new plants that work well in the food forest and adding flowers that attract beneficial insects while bringing a little beauty to the space.
There are also plants I’d love to grow that simply aren’t ready to be added yet. Some shade-loving species will have to wait until the trees grow large enough to create the conditions they need. Observing these changes over time helps prevent setting plants up for failure.
One mistake many beginners make is planting too many things too quickly. Every new plant needs extra attention while it gets established – more water, closer monitoring, and protection from pests. A food forest should eventually become a space that mostly takes care of itself, with just a short walk through the garden each day and some seasonal work like pruning, mulching, and light weeding.
When you do find an open space that could use another plant, pause and consider a few things first:
• How much sunlight or shade does this spot receive?
• How close is it to nearby trees and roots?
• Will the plant spread aggressively or stay contained?
• Do you need more food plants here, or a support plant that improves soil or provides shade?
Building your food forest layer by layer allows the system to grow naturally while giving you time to learn what works best in your space.
Common Beginner Mistakes
In the excitement of starting a food forest, it’s easy to rush in and try to plant everything at once. But like any natural forest, a food forest takes time to grow and settle into its rhythm. Along the way, I made a few mistakes that taught me valuable lessons.
One of the biggest was not setting up irrigation early on. Young trees need steady moisture while they are getting established, and for the first couple of years, we hauled buckets of water and dragged hoses across the yard just to keep everything alive. Eventually, we installed a simple irrigation system, and the difference was immediate. The trees were healthier, and the daily work became much more manageable.
Another lesson came from our local climate. A few years after planting, we lost three avocado trees and all of our papayas during an unexpected hard freeze. While these trees can grow in our region, our particular spot on the property was more vulnerable than we realized. Now we’re searching for new canopy trees to replace them and provide the shade our citrus trees and other understory plants will need.
Maintenance was another reality check. Social media often makes food forests look effortless, but establishing one takes real work. Mulch has to be refreshed, weeds and runner grass will appear, and young plants need regular attention. Tasks like chop-and-drop, adding compost, and adjusting irrigation all become part of the routine during the early years.
As the trees mature and the soil improves, the work gradually becomes lighter. The system begins to support itself more with each passing season.
Even with the mistakes and hard work, tending this food forest has become one of my favorite parts of the homestead. There’s something deeply satisfying about walking through and noticing new blossoms, fresh growth, the quiet progress of a place that’s slowly learning how to feed us.
It’s not the abundant, effortless paradise I pictured four years ago when we broke ground on this corner of the property. It’s scrappier than that. Plants have come and gone as I’ve learned what thrives here and what doesn’t—we’re down to one avocado now after the freezes, and I’m still figuring out what belongs in the gaps. But the hard work is starting to pay off. We’re gathering kumquats, figs, and blueberries. The longevity spinach has spread into a thick edible carpet under the citrus. There are always sweet potatoes to pull up.
Our chickens are part of the system, too. I gather greens for them from the food forest or toss figs into their run for a treat. They give back with composted manure around the trees. That closed loop—feeding everyone and everything on the homestead—is one of the things I’m most proud of building here.
If you’re thinking about starting your own Florida food forest, I hope this gives you a realistic picture of what it takes—the patience, the setbacks, the small victories that add up over time. The land will teach you what it needs if you take the time to listen. The forest grows with you. You just have to be willing to grow with it.
Resources for Learning More
Since every yard and microclimate is different across our large state, learning from others who are growing and designing food forests in Florida has been invaluable to me. Here are some growers and educators who helped shape how I think about building resilient, productive systems in our climate:
- PermacultureFX – A Central Florida permaculture specialist that provides products and services for people who are starting or maintaining a food forest.
- Flowing Well Tree Farm – A Florida supplier of excellent plants for your food forest.
- MamaG Farm – A non-profit dedicated to educating children and families on the methods of growing and using nutrient-dense edible plants and medicinal herbs.
- The Reid Farm – A Central Florida farm that offers classes and sells plants for food forests and edible landscapes.
- University of Florida IFAS – Edible Landscaping Using the 9 Florida-Friendly Landscaping Principles