The wild passion fruit known commonly as “maypop” makes a delicious and tangy jelly. It’s unique color and flavor enhances any dish that relies on fruit spreads.
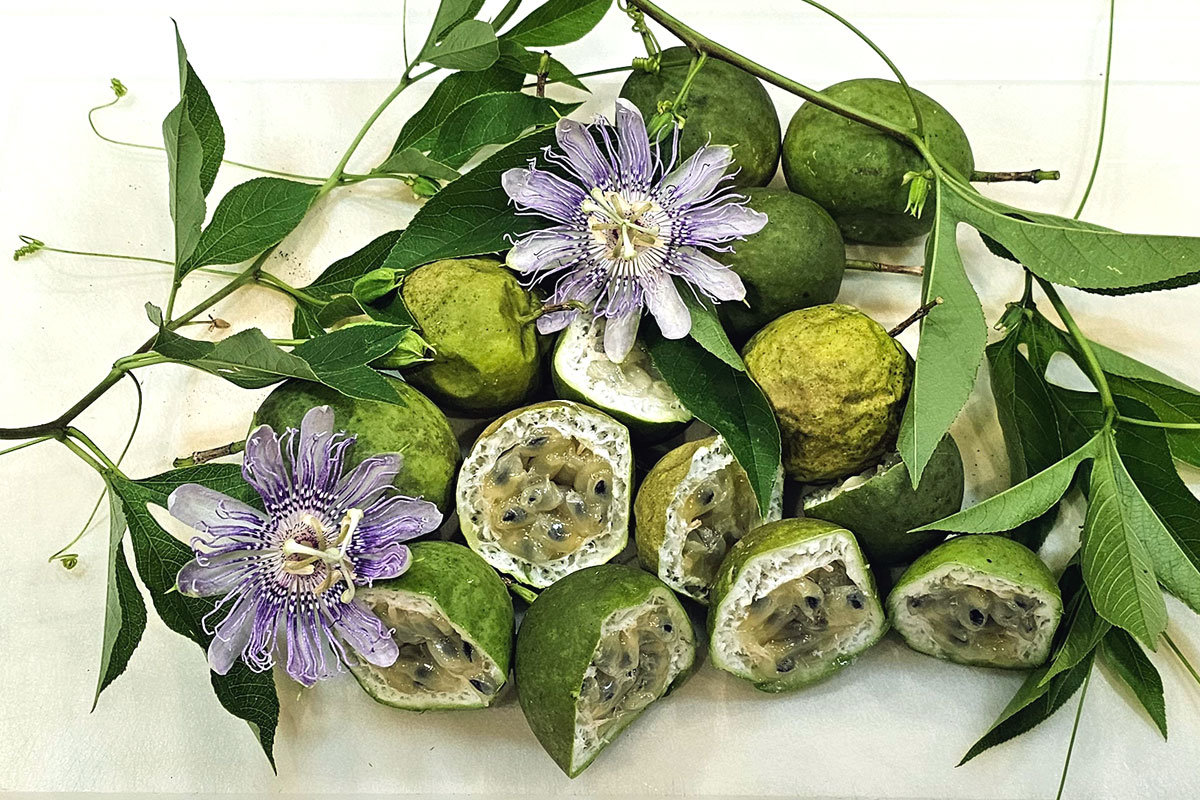
The beautiful purple and white flowers begin blossoming in late spring. If you’ve ever been trekking through the brush and stepped on one the fruits, you’d hear a “pop” as you squished it under your foot.
From mid-summer into late fall you can find maypops ripening in wild and abandoned areas. They are typically found in the southeastern United States from Virgina to Texas, and sometimes just outside that geographic region. On my Central Florida property, we harvest plenty of these tangy fruits to make jelly or have a quick snack every season.
Once you’ve found a patch of these beautiful flowers that produce green egg-sized fruit, gather a bunch, and make up a custom creation of homemade jelly using this recipe.
How to Can Maypop Jelly
Yield: Approximately 4 pints
Table of Contents
Ingredients
How to Gather and Prepare Maypops
Maypops ripen slowly over several months, and unless you find a very large patch of them, you may have to harvest them over a series of several weeks, saving the pulp until you have enough to make jelly.
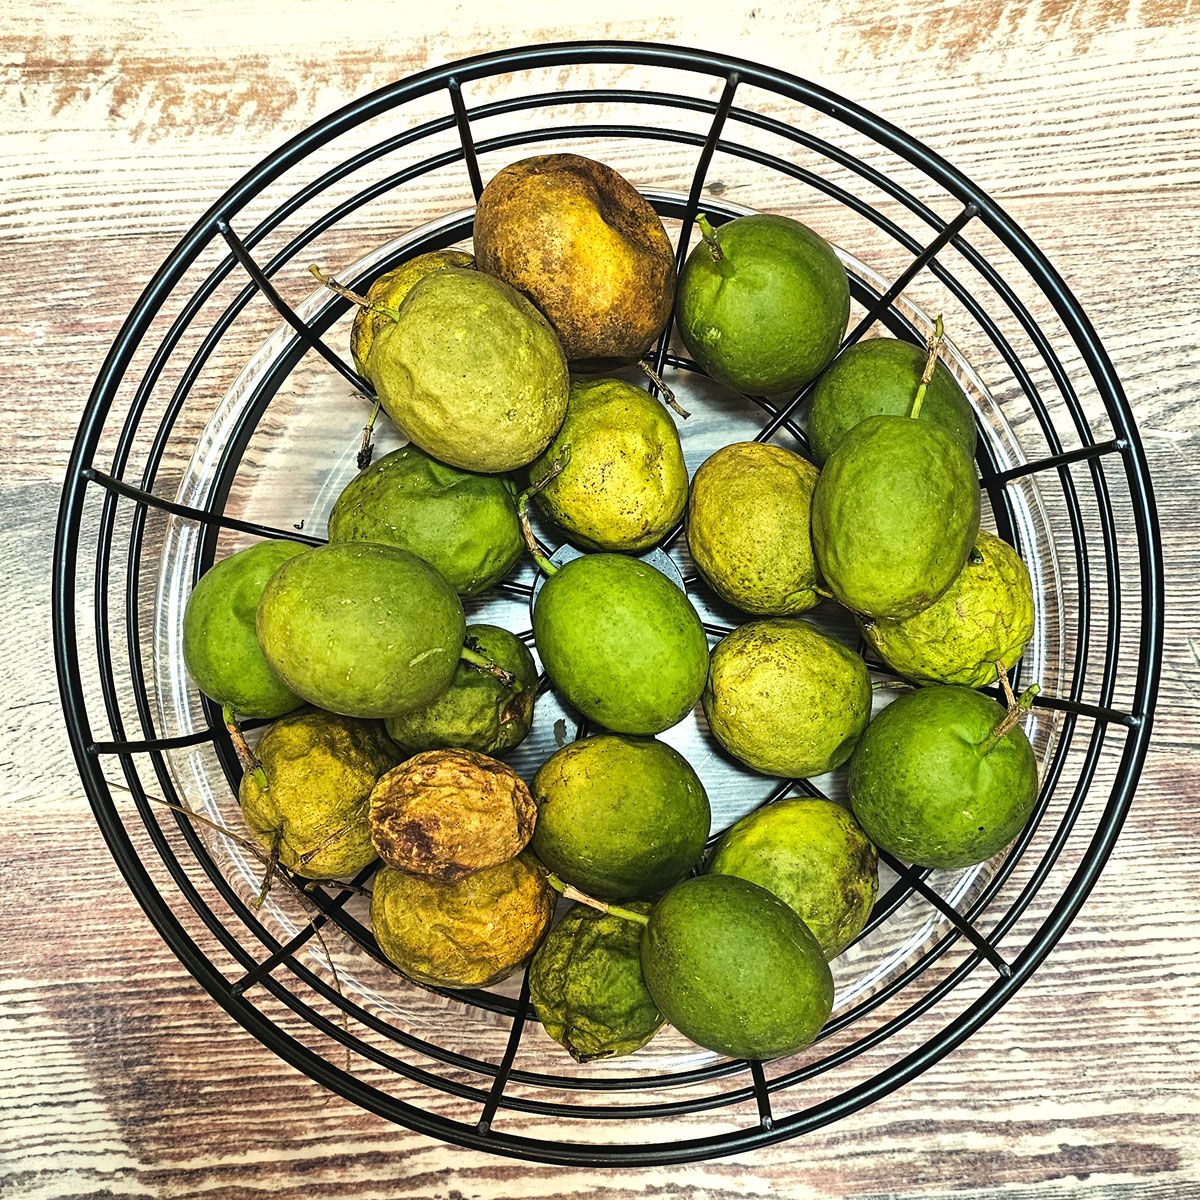
Harvesting and freezing maypops is an easy process. First, you’ll need to make sure you’re harvesting ripe maypops. The best way to know if a fruit is ripe is to find it on the ground. Maypops fall from the vine once they’re ripe. You can also tell if a maypop is ripe by the dry, wrinkled outer skin and a faint fruity smell. If you happen to gather some that don’t look quite ripe, maypops can sit on your kitchen counter for a week or two to ripen.
Once you’ve gathered your ripe fruit, cut them in half (across the equator) and scoop out the pulp. I like to cut open all the fruit and scoop the pulp in a large bowl, then gently stir the mixture. This blends the sweet and tangy flavors of each individual fruit. The fruit rinds are not edible, but are great for your compost!
Finally, fill ice cube trays with the pulp and freeze for 24 hours. Pop the frozen fruit cubes out, and freeze them in a large freezer-safe container until you have enough to make jelly.
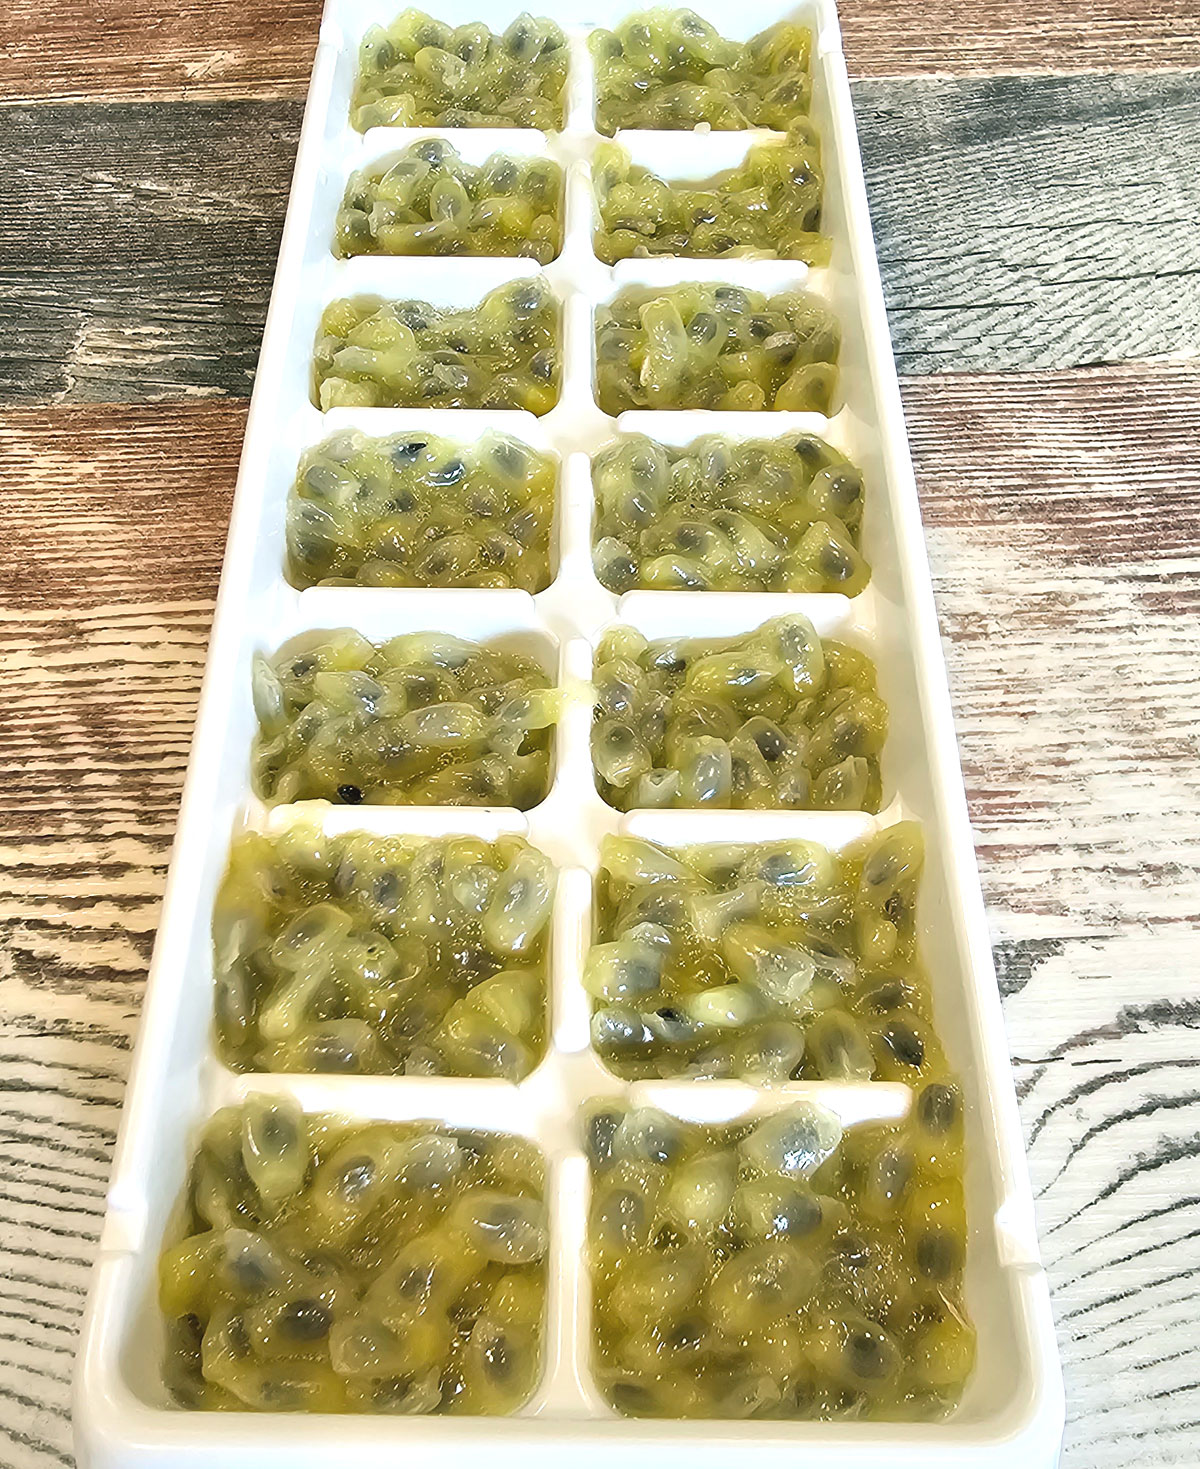
Tip: You’ll need to freeze enough pulp to make 3 cups of fruit juice. Maypop pulp is about half seed and half juice/pulp. I recommend freezing at least 6 cups of pulp scooped from maypops to make this recipe.
Optional: After scooping the fruit into a large bowl, use a jelly strainer to strain the fruit juices from the seeds. You can then freeze the juice cubes until you have enough juice for the recipe. This will allow you to skip the straining process while canning.
Ingredients for Making Maypop Jelly
3 Cups of maypop juice. You’ll need 3 cups of strained juice for this recipe. If you haven’t strained the juice from the seeds, there is a step in the directions below that walks you through the process. I prefer to strain the fruit during the canning process, it seems a more efficient use of time straining all the juice at once, instead of each time I freeze the pulp.
1 Box Sure-Jell Powdered Fruit Pectin. My favorite pectin is the Sure-Jell brand. If you prefer something else, you’ll need to compare processes for making jelly to ensure a proper set.
½ tsp. butter. Maypop juice foams up as you bring it to a boil. The butter helps keep down the foam and doesn’t affect the flavor or texture of the jelly.
6 Cups white granular sugar, measured into a separate bowl. Measure the EXACT amount of sugar or the jelly may not set properly. Most recipes with Sure-Jell pectin use white sugar. If you’d like to substitute something else, you can visit their website HERE for alternative ideas.
TIP: I do not recommend cutting in half or doubling this recipe. It’s important to use exact amounts of fruit juice, sugar, and pectin for a good gel setting.
Canning Essentials
- Water bath canner with rack
- Glass canning jars (pint, ½ pint, or jelly jar sizes) with matching lids and rings – enough for 4-5 pints of jelly
- Canning tools – funnel, tongs, jar-lifter, heat-proof cup, or large dipper to scoop the jelly mixture from a hot pot into the jars
- Large pot and tongs to sterilize jars
- Small pot to keep lids hot
- Large stock pot – at least 6 quarts – to cook the jelly mixture
- Jelly strainer, large bowl, spatula – to strain juice from the seedy pulp
- Misc. kitchen tools: liquid measuring cups, large spoon, or ladle
Directions
Prep the Maypop Juice
If using previously frozen maypop pulp, the night before canning, put the frozen fruit cubes into a large bowl or stock pot in the refrigerator to begin thawing. Just before canning, complete the thawing by heating the fruit cubes in a pot. Do not boil, just warm them up a bit until you have a fluid pulp with no frozen pieces.
If using fresh pulp, proceed as directed.
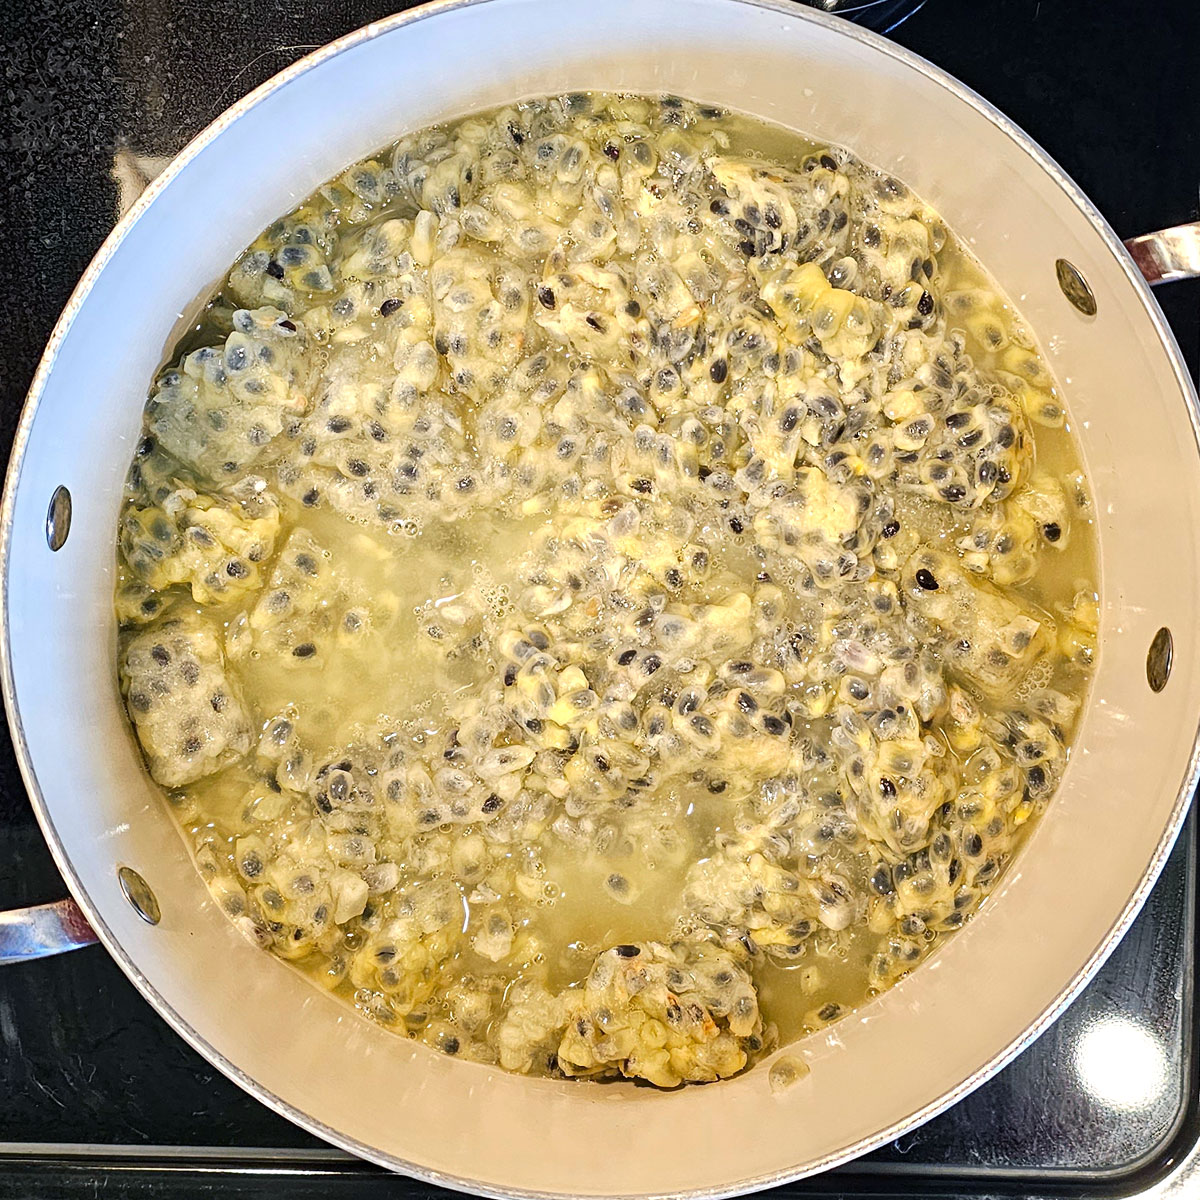
Hand-wash all jelly straining tools. Get the bag wet and gradually pour fruit pulp into the strainer. Allow time for the juice to separate from the seeds. (While you’re waiting, this is a great time to sterilize the jars and prep your canning area.)
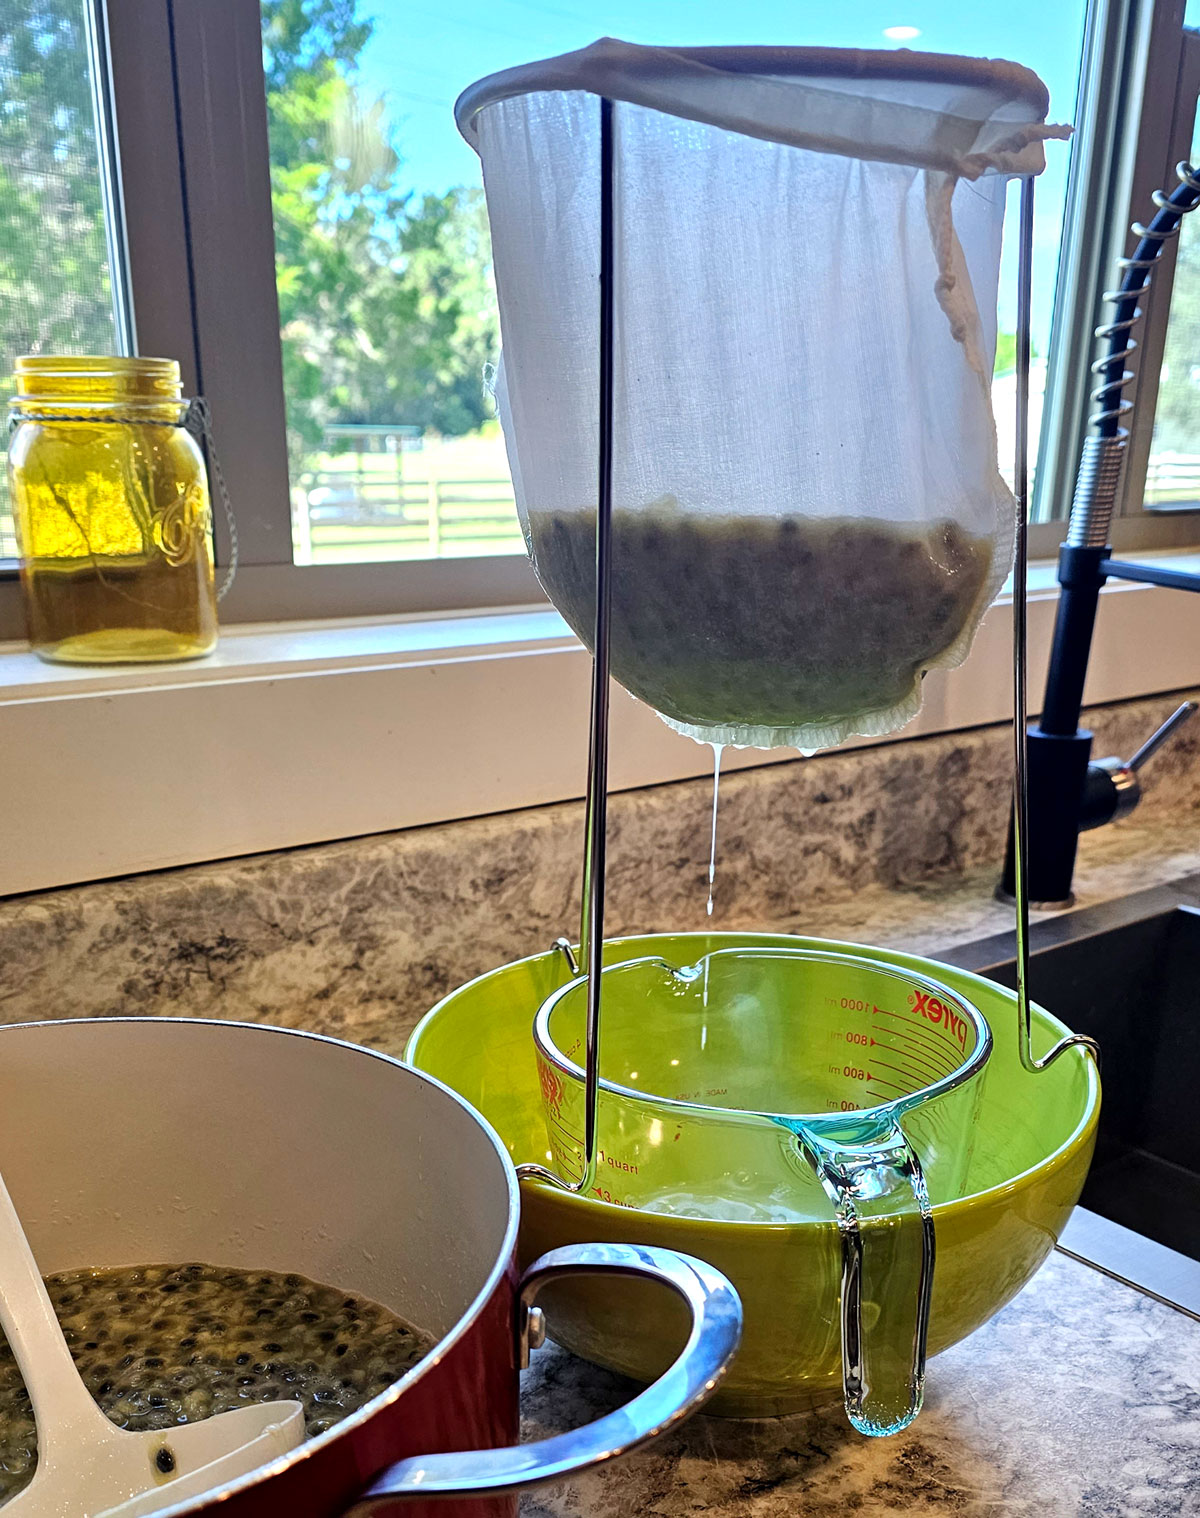
Use a spatula to gently press the juice from the pulp. If you want a very clear jelly, don’t press too hard or squeeze the bag. This will give a cloudier appearance. However, squeezing every last drop of juice through the bag gives a lot of great flavor to the jelly.
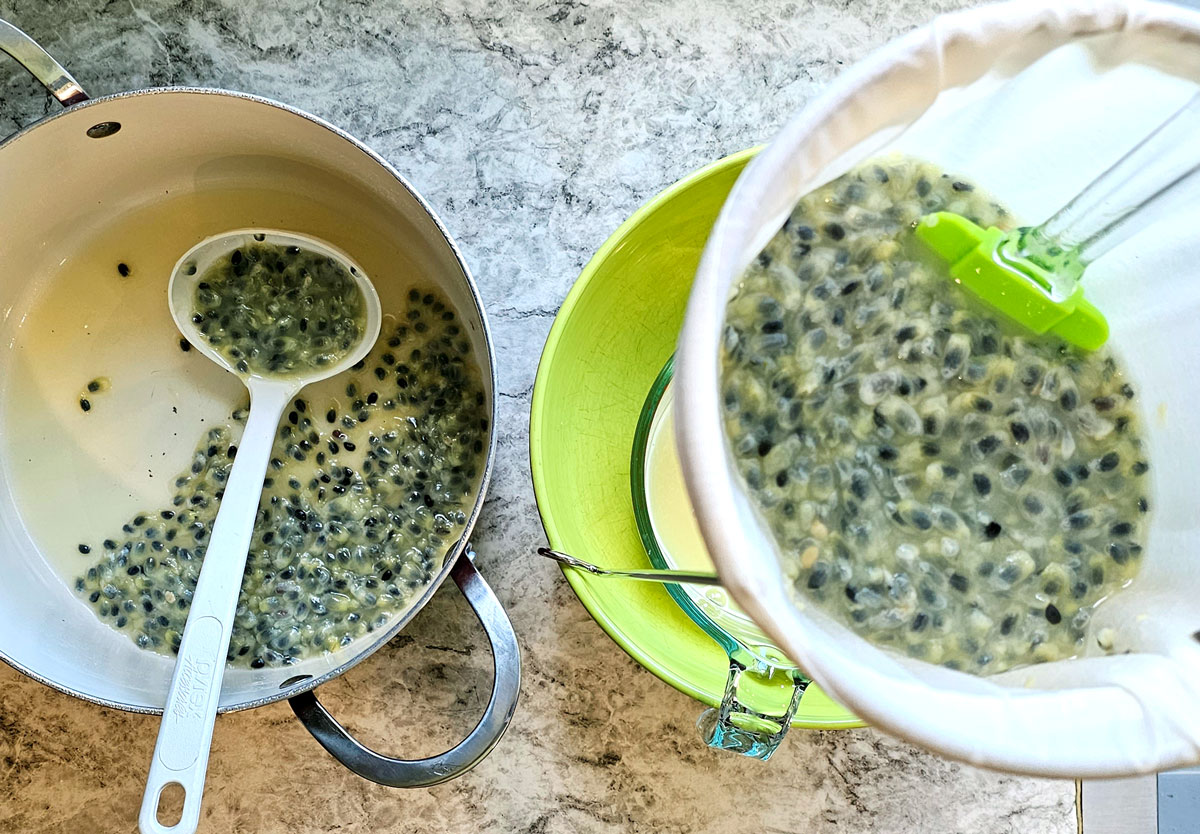
TIP: If you’re a little short of 3 cups of juice, it’s okay to add a bit of water. It’s important to have the proper ratio of liquid to pectin and sugar.
Don’t forget to save the seeds! Simply rinse them and air-dry. These totally edible seeds are great for topping salads, and mixing into bars or cookies. If they’re fresh (not frozen), try sprouting them to grow your own maypop vines!
Once you’ve strained 3 cups of maypop juice, you’re ready to proceed with canning.
Prep Your Work Area
Sterilize your glass jars and wash the lids and rings in warm, soapy water. Make sure your canner is clean and ready. Have your canning tools next to the stove and ready to use.
Keep your jars and lids hot and ready. You don’t want to pour boiling jelly juice into cool jars or they might crack. I keep my jars in a pot of simmering water on the back burner as I’m canning. You could also keep them ready in the canner. The lids I keep in a separate small pot of water, warm but not boiling.
The water-bath canner should have enough water to cover the jars once they’re filled. The water needs to be simmering (180°F), but not boiling as you prepare the jelly. I keep an extra pot of simmering water on the back burner to top off the canner once all the jars are placed in the racks.
Cook the Jelly Juice
Pour the fruit juice into a large 6–8-quart stock pot. Slowly stir in the powdered pectin, making sure there are no lumps and the pectin is fully incorporated.
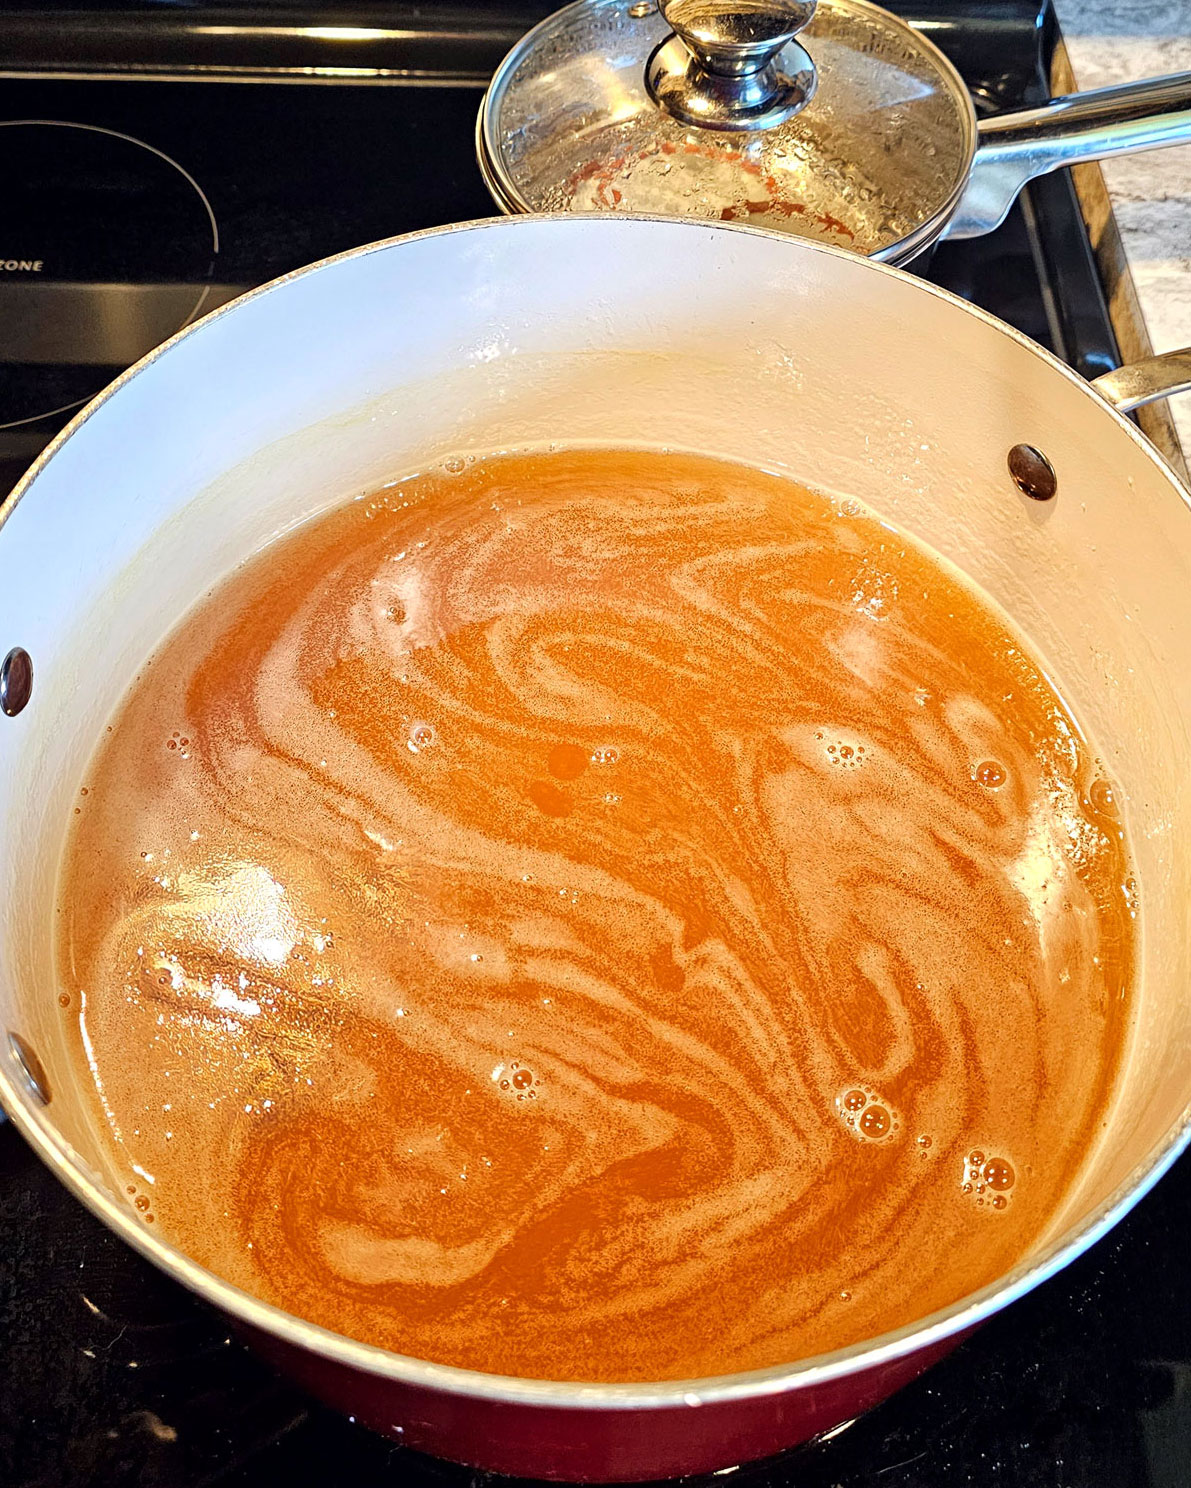
Over high heat, bring mixture to a full, rolling boil (a boil that doesn’t stop bubbling when stirred), stirring constantly.
Stir in sugar all at once.
Continue stirring to fully dissolve sugar, and bring back to a full rolling boil.
Boil hard for exactly 1 minute, stirring constantly.
Remove from heat. Quickly skim off any foam with a metal spoon. (Save the foam! It’s a tasty post-canning treat!)
Ladle immediately into your glass jars leaving ¼ inch head space. Wipe the rim with a damp cloth and assemble the lid and ring, tightening the rings finger-tight.
Carefully place jars in the rack of your water-bath canner; the water should already be simmering.
Once all the jars are placed in the canner, make sure there is at least 1 inch of water over the tops of the jars.
Adjust the heat to medium-high, cover the canner, and bring the water to a full rolling boil. Process 10 minutes. If you live in an altitude over 1000 feet, check your altitude for processing times HERE.
Once processing time is completed, remove canner from burner. Remove jars with jar tongs, and place in a safe area, covered with a kitchen towel for 24 hours. I like to place mine on a wooden cutting board on the kitchen counter.
After the jars have cooled, remove the rings, and gently wash the outside of the jars with warm, soapy water. Check the seal of each jar by pressing the middle of the lid. If the lid spring back, it didn’t seal. You’ll need to store the jar in the refrigerator.
Serving Suggestions
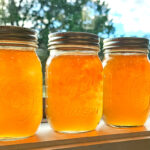
Maypop’s unique flavor is perfect for bringing a sweet zing to the many ways you currently enjoy jellies. Try it on toast, use it in your favorite jam-filled cookies, or swirl it into a tangy bowl of yogurt topped with some reserved seeds for a crunchy accent.
If for some reason your jelly doesn’t set – no worries! It’s delicious as a syrup for pancakes, waffles, or ice cream.
These jellies also make a perfect handmade treat for friends and loved ones. Pop a jar into a gift basket with some fancy bread or crackers for a quick sweet gift.
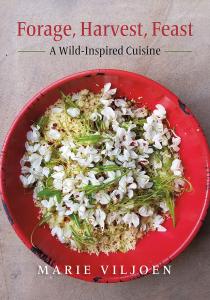
If you’d like to learn more about foraging wild fruits, read The Fruit Forager’s Companion or Forage, Harvest, Feast to find and identify wild edibles near you!

How to Can Maypop Jelly
Equipment
- 1 Water bath canner
- 4-6 Canning Jars, Matching Lids & Rings pint, half-pint, or jelly. Enough for 6-8 cups of jelly
- 1 6-8 Qt. Stock Pot
- 1 Small Saucepan to keep lids warm during canning process
- 1 Jelly Strainer Set includes rack and mesh bag
- Misc. Canning tools funnel, tongs, jar-lifter, dipper
- Misc. Kitchen Tools liquid measuring cups, large metal spoon, ladle, spatula
Ingredients
- 3 Cups Strained maypop juice
- 1 Box Sure-Jell powdered fruit pectin 1.75 oz. box
- 6 Cups White, granulated sugar
- ½ tsp. Butter or margarine optional: helps prevent foaming
Instructions
Prepare Maypop Juice
- Gather enough maypop pulp to strain out 3 cups of fruit juice. (You’ll need at least 6-8 cups of pulp.)
- Strain pulp into a large glass measuring cup using a mesh jelly strainer.
- Measure out 3 cups. Tip: if you’re a little short, just add enough water to make 3 cups.
Prep Your Work Area
- Sterilize your glass canning jars, wash and rinse lids and rings.
- Set up your canning area, keeping the jars and lids hot in simmering water.
Cook the Jelly Juice
- Pour fruit juice into a 6-8 quart stock pot.
- Stir in powdered pectin, making sure there are no lumps and pectin is thoroughly distributed.
- Over high heat, bring to a full rolling boil.
- Stir in sugar all at once.
- Add in ½ tsp. butter to control foaming.
- Continue stirring to fully dissolve sugar, and bring back to a full rolling boil.
- Boil hard for EXACTLY 1 minute.
- Remove from heat. Quickly skim any foam with a metal spoon.
Fill & Process
- Using your funnel and ladle, fill the jars to ¼-inch head space.
- Wipe the rim, assemble the lid and ring tightened finger-tight.
- Gently lower jars into the simmering water of your canner.
- Cover and bring to a full rolling boil.
- Process for 10 minutes at altitudes of 1000 feet or less. See your canner’s manual for optional high-altitude processing times.
- Once processing time is completed, remove the canner from heat.
- Remove jars and place on a heat-proof surface. Allow to cool and seal for 24 hours.
- After the jars have cooled and sealed, remove rings, wash gently with warm soapy water, then store in a cool, dark location.
FAQs
Yes, the seeds would make your jelly very crunchy. 😊However, some recipes suggest blending the seeds and pulp in a food processor before straining. This approach can release more of the natural thickening agents contained in the seeds, although it’s not needed with this recipe.
Properly canned jelly typically lasts 12-18 months when stored in a cool, dark place. After that time, the jelly will begin darkening, and may lose some of its gel. Once you open a jar of jelly, keep it refrigerated and try to use it up within 3-4 week. Watch for signs of spoiling including mold or changes in color or texture.
While maypops do contain natural pectin (most in the seeds), they are considered a low-pectin fruit. Without using additional pectin, you may end up with a syrup instead of jelly. Even from year-to-year, depending on the weather and growing conditions, maypops will have varying amounts of pectin. It’s best to stick with a commercial pectin for consistent results.
Also, maypops are naturally acidic, which aids in pectin activation. This acidity can be beneficial if you opt for an alternative pectin type in your recipe.
With the recipe above, you don’t need to worry about having enough natural pectin to gel the jelly. But if you’re feeling adventurous, feel free to experiment with using just the fruit’s own natural properties – I’d love to know how your experiment turns out!

[…] autumn I make jelly from the maypop pulp. Get my recipe here for making this wild native treat. Maypop jelly is great over ice cream, in baked goods like […]