You can ferment dairy in many ways to create a smooth and flavorful yogurt. One of the easiest methods I’ve found is to use my box-style food dehydrator during the fermenting process.
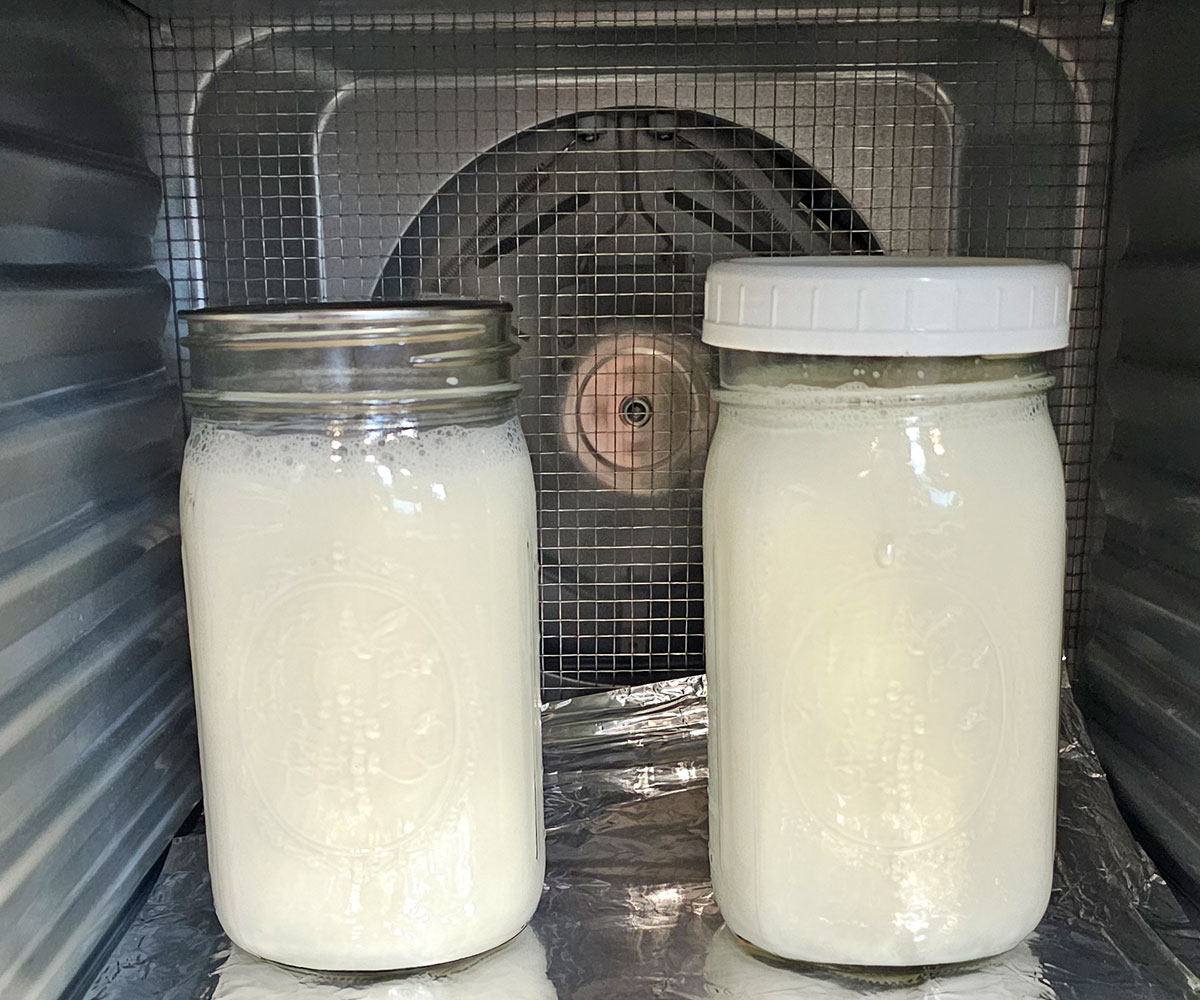
In this article, we’ll discuss the benefits of making yogurt at home, choosing the best ingredients, and a simple step-by-step guide to making yogurt from scratch using only milk and a yogurt starter.
Let’s get started!
How to Make Yogurt in Your Food Dehydrator
Table of Contents
Benefits of Homemade Yogurt
You may ask, why go through all the trouble of making yogurt at home when it’s so readily available at the grocery store?
My favorite answer is that you are in control of the ingredients. Have you looked at the ingredients list on the back of some grocery store yogurt containers? Not only do they contain milk and cultures, but other ingredients such as sugar or sucralose, corn starch, pectin, potassium sorbate, colors, and “natural flavors.” These sweeteners, thickeners, and flavorings can be avoided by making your own yogurt.
Another benefit of homemade yogurt is you can create a healthy fermented food right in your own kitchen. While I’m not a health expert by any means, it’s commonly known that fermented foods are good for your gut. Yogurt contains nutrients such as protein, calcium, magnesium, vitamin B12, and several key fatty acids. ¹
By choosing a starter yogurt (more on that in the next section) with live active cultures such as S. thermophilus, L. bulgaricus, or Lactobacillus acidophilus, you can be confident you’re getting a healthy dose of probiotics in every bite.
Several other benefits of homemade yogurt include cost savings, you can use raw or pasteurized milk, preventing wasted plastic by reusing glass jars, and it’s another food-preservation skill you can add to your skills list.
Choosing the Best Ingredients
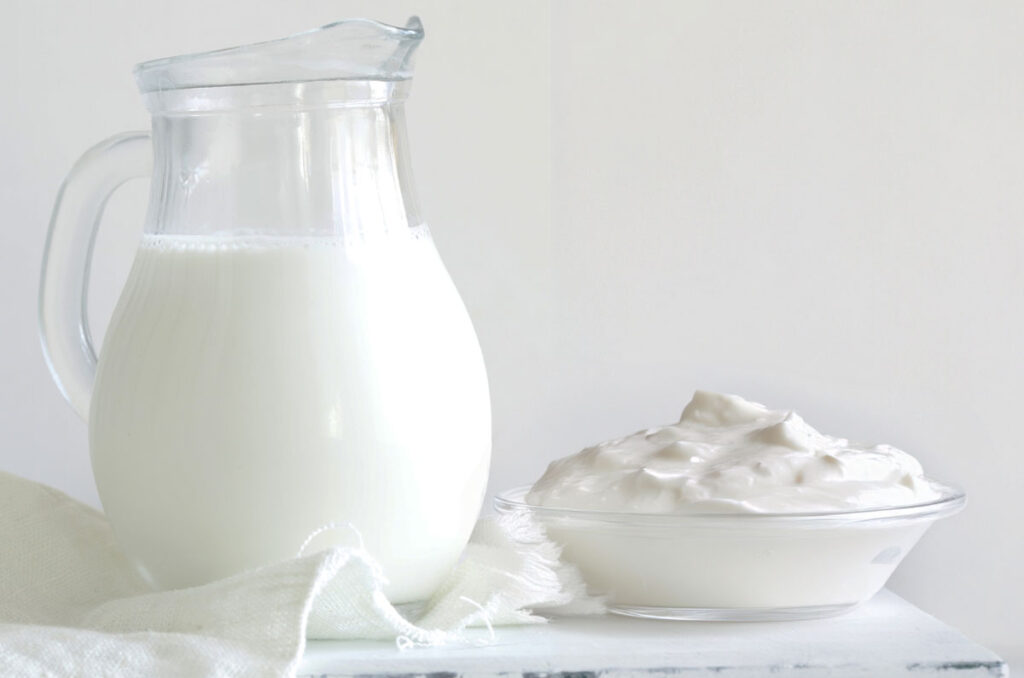
By choosing the best ingredients, you’ll create the perfect flavor, texture, and nutrient profile for your yogurt. Let’s look at the types of dairy and starters that you can choose from to create your custom yogurt.
Dairy
Choose the best dairy type you can find. I prefer whole milk which based on its fat content, will give you the greatest creaminess. You can also use 2% or skim milk. And don’t limit yourself to cow’s milk. You can also make yogurt from goat or sheep’s milk too.
While I have not tried it, many people suggest avoiding ultra-processed milk. It gets pasteurized at a higher temperature which will affect the flavor slightly. However, it is perfectly fine for making yogurt.
Starter Culture
A yogurt starter culture is a combination of bacteria that consume lactose in animal milk. As the bacteria consume the milk, they turn the lactose into lactic acid which gives yogurt its tanginess. It’s similar to how the bacteria in a sourdough starter turns flour and water into a starter for bread dough .
When choosing a starter culture, there are two basic types: dried culture you can buy in pre-packaged powdered form, or plain fresh yogurt from a quality brand at your grocery store.
Dried starters come in a variety of types and cultures, and are more expensive than using a fresh culture. You can trust they will have the correct bacteria without any additives such as stabilizers or gelling agents that you may get from buying fresh yogurt from a grocery store.
When choosing a fresh yogurt as a starter make sure that you are buying a plain yogurt with no fillers, sweeteners, or other additives. Choose a brand that only contains fresh milk and the specific bacteria. I prefer to use Fage or Stonyfield Organic yogurts.
Yogurt Making Recipe/Method
Ingredients
For this recipe, you’ll need 2 quarts of whole milk and 4 Tablespoons of fresh yogurt for a starter.
This recipe is for 2 quarts of yogurt. You could easily double it to a gallon, or downsize it to 1 quart following the same directions. Use 2 Tablespoons of starter for every quart of milk when adjusting quantity.
Equipment
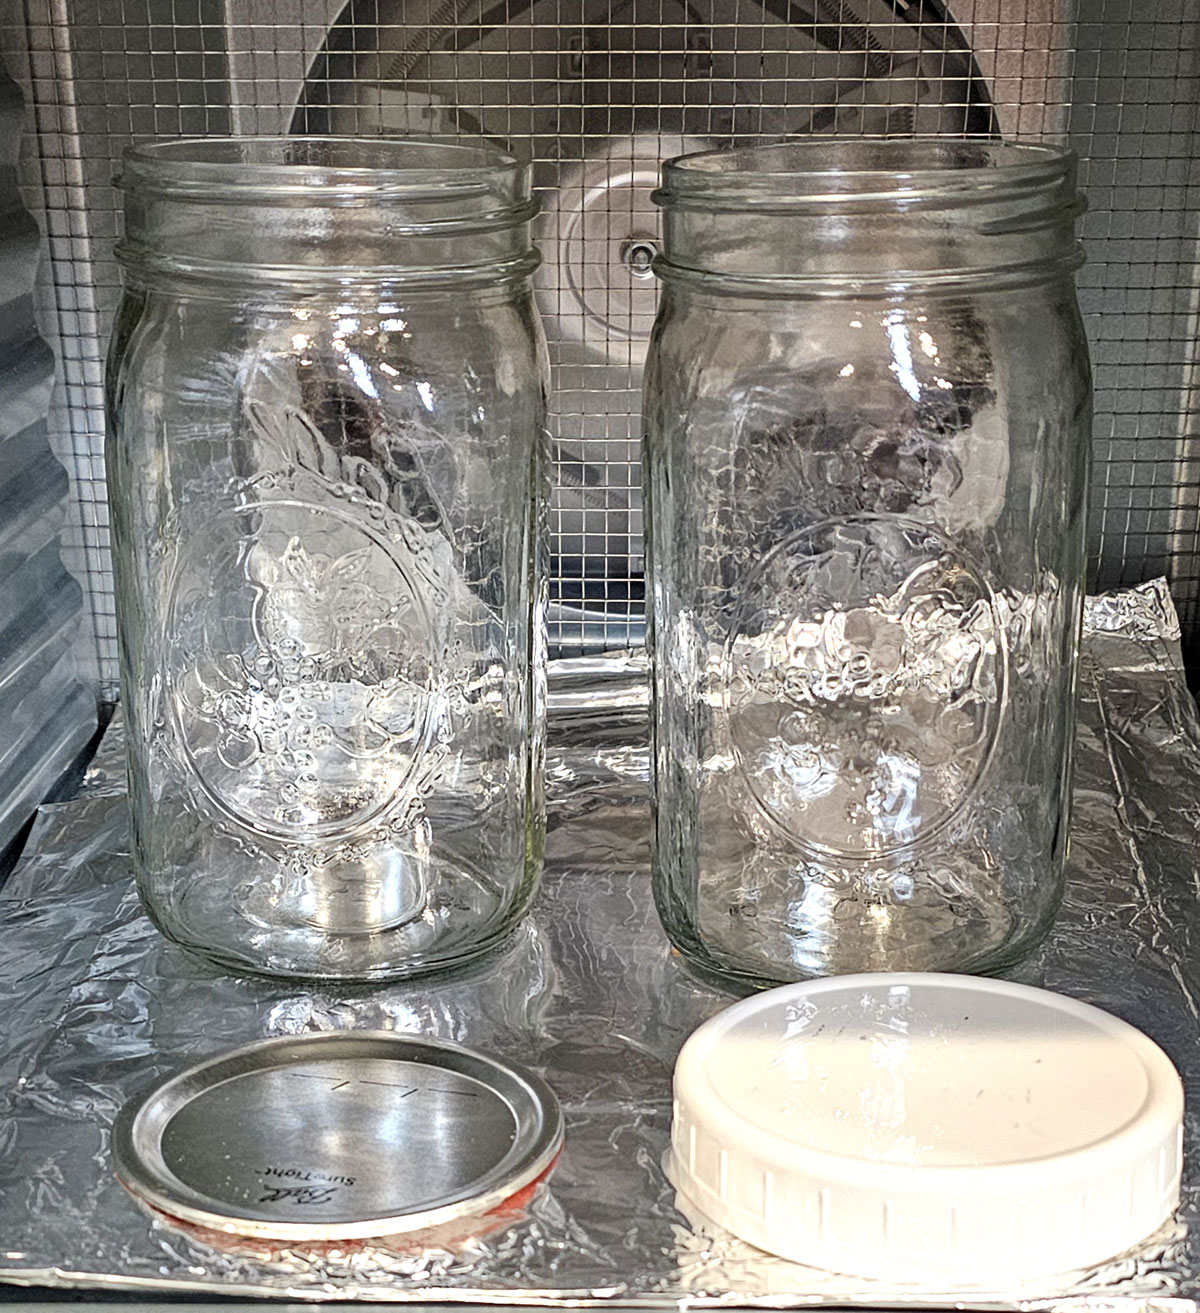
Once you’ve found your dairy and starter, you only need a few tools to make your yogurt.
This recipe uses a box-shaped food dryer. I’ve been using my Magic Mill food dehydrator for years to make my yogurt. What’s great about using one is that you can control the temperature precisely, it has a timer, removable shelves, and a clear glass window for keeping an eye on your jars.
You’ll also need 2 sterilized glass quart jars or 4 pint-size glass jars. I prefer to use quart canning jars for space-saving storage in my refrigerator.
Each jar will need a lid. It doesn’t have to be a canning lid, any screw-on lid will work fine.
You’ll need a 1-quart measuring cup for the milk and a measuring spoon for the starter.
You’ll also need a large pot, preferably a heavy-bottomed pot, to heat the milk, a thermometer to track the temperature, and a long-handled stainless-steel spoon to stir the milk.
It’s also helpful to have a small bowl or measuring cup to combine the starter with about half a cup of warm milk before stirring into the large pot. And using a stainless-steel canning funnel will make it easier to pour the milk into your jars.
Directions
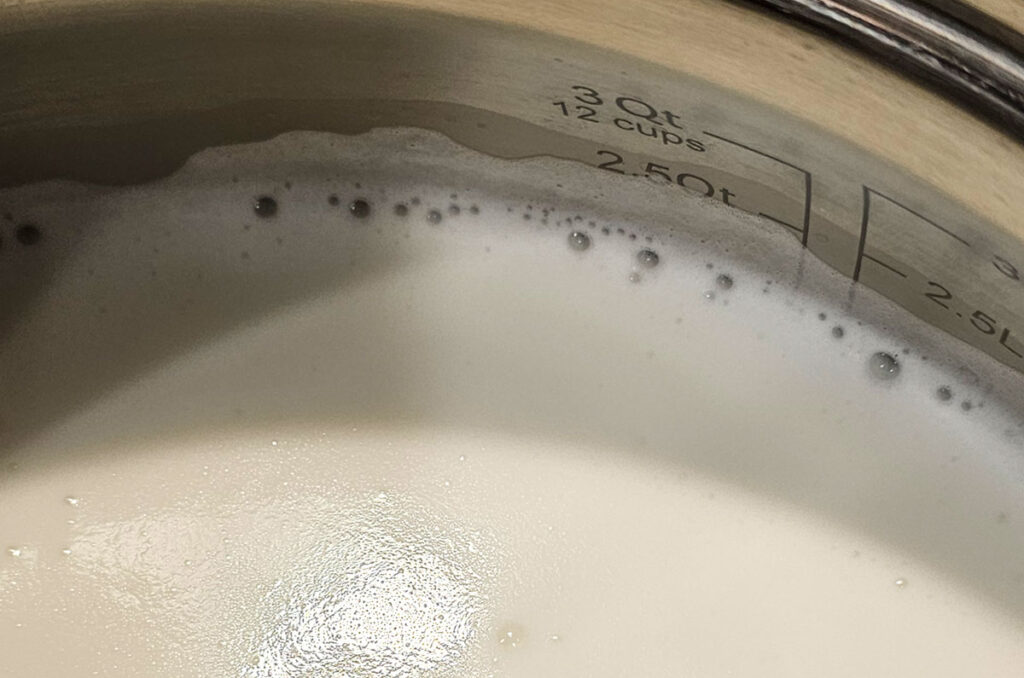
Measure 2 quarts of milk into your large pot and slowly bring it to 180°F. You’ll need to stir the milk often to distribute the heat and keep the milk from sticking to the bottom.
Hold the milk at 180°F for 10-20 minutes. This helps break down the proteins in the milk which will give you a creamier texture. It’s also an optional step, but in my opinion, it makes a much nicer yogurt.
Next, remove from heat and allow to cool to 110°F – 115°F. To cool it quickly, stir the milk often or set the bottom of the pan in an ice bath.
While you’re waiting for the milk to cool, preheat your sterilized jars and lids in your dehydrator set at 110°F.
When the milk is at the desired temperature, scoop out about ½ cup to mix with the starter in a small bowl. Gently stir it to combine.
Pour it back into the pot of heated milk and stir in.
Begin filling your jars. Set the lid on top of the jar, but do not tighten. Put the jars back into the dehydrator as you fill them to keep them warm.
Now it’s time for the yogurt to ferment. Make sure the temperature on the food dehydrator is set to 110°F. Set your timer for 12 hours. Do not disturb the jars during this time.
After 12 hours, check for flavor and texture. It might take another hour or two at most. Other methods may take up to 24 hours, but I’ve had consistent results for years with 12 hours. The yogurt will thicken as it cools.
Once the yogurt is near room temperature, place it in the refrigerator and use it within 10 days for best quality.
How to Make Yogurt in a Food Dehydrator
Equipment
- 1 Food Dehydrator Box-shaped with removable shelves
- 1 Large Stock Pot 4-6 quart size is optimal
- 2 Glass Quart Canning Jars with lids
- 1 1-Quart Measuring Cup
- 1 1 or 2 Cup Measuring Cup
- 1 Tbs. measuring spoon
- Misc. spoons for stirring and scooping
- 1 Cooking Thermometer
Ingredients
- 2 Quarts Whole Milk
- 4 Tbs. Plain, unflavored yogurt with active cultures
Instructions
- Measure 2 quarts of milk into a large cooking pot and slowly bring to 180℉
- Stir occasionally to distribute heat and keep from sticking to the bottom.
- Hold milk at 180℉ for 10-20 minutes.
- Remove milk from heat and allow to cool between 110℉ and 115℉
- Warm jars and lids in the dehydrator while waiting for milk to cool.
- When the milk is at the desired temperature, scoop out 1/2 cup and mix with the plain yogurt (starter) in a small bowl or measuring cup.
- Stir the combined ingredients gently into the large pot of milk.
- Fill the glass jars with yogurt mixture and lay a lid on top. Do not tighten.
- Set the timer for 12 hours and make sure the temperature is set to 110℉. Do not disturb the jars during this time.
- After 12 hours, check for flavor and texture. The yogurt will thicken as it cools. Bring to room temperature, then store in a refrigerator for 7 – 10 days.
FAQs
Here are several methods to use for creating a thicker yogurt: adding cream to the milk, straining using cheesecloth or a coffee filter to remove excess whey, adding powdered milk before heating, incubating for a longer time, or using a starter with strains of bacteria known for thicker yogurt such as Streptococcus and thermophilus.
Homemade yogurt typically lasts 1-2 weeks. Make sure to store it in a clean air-tight container, keep it refrigerated, and avoid contamination by using clean utensils when scooping yogurt from the container. Dispose of it immediately if you see mold or it smells bad.
Using a food dehydrator is a fairly new method of making yogurt. Traditional methods include incubating at room temperature, on a stovetop, or in an oven. More modern tools have been used for incubating including dedicated yogurt makers, instant pots, slow cookers, and sous vide. The method is basically the same, but uses different tools to hold the temperature during incubation time.
Both terms are used in yogurt-making recipes, however, there is a slightly different aspect to each word.
Fermenting is the overall biological process where the bacteria convert milk sugars (lactose) into lactic acid, creating its unique flavor and texture.
Incubating specifically refers to maintaining the milk and culture mixture at the right temperature for a specific amount of time to allow fermentation to occur.