If you’re looking for a nutritious and easy-to-grow vegetable, consider the humble potato.
One of America’s most popular vegetables, this tasty tuber comes in many colors, shapes, and subtle flavor differences. They are a good source of potassium, Vitamin C, Folate and Vitamin B6.
Potatoes can be stored up to six months in idea conditions. They’re a versatile food that can be prepared in many ways including fried, baked, or boiled and make an excellent side dish for meals. Potatoes are considered a must-have staple for many homestead cellars and pantries.
Let’s get started planning, planting, and growing your next crop of potatoes!
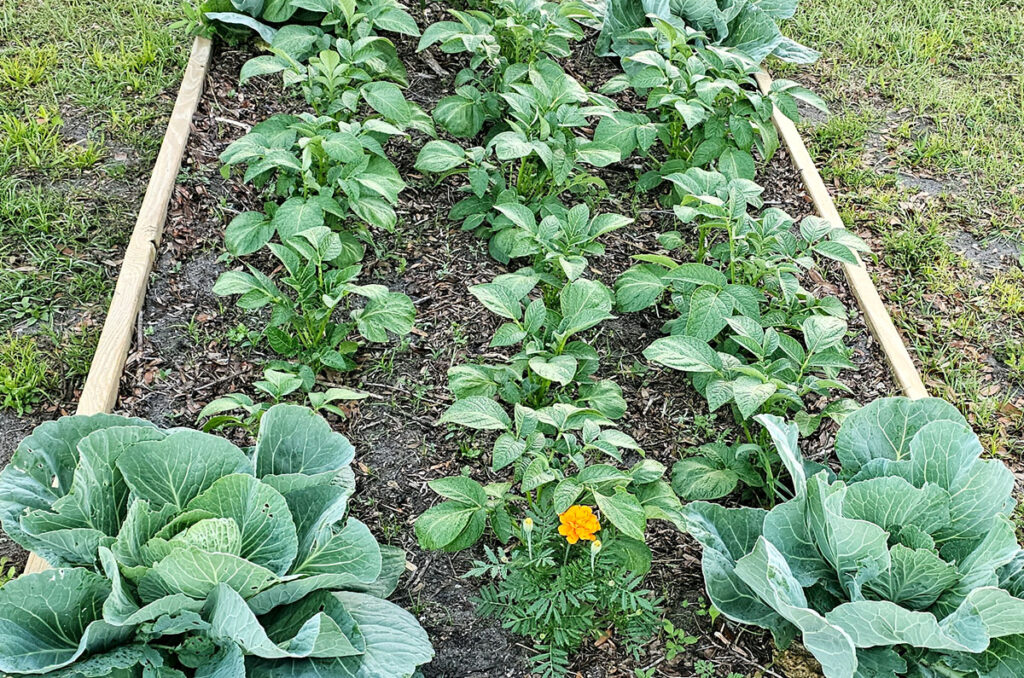
Table of Contents
- Choosing the Best Type
- What are Seed Potatoes?
- Sourcing Seed Potatoes
- Sprouting
- In-ground Planting and Hilling
- Container Planting and Hilling
- Healthy Growing Tips
- Quick-Start Checklist
- FAQs
- References
Choosing the Best Type of Potato
The two things to consider when choosing a potato variety are the type of potato you like to eat, and what varieties grow best in your region.
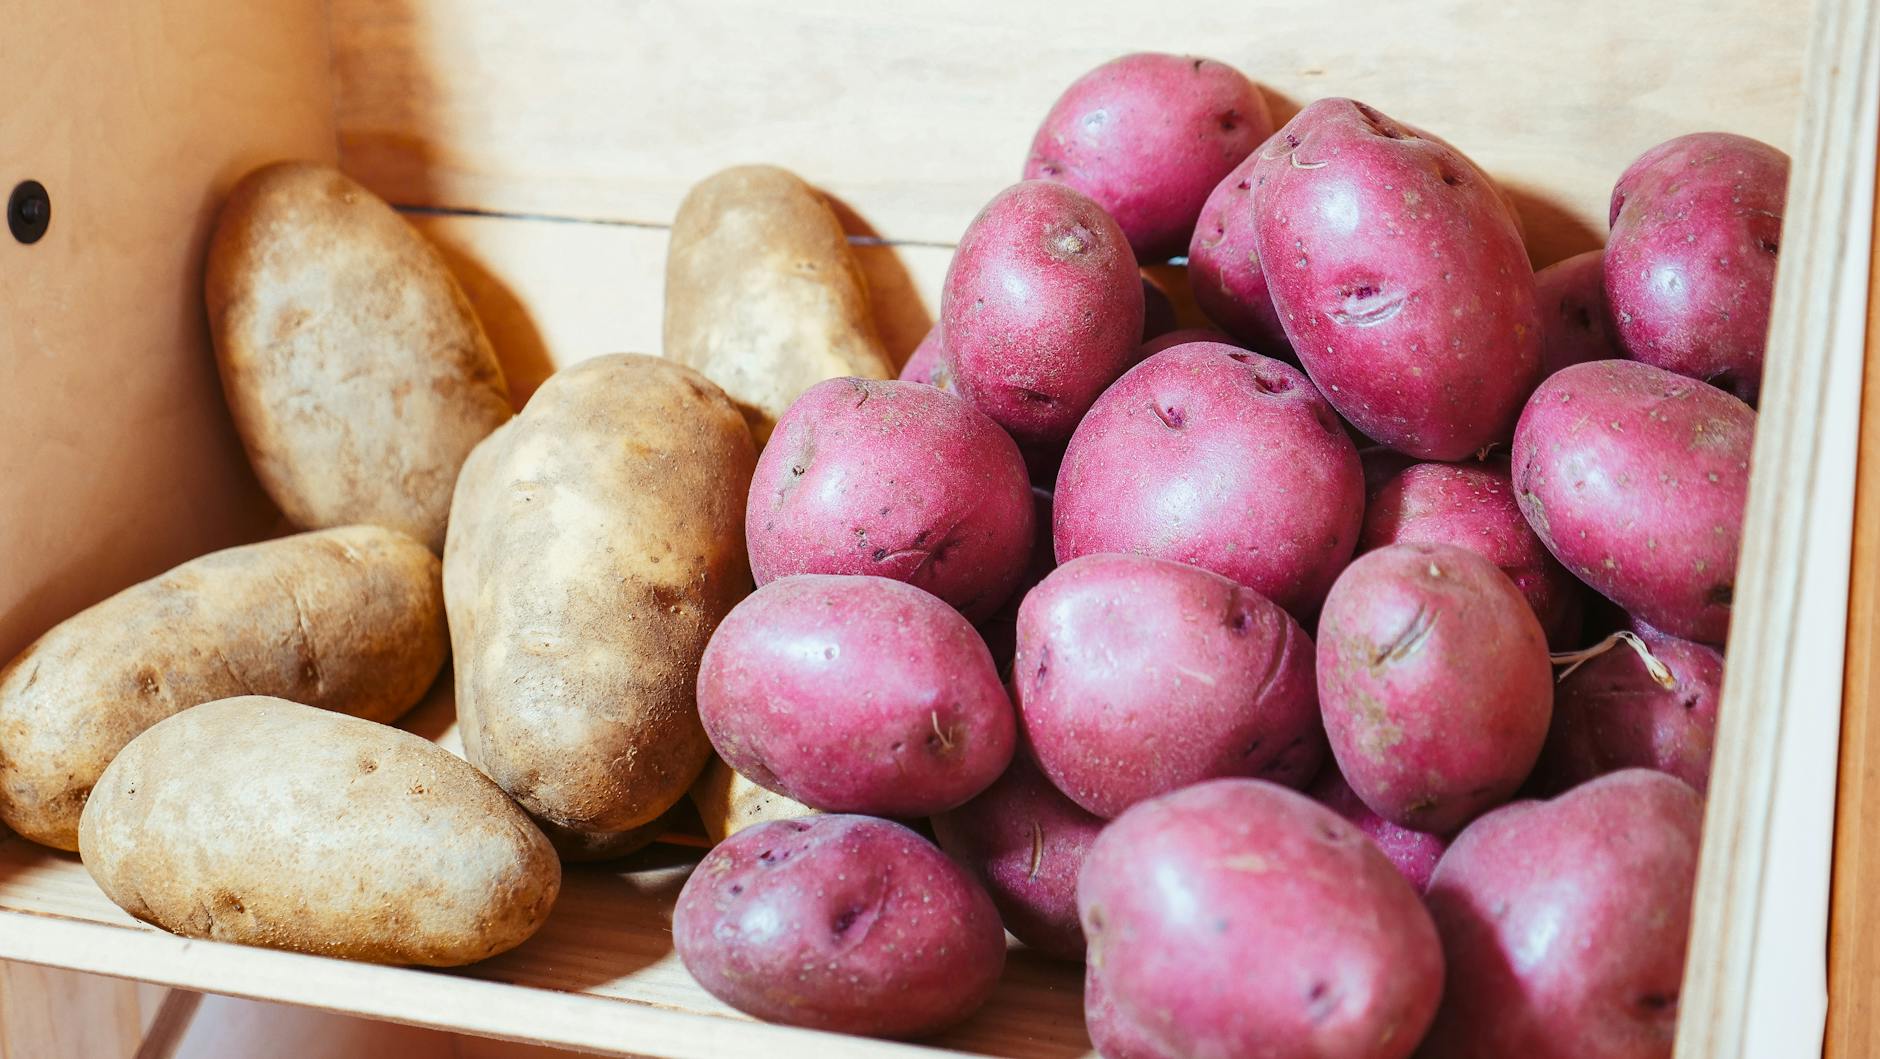
There are two basic types of potatoes: red-skinned and white-skinned. There are also novelty varieties such as red or purple flesh potatoes.
The best potatoes to grow are those you like to eat. For example, I like to grow the red Pontiac potatoes for making potato salad or smashed potatoes. The white potatoes I grow for baking and roasting.
Once you choose white, red (or both!), make sure it’s a type of potato that can be grown in your location, especially if you’re growing in-ground. Here in Central Florida, the Russet white potato does not grow well due to its long growing season. Shorter season potatoes such as Yukon Gold, Sebago, and Kennebec are our best choices.
If you’re unsure what variety to grow, contact your local Extension Service, or visit area farm supply stores and ask what types of potatoes they suggest for growing. They can also tell you the best time to plant. If you have neighbors who garden, ask them too. They’ll have had the best success over the years growing in your climate.
What are Seed Potatoes?
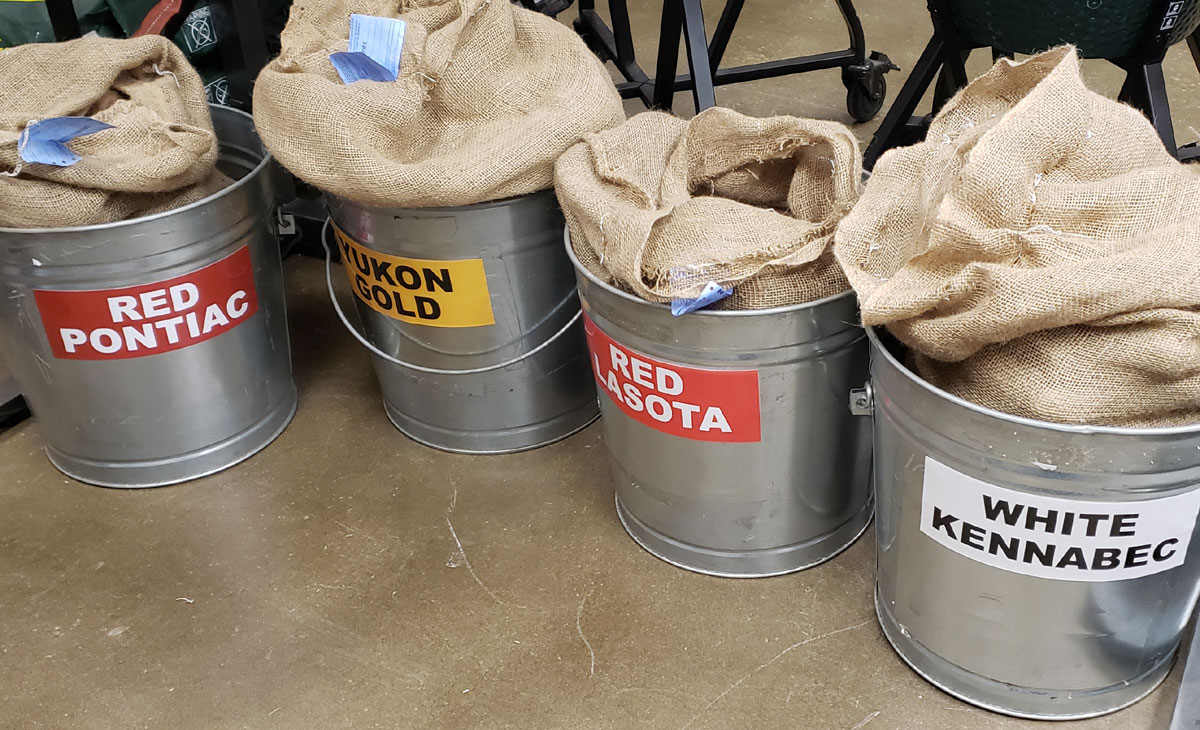
Seed potatoes are the tubers that potato plants make – the actual potato. They are called seed potatoes because they are planted like seeds in the soil. Most seed potatoes you’ll buy are grown on seed potato farms. They have strict regulations to make sure the potatoes are as disease and pest free as possible. Their potatoes will be inspected and certified before being offered for sale.
Sourcing Seed Potatoes
Seed potatoes can be found in most reputable seed catalogs such as Southern Exposure Seed Exchange, Gurneys, Park Seeds, Burpee, Baker’s Creek, and Johnny’s Seeds.
You can also get them locally, which saves you the cost of shipping and wait time. I like to get mine at my local farm supply store. They have the correct seed potatoes for my region in stock and sell them during planting season.
Sprouting Seed Potatoes
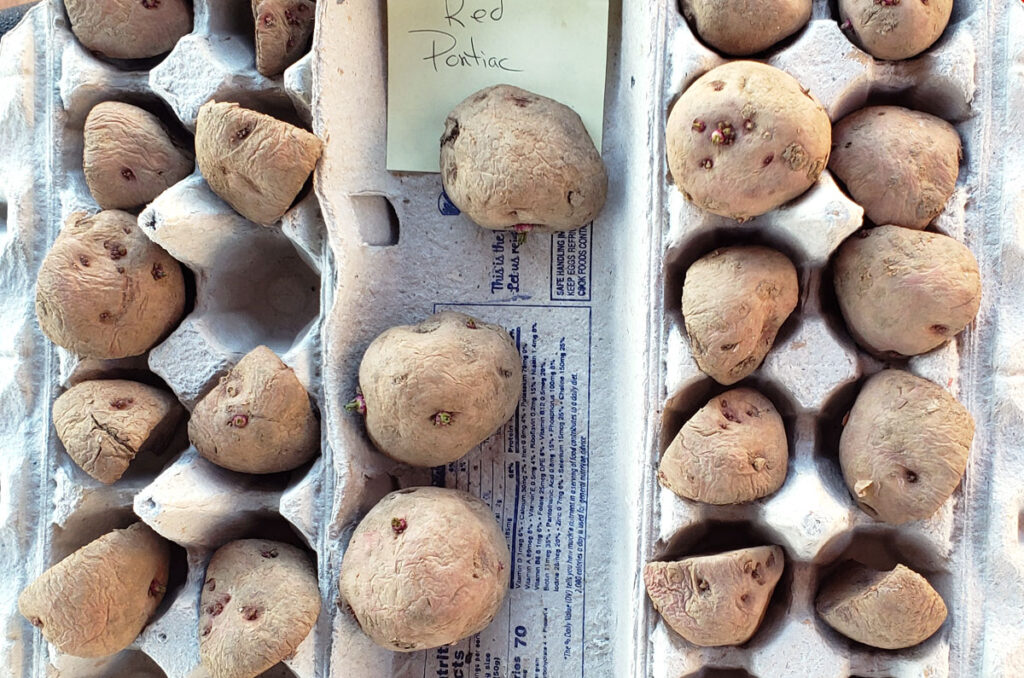
Once you have your seed potatoes, if they haven’t sprouted yet, you’ll need to sprout them.
Here’s how to simply sprout your potatoes:
- Gather several cardboard egg cartons, or a cardboard box with newspaper or shredded paper inside.
- Sort the potatoes by size. Anything about golf ball size or smaller, leave whole and put into the egg carton or box.
- (This step is optional, but results in more potato plants.) Cut large potatoes into golf ball size or larger pieces. Make sure there are at least 2 “eyes” or sprouts on each piece! The eyes are where the potato plant will grow from. Note that some varieties will have eyes all around the tuber while others will have eyes near one end. Set these in the container also, making sure that air can flow around the cut edges, allowing them to cure which prevents rotting.
- Put your container of potatoes in a warm and sunny area, but not in direct sunlight. I use a shelf in our spare bedroom.
- After several days to a week, you should see white sprouts forming on the potatoes where the eyes are located.
In-Ground Planting and Hilling
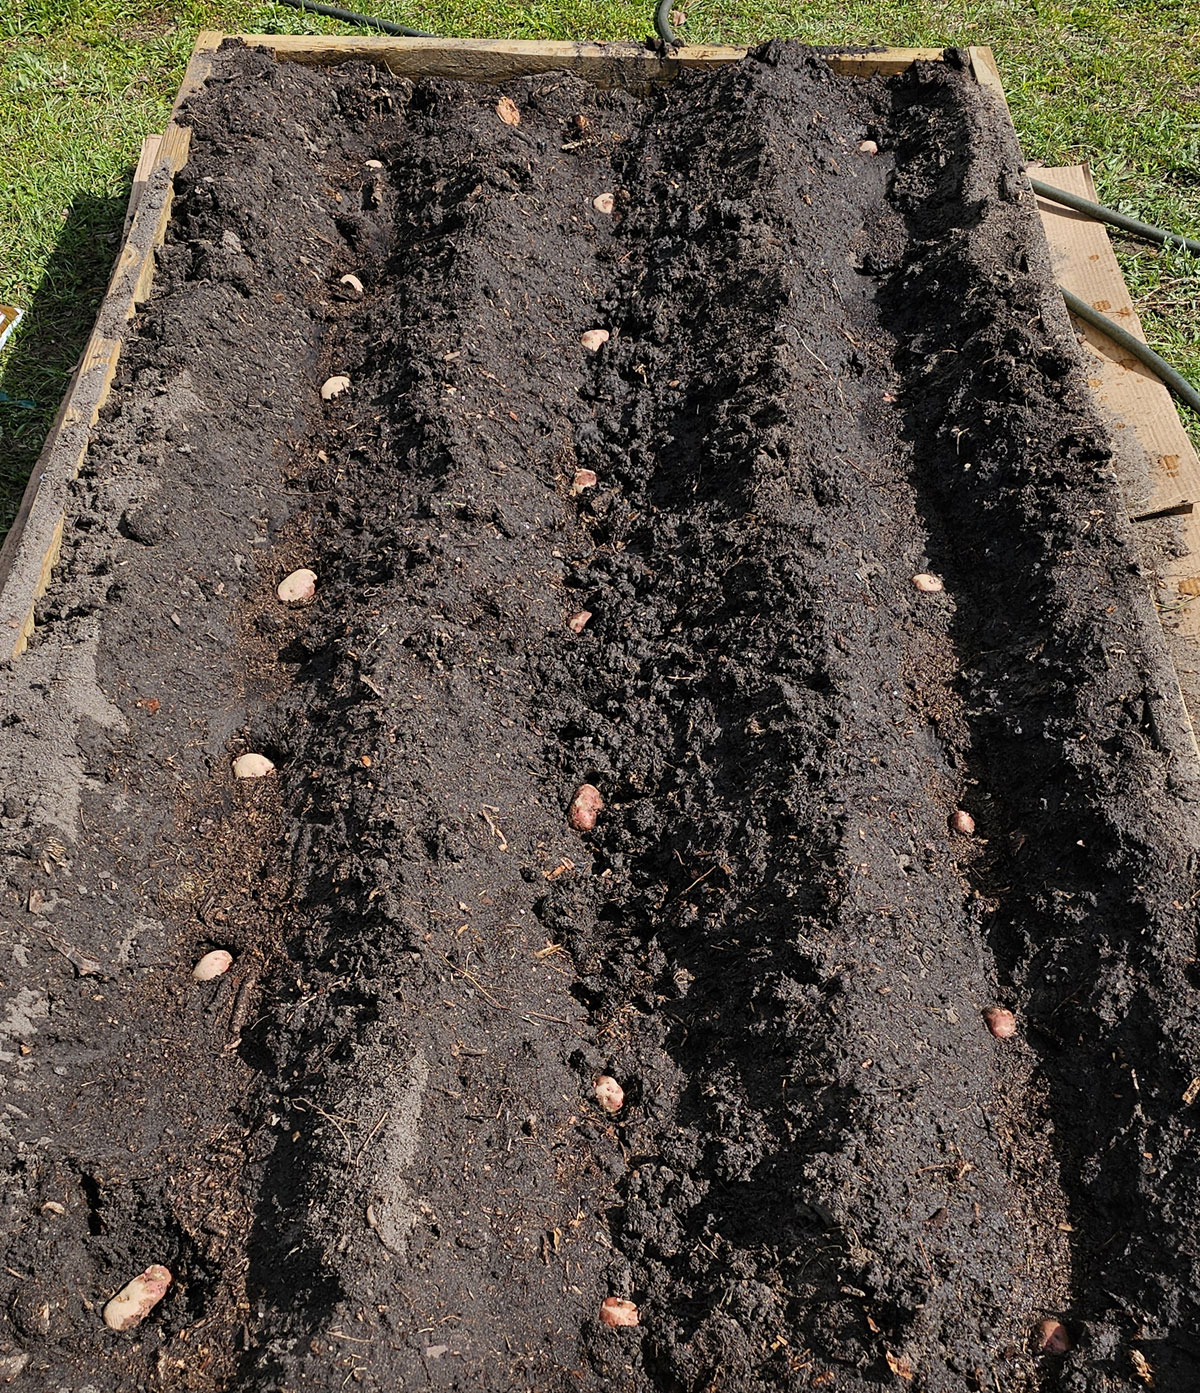
Once your seeds have sprouts, they are ready to plant. Here are two different planting methods I have used. Both have work equally well for me.
In Heavy or Clay Soil
Make sure your soil is at least 50 degrees Fahrenheit before planting. Set a row of holes 12 inches apart. Each hole should be about 3 inches deep. Put the potato in the hole with eyes facing up. Cover and gently tap for seed-to-soil contact. Water lightly. This is how I planted potatoes when I lived in Michigan with clay soil in the garden.
In Sandy or Light Soil
Dig a trench approximately eight to ten inches deep. Place potatoes 10 – 12 inches apart with eyes facing up. Pull back the soil to cover the trenches. Water lightly. This is how I plant potatoes in our Florida sandy soil.
Soil Prep Tips
- Make sure your soil is at least 50 degrees Fahrenheit
- Potatoes love nitrogen and potassium. Mix in plenty of compost or organic fertilizers prior to planting.
- Keep soil most, light and fluffy. Compact wet soil results in rotten or smaller than normal size potatoes.
- Rows should be about 3 feet apart to provide space for hilling.

Hilling the Potatoes
Potatoes should appear above ground within 1 -2 weeks depending on the soil temperature, variety, and planting depth.
When the plants are about 6 inches tall, gently pull some soil (2-3 inches) up around the stem of each plant.
When planting shallow, I’ll do this twice during the growing season. First, when about 6 inches tall, then again at full height of about 12 -16 inches tall.
Using the trench method, I’ll only hill once since they’re deeper in the ground. This is an easier method for growing potatoes in raised beds because of the limited space and depth.
Container Planting
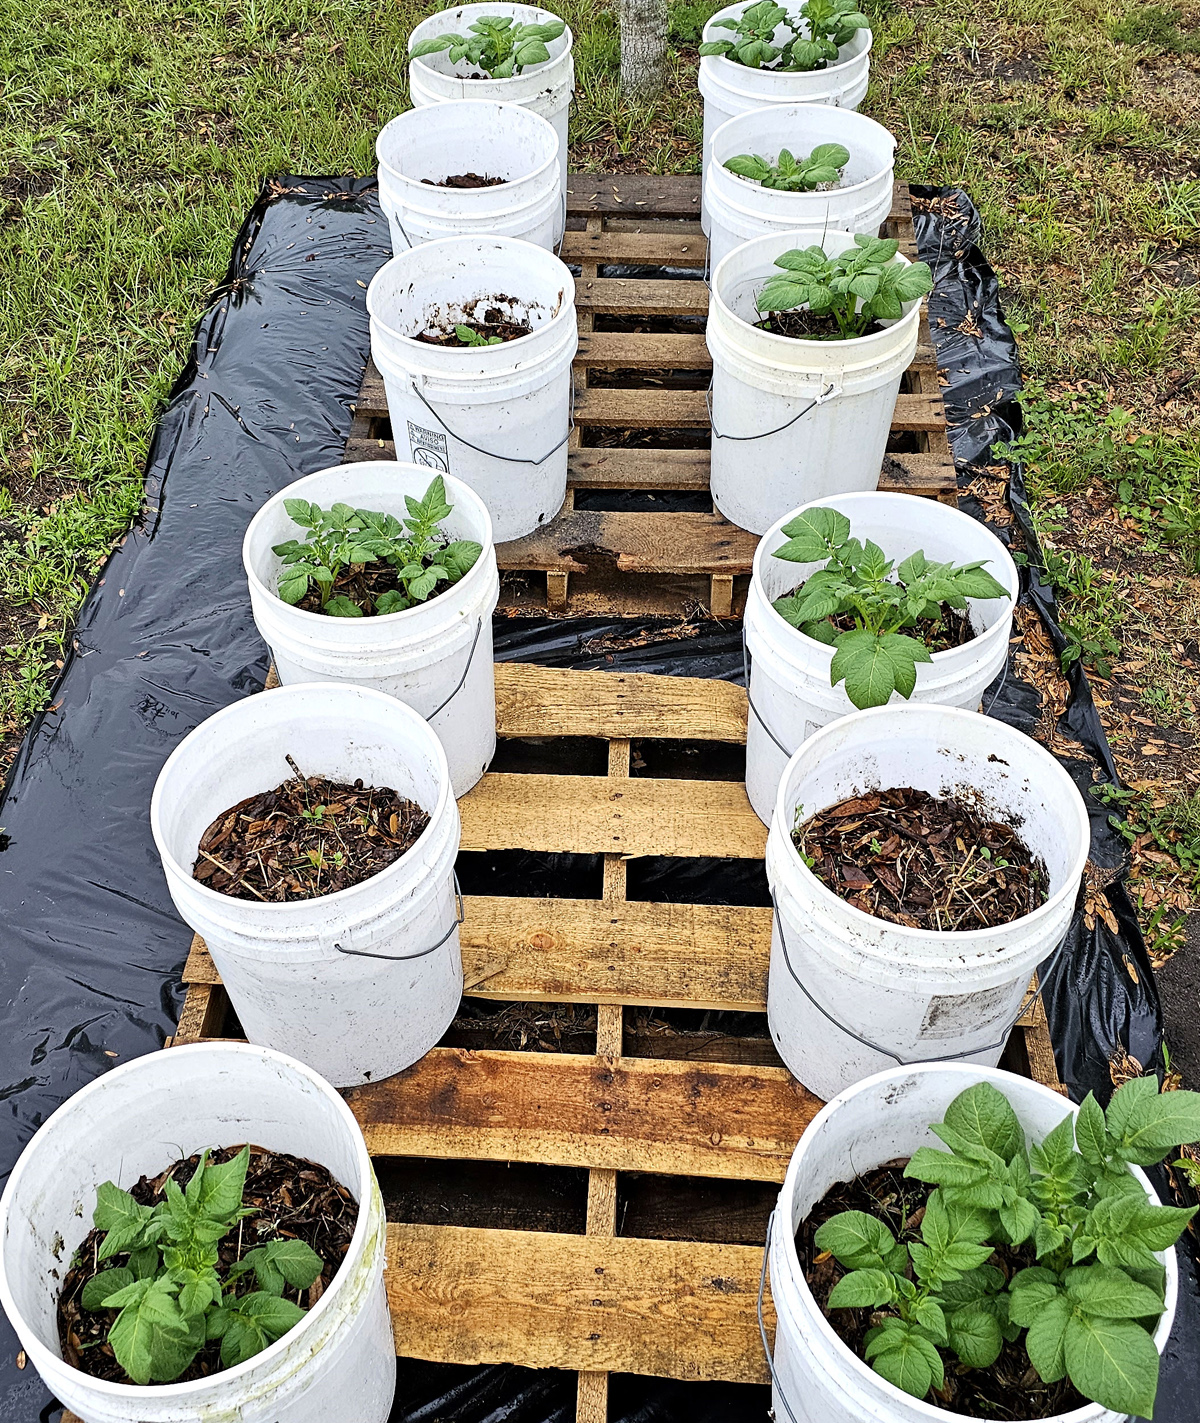
Growing potatoes in containers such as grow bags or large pots is a practical way to raise them if you have limited space or no in-ground garden area.
Start by using a good quality potting mix for vegetables. It should be light and fast-draining to prevent the potatoes from rotting. Raised bed garden mixes are a good choice, or mix an organic potting mix with equal parts compost.
Make sure the container is at least 2-3 feet tall and 18 inches or wider across. Drill holes in the bottom and the sides near the bottom for drainage.
Place about six inches of soil in the bottom of the container. Depending on the size, put 2-4 seed potatoes in. I use 5-gallon buckets and two are plenty for that size. Cover the potatoes with 2-4 inches of soil.
Since you can’t “hill” potatoes in a container, you’ll need to add soil to it as the potato plant grows. Once the plant is about six inches tall, put in enough soil to cover the stem about 1/3 of the way up. It’s okay if you cover some of the lower leaves. Continue this step 2-3 more times or until you get to near the top of the container. The tubers grow just below the soil surface along the stem, so as you cover it, you’ll increase the production of potatoes.
Healthy Growing Tips
Here are some quick tips to keep your potatoes healthy
- Fertilize twice during the growing season, side-dressing along the dripline of the leaf canopy. Organic fish fertilizer is an excellent choice. Follow the manufacturer’s directions of your choice of fertilizer. Make sure nitrogen and potassium are two of the primary ingredients.
- Water 1-2 inches per week depending on rainfall amounts. Keep the soil moderately moist, but not wet. Overwatering promotes rot and some diseases.
- Weed regularly. The weeds steal nutrients from the soil and could potentially host pests or diseases.
- Watch for insect pests such as Colorado potato beetle, flea beetles, aphids, leafhoppers, and wireworms. Hand pick, or use organic pesticides as needed.
- Potatoes can get many diseases including: early and late blight, rhizoctonia, leafroll and mosaic viruses, and corky ringspot. You can prevent many diseases by not watering overhead, planting certified seeds, and keeping your soil clear of weeds and dying or decaying plant material.
- Make sure to plant after your last frost date and in warm enough soil. If you live in the South, plant early enough or grow short-season potatoes to harvest before the summer heat and humidity.
Quick-Start Checklist
FAQs
On average, a potato plant produces 8-10 potatoes. Depending on the variety, one pound of seed potatoes is generally 6-10 potatoes. So, for every pound of potatoes, you could get up to 10 pounds of edible potatoes. Keep in mind that you can cut down the larger pieces to produce more plants. Consider how many potatoes your family eats, plus how much space you have for storage. If you don’t have a cellar or cool pantry, you can also dehydrate, freeze-dry, or can your potatoes.
Potatoes can be harvested as early as 7 or 8 weeks, depending on the variety. (Usually they will only be fingerling sized at that time.) Most potatoes are fully mature when the plant has died back. When purchasing your seed potatoes, check that individual variety for a maturity date.
Chit is a term used to describe the process of encouraging a potato to sprout before it is planted. Another name for this is “green sprouting.” The section above: Sprouting Your Potatoes describes the chitting method.
[…] potato. The best potatoes I’ve found for this recipe are Yukon Gold, however, most potatoes, including home-grown, work fine. I don’t peel the Yukon Gold, but you may want to peel other varieties unless they are […]