Stewed tomatoes are our favorite base ingredient for many of the meals we make from scratch here on our homestead. From my husband’s “secret recipe” chili to goulash, Polish-styled cabbage rolls, or as a quick substitute to make homemade pasta sauce, home-canned tomatoes with a few veggies are the perfect flavor enhancer for many meals.
Canning stewed tomatoes is easy and quick once you learn the basic steps. Gather your tomatoes, toss in some green pepper, celery, and onion, then pressure can the jars, and you have your go-to base for dozens of from-scratch meals.
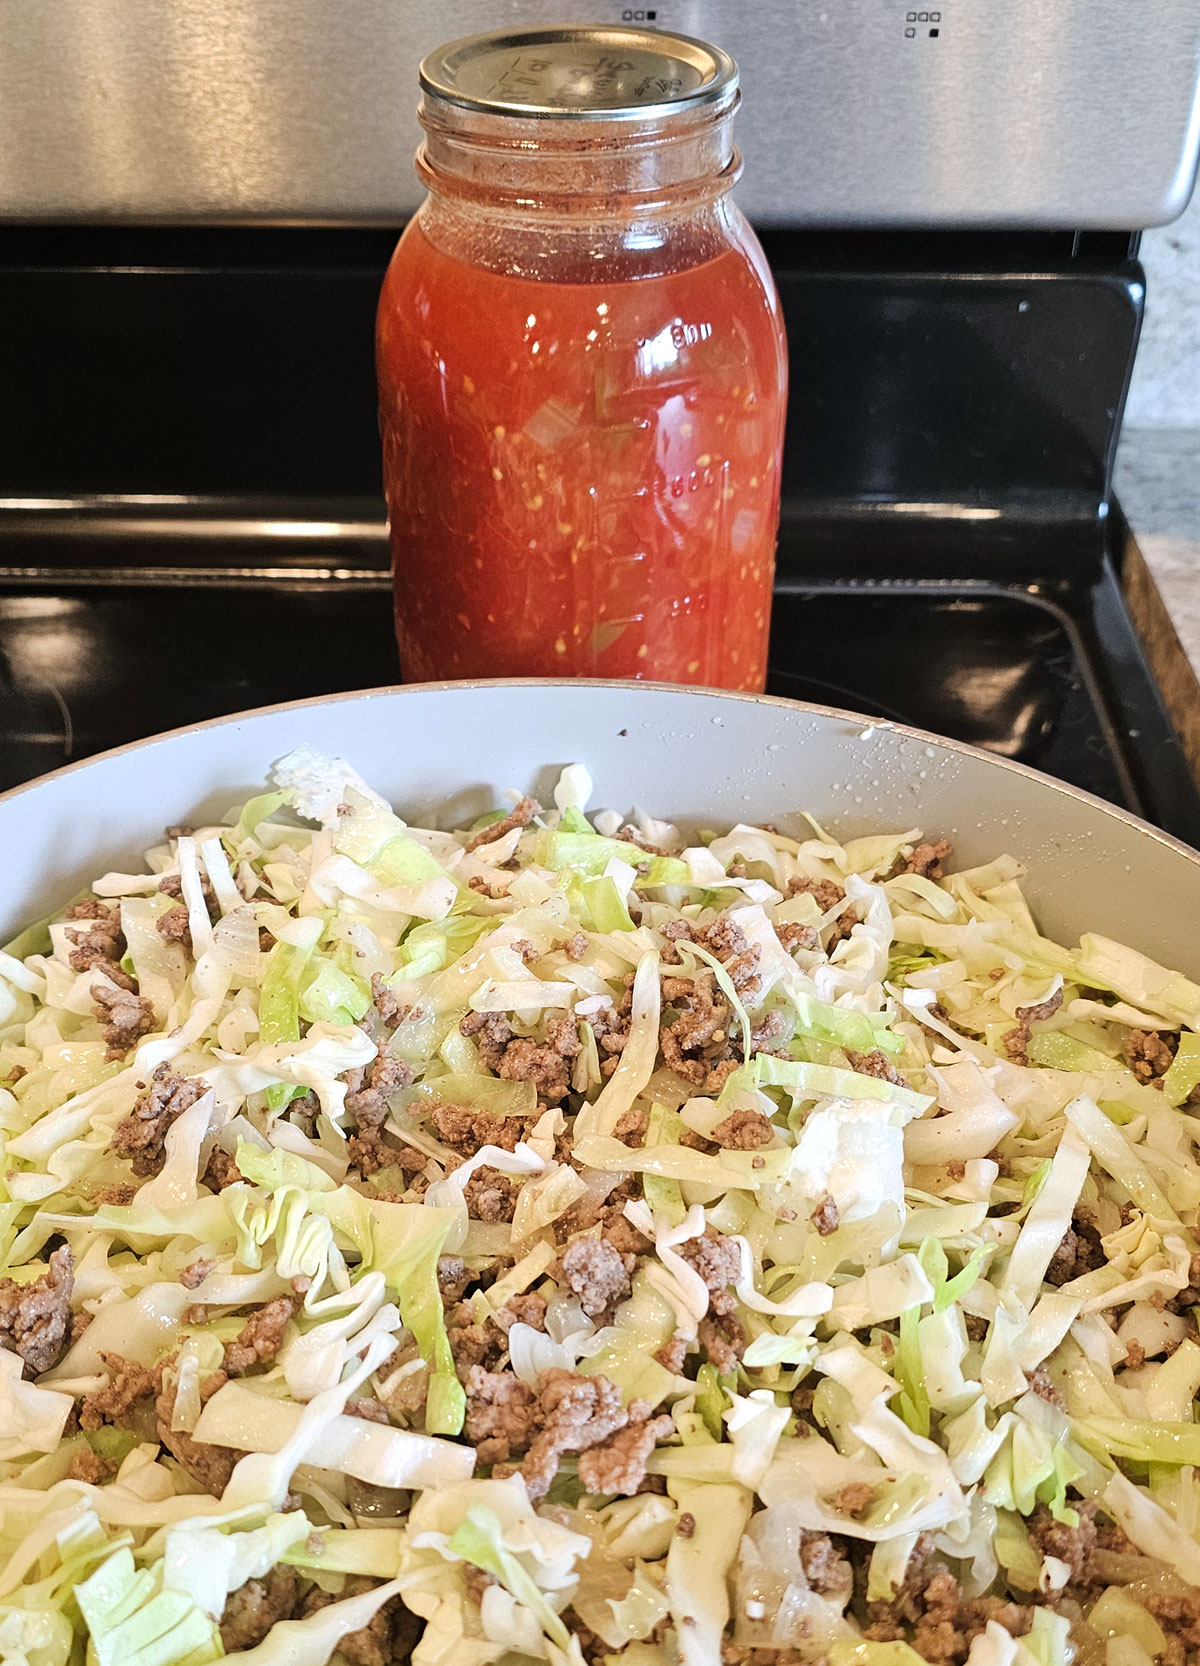
How to Pressure Can Stewed Tomatoes
Yield: About 3 quart jars or 6 pints.
Ingredients
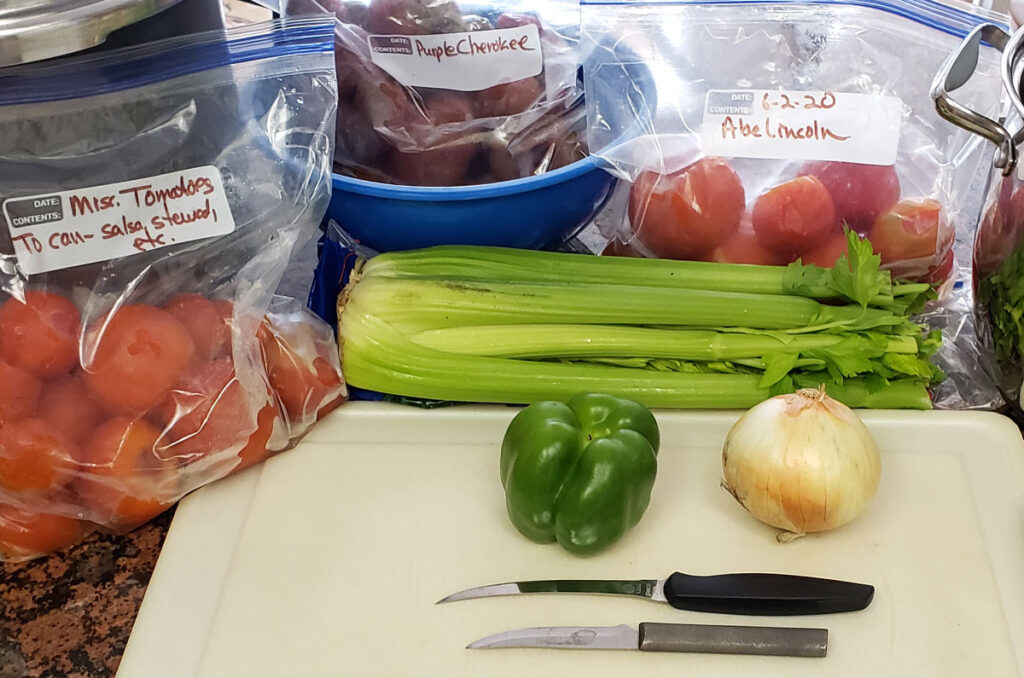
4 Quarts Chopped tomatoes. You’ll need a good 4 quarts of fresh or frozen chopped tomatoes. If fresh, it’s about 24 medium-sized tomatoes. If frozen, I’ve found that one 1-gallon size freezer bag holds enough tomatoes to make about 2 quarts of chopped. Learn how I freeze tomatoes to store before canning in this blog post: How to Freeze Tomatoes for Canning.
1 Cup chopped Celery. I like to throw in some celery leaves too, they seem to add a bolder celery flavor. About 2 stalks of celery should be enough.
½ Cup chopped Onion. Chop one medium onion and measure out one-half cup. I like the onion pieces about the same size as the celery. Most bulb onions are good. I like to use yellow sweet onions.
¼ Cup green bell pepper. This is plenty of pepper to flavor the stewed tomatoes. Any sweet pepper will help create a great flavor blend with the celery and onion.
1 Tablespoon of sugar. Whenever I can with tomatoes, I always add a bit of sugar. It enhances the flavor of the tomatoes, taking a bit of the tartness (acidity) out.
2 teaspoons of salt. This is optional, but we season most of our food with salt as it enhances the flavor. Feel free to omit this if you’d rather have less salt in your diet.
Kitchen Essentials
- 1 pressure canner – Make sure you are familiar with your pressure canner before beginning this recipe! Know your altitude and if you need to adjust the time and weights on your canner. I can at under 1000 feet, so this recipe is written for that level. Check the gauges, make sure the vent pipe is clear, and inspect the sealing ring.
- 3-4 glass quart canning jars or 6–7-pint jars with matching rings and lids. Make sure there are no nicks in the glass. If there are, recycle them or reuse them for non-canning purposes.
- Canning tools – funnel, tongs, jar-lifter, a heat-proof cup, or large dipper to scoop the tomatoes into the jars.
- A large pot to sterilize the jars. I sterilize my jars just before the canning process and keep the jars warm in the water while processing.
- Large stock pot. Use a pot large enough to bring at least 4 quarts of tomatoes to a boil without boiling over.
- Misc. kitchen tools – cutting board, knife, measuring cups, large spoon to stir cooking tomatoes.
Directions
Prep your work area.
Sterilize your glass jars and wash the lids and rings in warm, soapy water. Make sure your canner is clean and ready. Have your canning tools next to the stove and ready to use.
Keep your jars and lids hot and ready. You don’t want to pour boiling tomatoes into cool jars or they might crack. I keep my jars in a pot of boiling water on the back burner as I’m canning. The lids I keep in a separate small pot of water, warm but not boiling.
Prep your tomatoes and other vegetables.
To prepare your tomatoes, you’ll need to blanch them to remove the skins. I use the boiling water method to blanch them. To steam-blanch, follow this method from the University of MN Extension.
Bring a large stock pot about ¾ full of water to a rolling boil. Using a wire basket or metal strainer lower the tomatoes into the boiling water. Within 1 minute, the water should come back to a boil. Watch the skins of the tomatoes, once they start cracking and peeling back it’s time to remove them. This should not take more than 30 – 60 seconds.
Remove the tomatoes from the boiling water and pour them into a sink or large bowl full of ice water to stop the cooking. Continue this process until all your tomatoes have been blanched.
Remove the skins and core, and cut into quarters. Put tomatoes and their juice into a large bowl. Measure out 4 quarts of chopped tomatoes and add to your large stock pot.
Cut the celery, onion, and green pepper. Measure the required amounts from the recipe and add to the tomatoes.
Cook the Tomatoes.
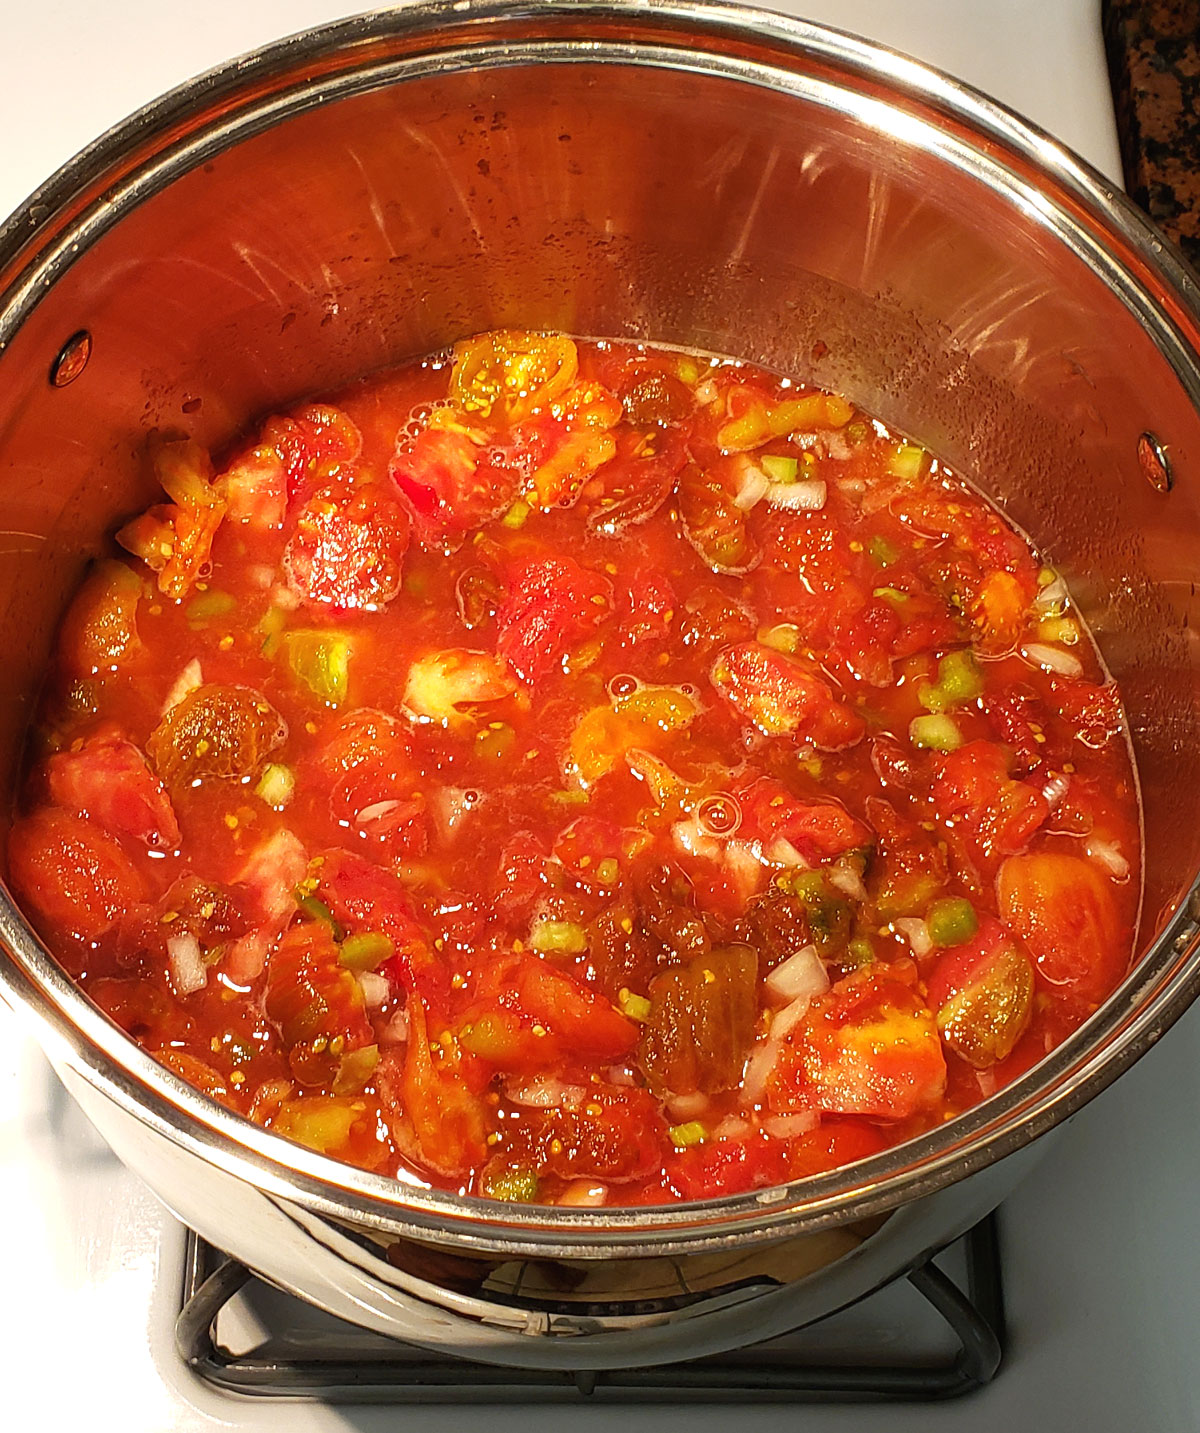
Over medium-high heat, bring the tomato mixture to a boil, stirring occasionally. Once boiling, reduce the heat and keep at a simmer at about 180 degrees.
While the tomatoes are cooking, bring the water in your canner up to a simmer. Follow your canner’s directions for the amount of water to use.
Fill the Jars
Using a funnel and ladle, fill each jar leaving 1 inch headspace. Remove any air bubbles with a spatula or similar soft tool. Wipe the jar rim. Assemble the lid and ring to finger tightness.
The jar will be very hot so use the canning tongs to gently lower the jar into the canner. Repeat this process until all jars and the canner are filled.

Process
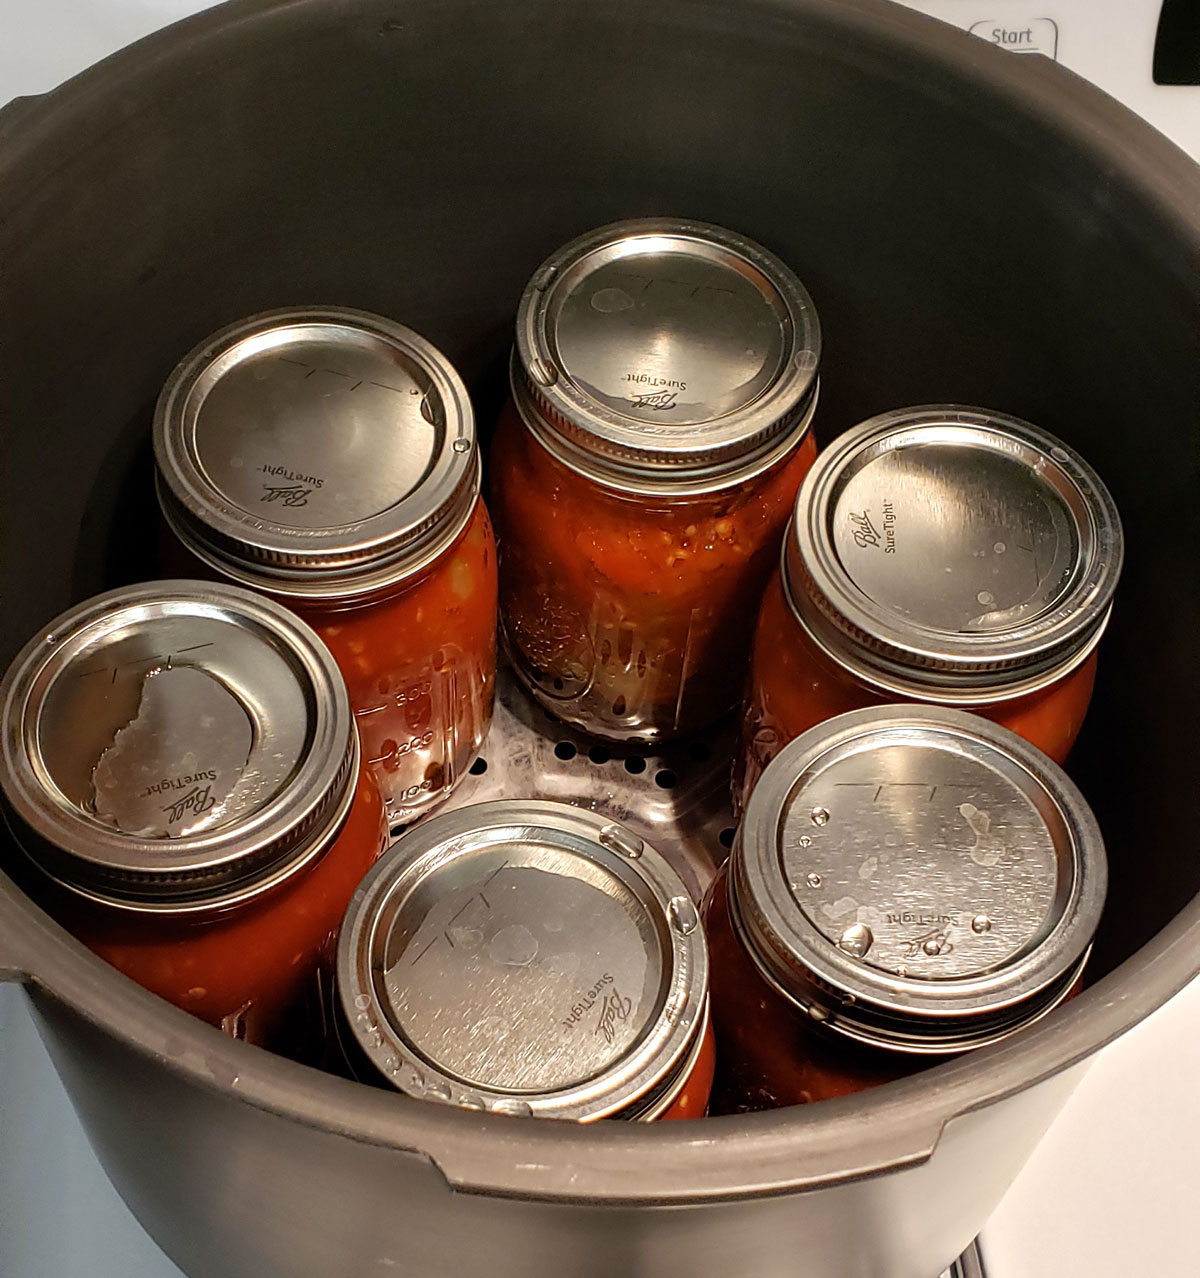
Assemble the lid of the canner and lock it into position. Adjust the heat to medium-high. Vent steam for 10 minutes. Put your weighted gauge on the vent. Bring pressure to 10 lbs. PSI.
Process pints for 15 minutes or quarts for 20 minutes.
Once processing time is completed, remove the canner from the stove and let the pressure release for 10 minutes. Remove the gauge and lid. Let sit for another 10 minutes.
Remove jars from the canner with canning tongs. Let cool for 10 -12 hours before storing. I set mine on a wooden cutting board and lightly cover them with a kitchen towel. This lets them cool slowly. As they cool, you’ll hear the “pop!” of the seal on the jars.
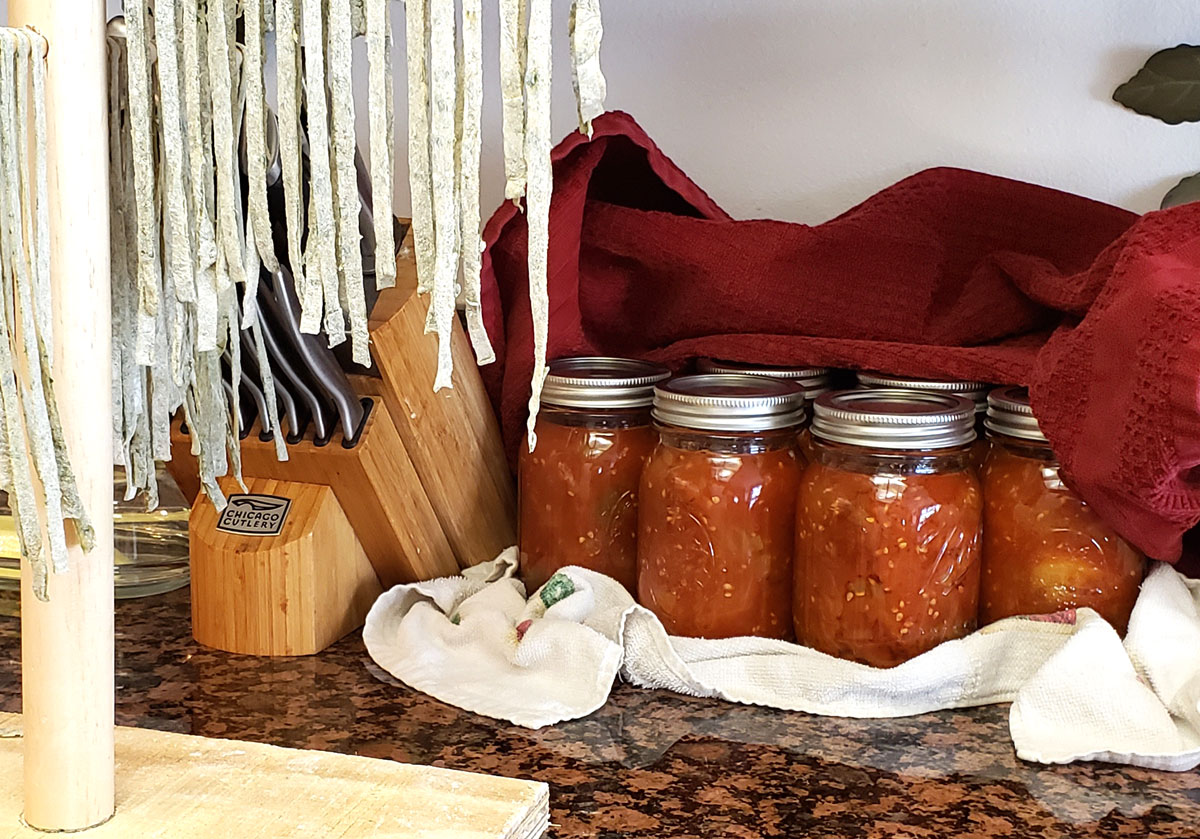
Store Your Stewed Tomatoes
After the jars have cooled and you’ve checked the seal, clean them gently with warm soapy water and dry.
Label the jars and store them in a cool, dark location. A basement or root cellar is optimal. I don’t have that option, so I store mine in a cabinet in a cool, shaded room.
Congratulations! You now have plenty of jars of stewed tomatoes to create delicious homemade meals!
Pressure-Canned Stewed Tomatoes
Equipment
- 1 Pressure Canner
- 3-4 Glass Quart Canning Jars OR 6-7 pint canning jars
- 1 Large pot 4-6 quarts (for boiling/sterilizing glass jars)
- 1 Large stockpot 6 quarts or larger (for cooking tomatos)
- Misc. Canning tools tongs, funnel, jar-lifter, dipper, spoon
- Misc. Kitchen Tools cutting board, knife, measuring cups, large spoon
Ingredients
- 4 Quarts Chopped tomatoes
- 1 Cup Chopped celery
- ½ Cup Chopped onion
- ¼ Cup Chopped green pepper
- 1 Tbs. White sugar
- 2 tsp. Table salt (optional)
Instructions
Prep Your Work Area
- Sterilize your glass jars, wash lids and rings in hot, soapy water.
- Arrange your canning tools near the stove to begin canning.
Prep Your Tomatoes and Vegetables
- Blanch the tomatoes. Remove cores and skins. Cut into quarters.
- Chop celery, onion, and green pepper into small, bit-sized pieces.
- Measure out ingredients and combine in a large stock pot.
Cook the Tomatoes
- Over medium-high heat, bring the tomato mixture to a boil, stirring occasionally.
- Once boiling, reduce heat and keep at a simmer about 180°℉
- While the tomatoes are cooking, bring you canner water up to a simmer.
Fill the Canning Jars
- Using a funnel and ladle, fill each jar leaving 1 inch headspace. Remove any air bubbles with a small spatula or similar tool.
- Wipe rim of jar, assemble lid and ring to finger-tightness.
- Using jar tongs, gently lower each jar into the canner.
Process
- Assemble the lid of the canner and lock into position.
- Adjust the heat to medium-high. Vent steam for 10 minutes.
- Put on the weighted guage and bring pressure to 10 lbs. psi.
- Process pints 15 minutes. Proces quarts 20 minutes.
- Once processing time is completed, remove canner from the stove and let sit 10 minutes for pressure to fall to zero.
- Remove gauge and lid. Let sit another 10 minutes.
- Remove jars from canner and let cool 10-12 hours.
- Check seals, then store in a cool, dark place.
FAQs
No, it is not safe. Water-bath canning is for high-acid foods. The celery, onion, and pepper are low-acid foods and need to be pressure canned.
The best tomatoes are those with large, thick, meaty walls. The beefsteak varieties such as Better Boy, Husky Red, and my favorites: Homestead and Tropic. Some heirlooms also can well like Brandywine, Cherokee Purple, and Mortgage Lifter.
Experts recommend 12-18 months storage at most. After that time, the colors and flavor will fade, as well as the nutritional value. Storing jars in a cool, dark place helps maximize shelf life. Heat exposure, freezing temperatures, or UV light will cause faster degradation. Also, make sure the seal is intact before eating, otherwise, dispose of it where no humans or animals can access it to be safe.
[…] a chili cooking contest with friends and neighbors using seasonal produce from your garden like canned tomatoes, dried peppers, or onions from the root cellar. Serve it alongside homemade cornbread or crispy […]