In early 2025, I had given up on sourdough. My starter was sulking, and I was tired of always feeding it or pulling a gray, sad-looking jar from the back of the fridge to bring back to life. One Saturday morning, I dumped it into the compost and moved on.
But then, in the summer of 2026, while I was in Michigan visiting my mom, she gave me several bread-baking cookbooks that inspired my desire to bake bread again. I decided that this time I would fit a sourdough starter into my busy life without letting the feeding schedule tie me to the kitchen.
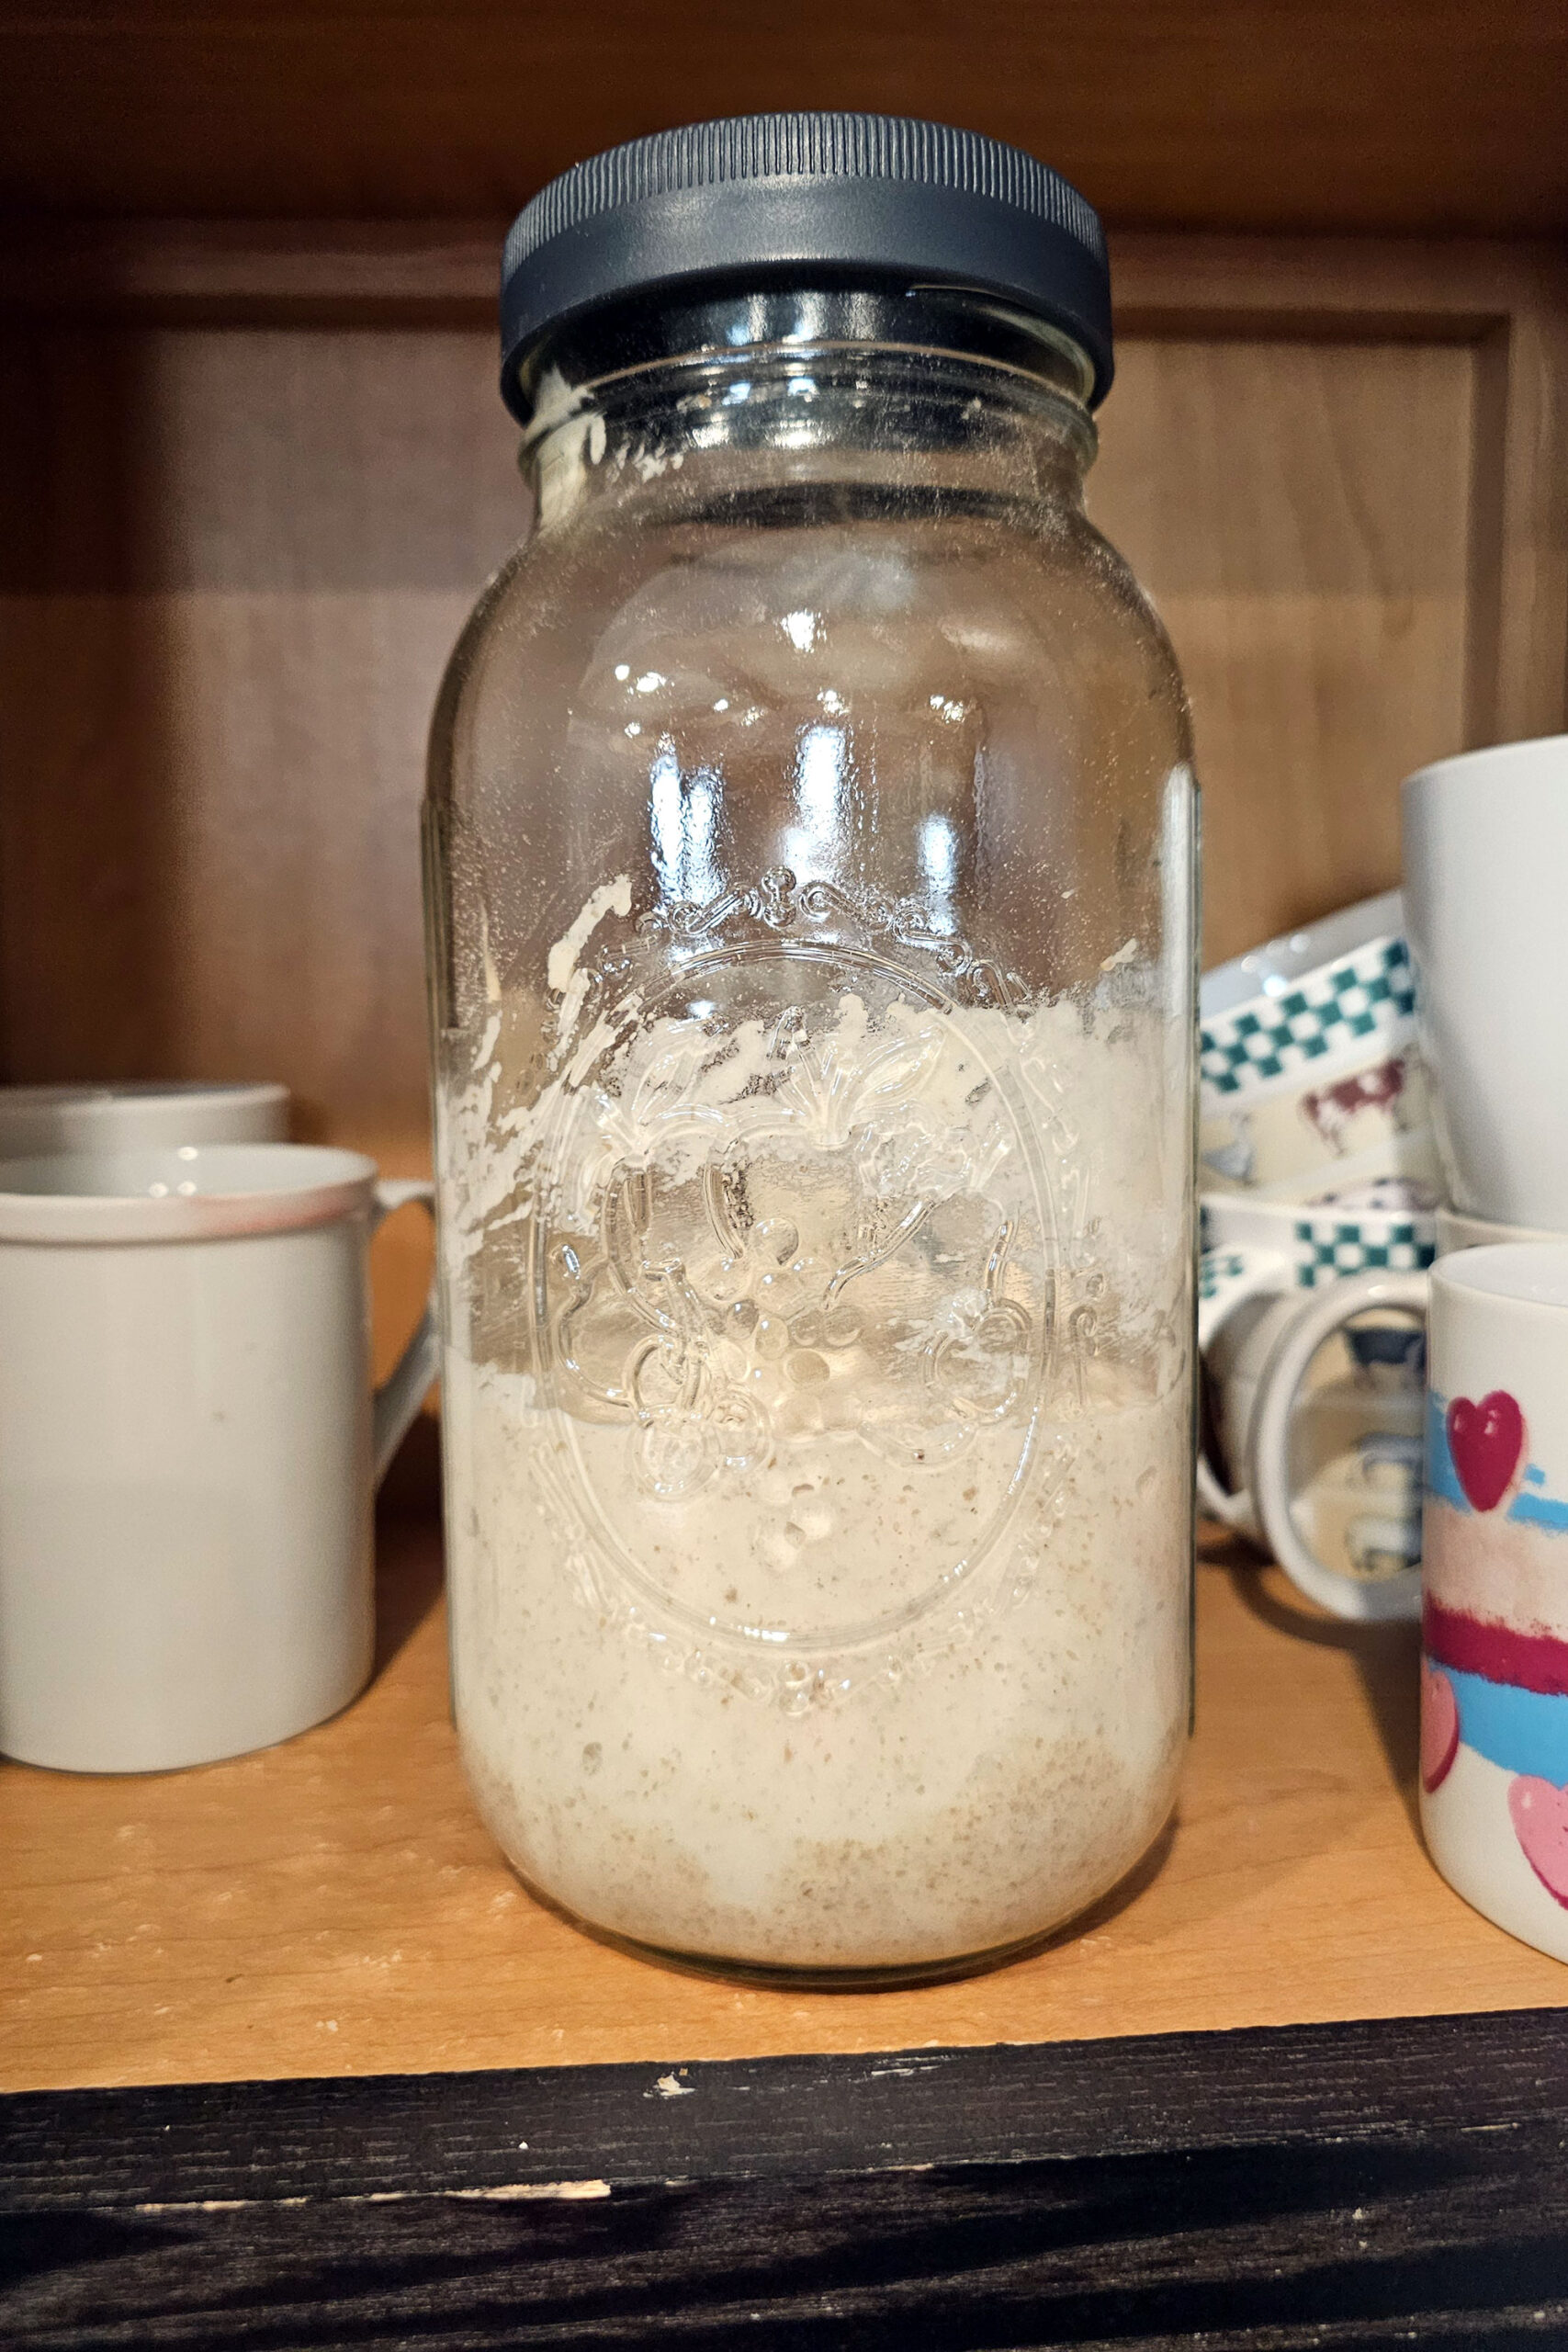
I read the sourdough chapters in those books and got a better sense of what was happening in the glass jar where my starter lived. I learned that creating a starter wasn’t just a recipe; it was a guide. A guide from another person’s unique kitchen and experiences. And that my kitchen temperature, my water, and even my flour choices were probably the cause of my problems before.
If you’ve had problems with your sourdough starter too, here’s how I learned a better method that has given me the tastiest sourdough I’ve ever baked.
The Four Things You Actually Control
Flour. Water. Temperature. Schedule.
A recipe can only give you the best results from the recipe writer’s kitchen. Your kitchen has a different temperature and humidity. Your tap water, or the water you buy, is different from theirs. And the flour? There’s plenty of variety for those types also, based on grain, grind, and manufacturer.
In this post, the ratios listed will be in this order: starter:flour:water. For example: 1:3:3. One part starter, 3 parts flour, 3 parts water.
You don’t have to be a science nerd to figure it all out. But you do have to be observant and understand what each of these four elements contributes to your bread. Here’s what I’ve learned and experienced baking with sourdough.
Understanding Water and Flour
One of the biggest problems I had was my water. Here on our homestead, we have a water softener for our well water. Softening swaps out the calcium and magnesium and puts sodium in their place. My starter was getting the wrong half of that tradeoff. Instead, I bought remineralized bottled water at the grocery store. Whatever water you choose can make a big difference; whether from your well, municipality, or water softener, they all react differently.
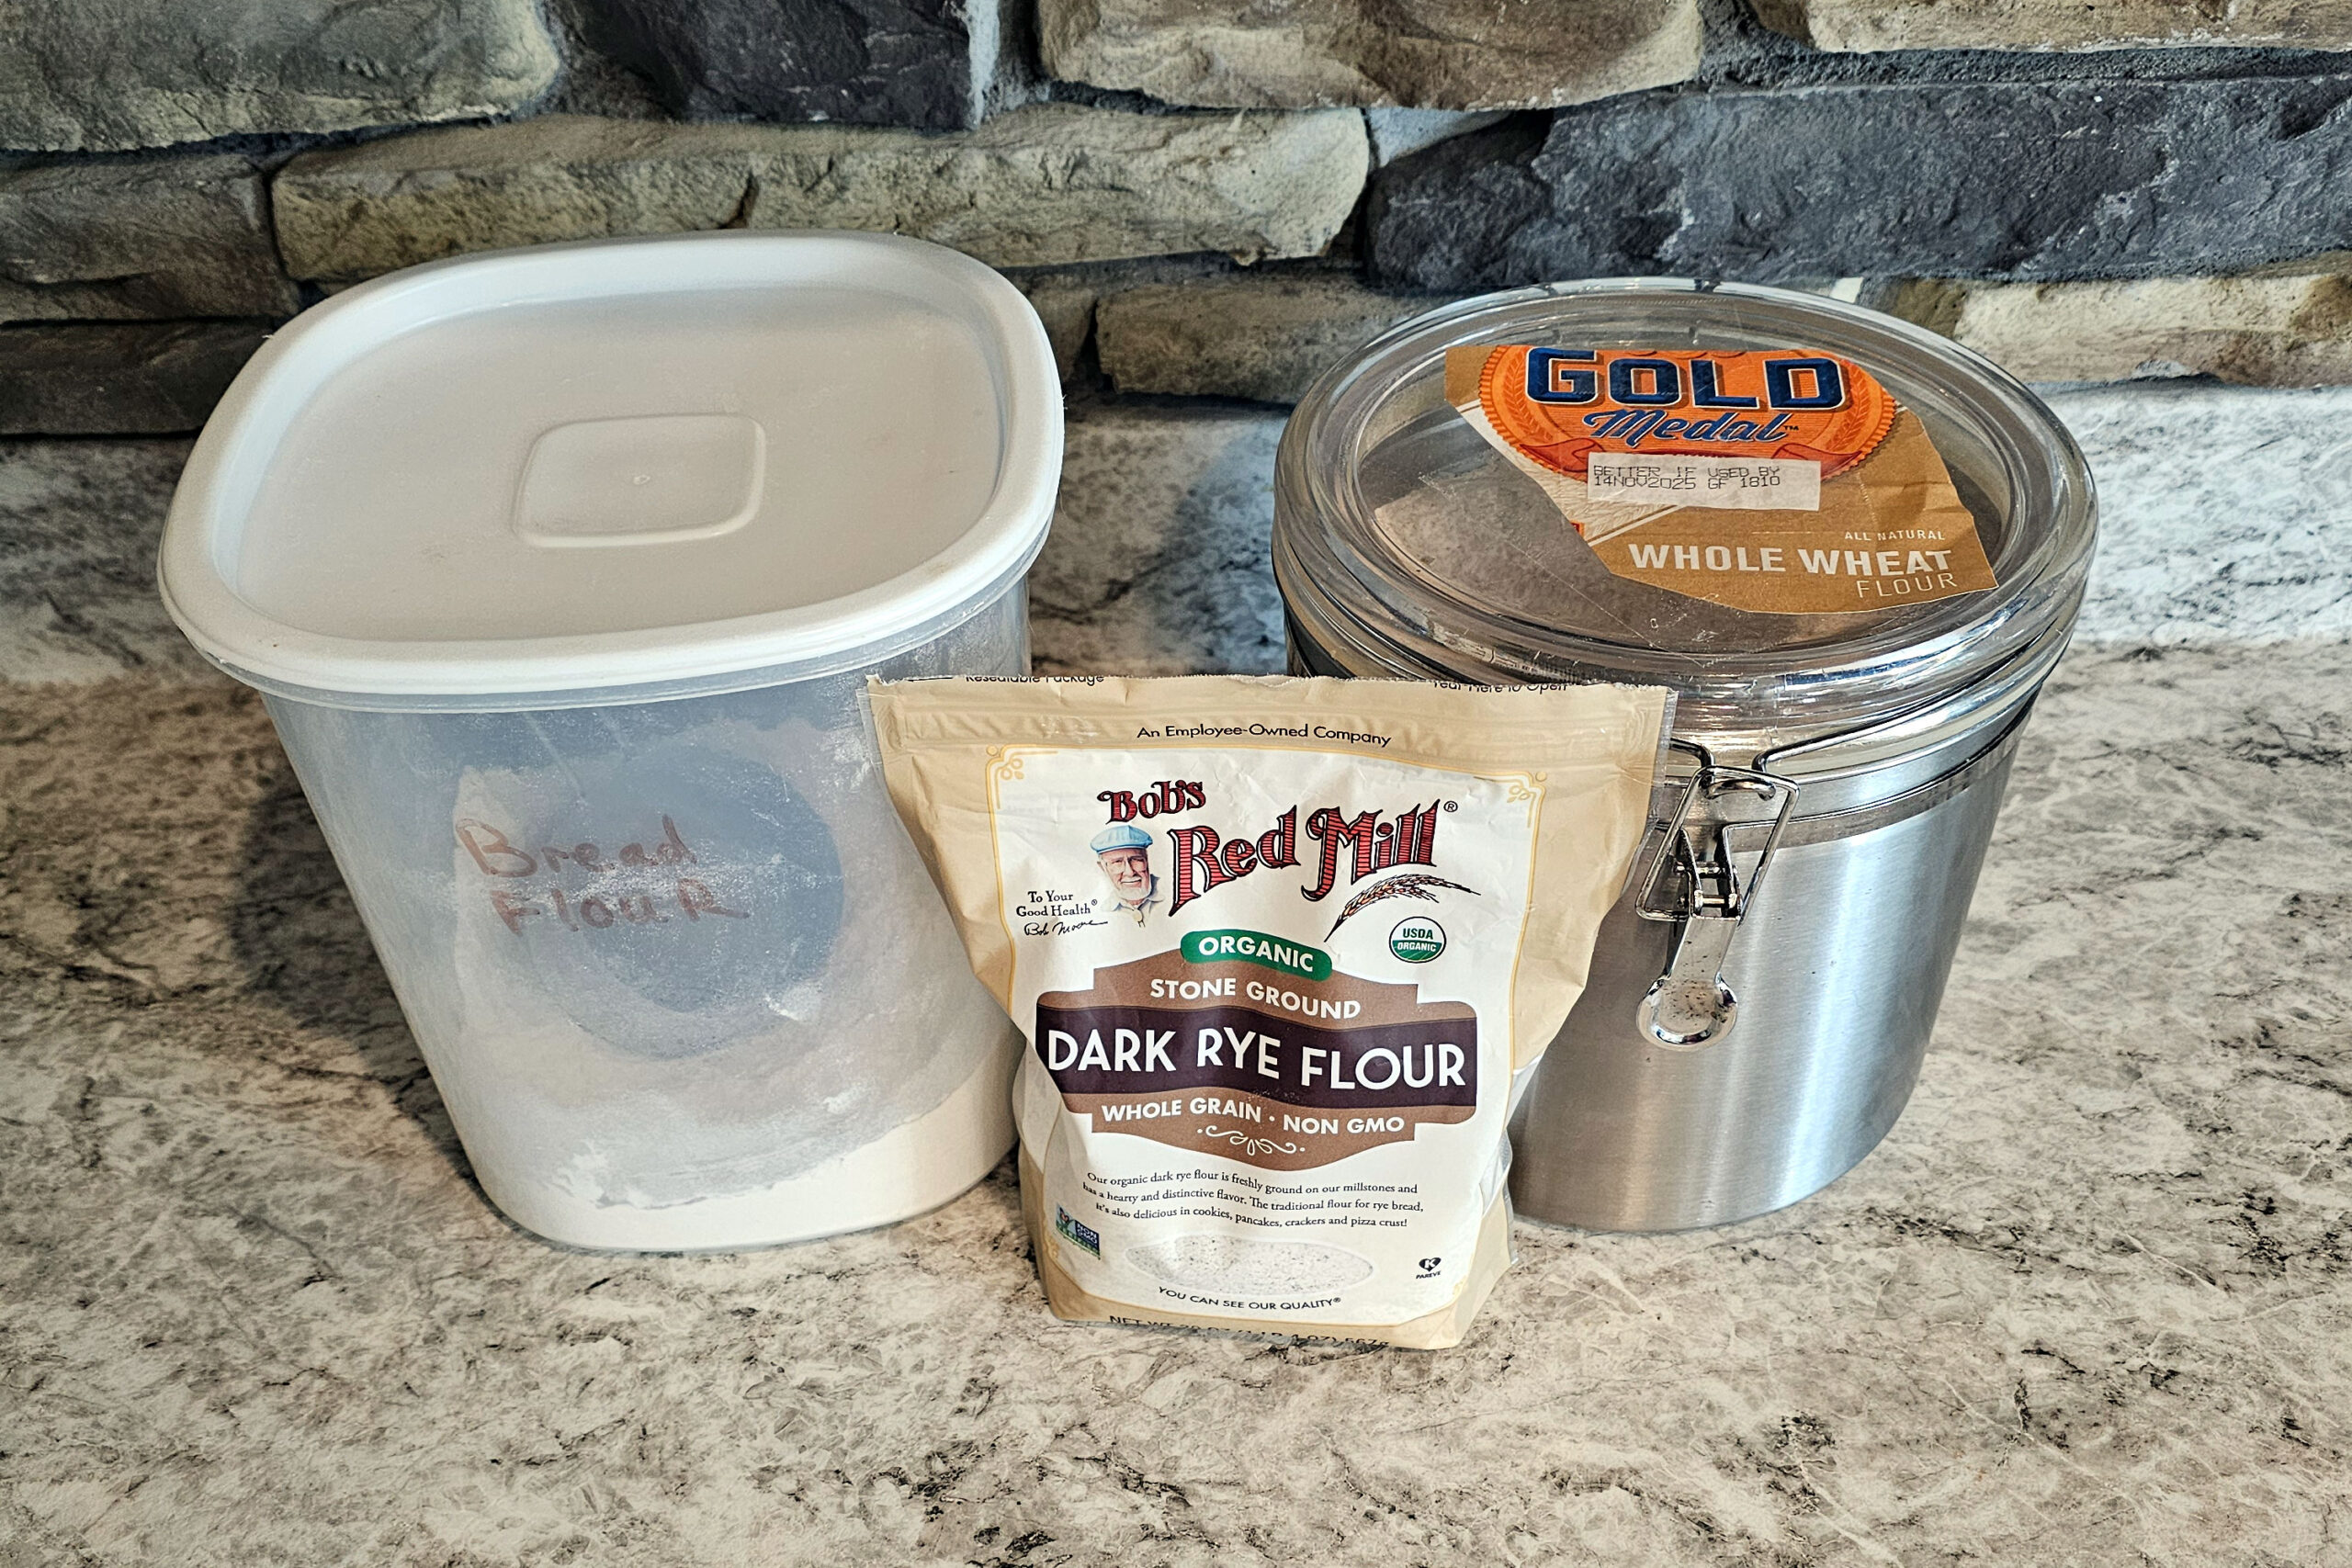
For my first two sourdough starters years ago, I used unbleached bread flour, as many recipes call for. But I learned that whole grains with the bran and germ carry more of what the yeast eats. This time, I did more research and came up with a ratio I call my Starter Blend: 80% unbleached bread flour, 10% whole wheat, and 10% rye by weight. I then mix it up and just scoop from it when it’s time to feed the starter. It’s important to measure by weight instead of measuring cups. For example, the same cup of flour may weigh differently depending on whether you scooped or spooned it, or whether the bag has settled.
Rye is my favorite grain, and I looked for a way to incorporate it into my starter. While it does not have the gluten that wheat flour has, it does add more flavor and nutrients. It also creates a faster rise. So I added just a bit to balance things out.
And whole wheat, I learned, absorbs more water in a starter than the finer-ground bread flour. It rises faster than bread flour, too, working similarly to rye.
The more of each I added to a starter, the faster it would rise. And the faster I’d need to feed it. So next, I needed to make adjustments for my schedule.
Feeding the Sourdough Starter on Your Schedule
Timing is everything. The correct ratio of starter, flour, and water isn’t just about quantity; it’s about setting a timer for feeding. A timer you can control with the ratios. A small feeding ratio runs out at a much faster rate than a large one. Basically, to adjust the length of time between feedings, you can reduce or increase the amount of water and flour mixture.
Before figuring this out, the first recipe I had tried called for 300 grams of starter to 230 grams of flour, which underfed it badly. With my kitchen at nearly 76 degrees Fahrenheit, the starter ate through fast. Sometimes in the summer, the kitchen will cool with the AC running, or in the winter, we keep the house cooler. I also keep the starter in a cupboard next to the refrigerator for stable warmth. Once I moved to a 1:1:1 ratio, the starter was well fed for 12 hours. After observing a few days, I tweaked the ratios to adjust to my household’s schedule: a longer day feeding and a shorter night feeding.
At 5:30 in the morning, I’d feed a 1:3:3 ratio before going to work. That heavy feeding would get it through the day and into early evening, about 14 hours. Then, around 7:30 in the evening, I’d feed a 1:2:2 ratio overnight for about 10 hours. This 24-hour routine kept the starter well fed and kept me from feeling pressured to feed every 12 hours when it really wasn’t possible.
Whatever your schedule is, you can adjust the speed of your sourdough growth. Just consider how often you’re in the kitchen, what the temperature is where you put your starter, and what you’re feeding it. Observation is key to adjusting the feeding to fit your schedule.
Taking Time Off from Feeding
Life is busy, and sometimes we just need a break from baking. It’s like that for me in the summer. Instead of starting over, I put my starter in the refrigerator next to my homemade yogurt, the other living thing I keep alive in there. Here’s how I keep it ready for baking during those times.
First, I’ll feed the starter a 1:4:4 and let it sit at room temperature for an hour with the lid resting on top. This gives the yeast time to start working on the fresh flour. Then I’ll snug up the lid and put it in the back of the fridge for a week. This is the same idea as the morning and evening feedings, just stretched out. The cold slows the culture way down, and that big meal gives it plenty to work on while it’s moving slow. Biggest meal, longest gap.
Now, waking up the starter for baking is a gentle two-feeding process. It takes about 24 hours to get it ready.
I’ll take the starter out of the fridge and let it come up to room temperature again.; usually an hour or so is good. If there’s any hooch (liquid) on top, I’ll stir it back in, but it’s okay to pour it off too. Just keep in mind that it will make the starter taste more sour, if that’s your preference. I’ll then discard all but 30 grams of starter and feed a 1:3:3 ratio, setting it back in the cupboard to rise.
After eight to twelve hours of rising, I’ll give it another final feeding the night before I bake. Some recipes may give a specific pre-baking feeding schedule. If yours doesn’t, just feed it again with the 1:3:3 ratio. From there on, the starter will be ready to use for baking.
Save that Sourdough Discard
One of the great things about sourdough starter is that you can use the discard to bake other things. Some of my favorites are crackers, pancakes, and cinnamon rolls.
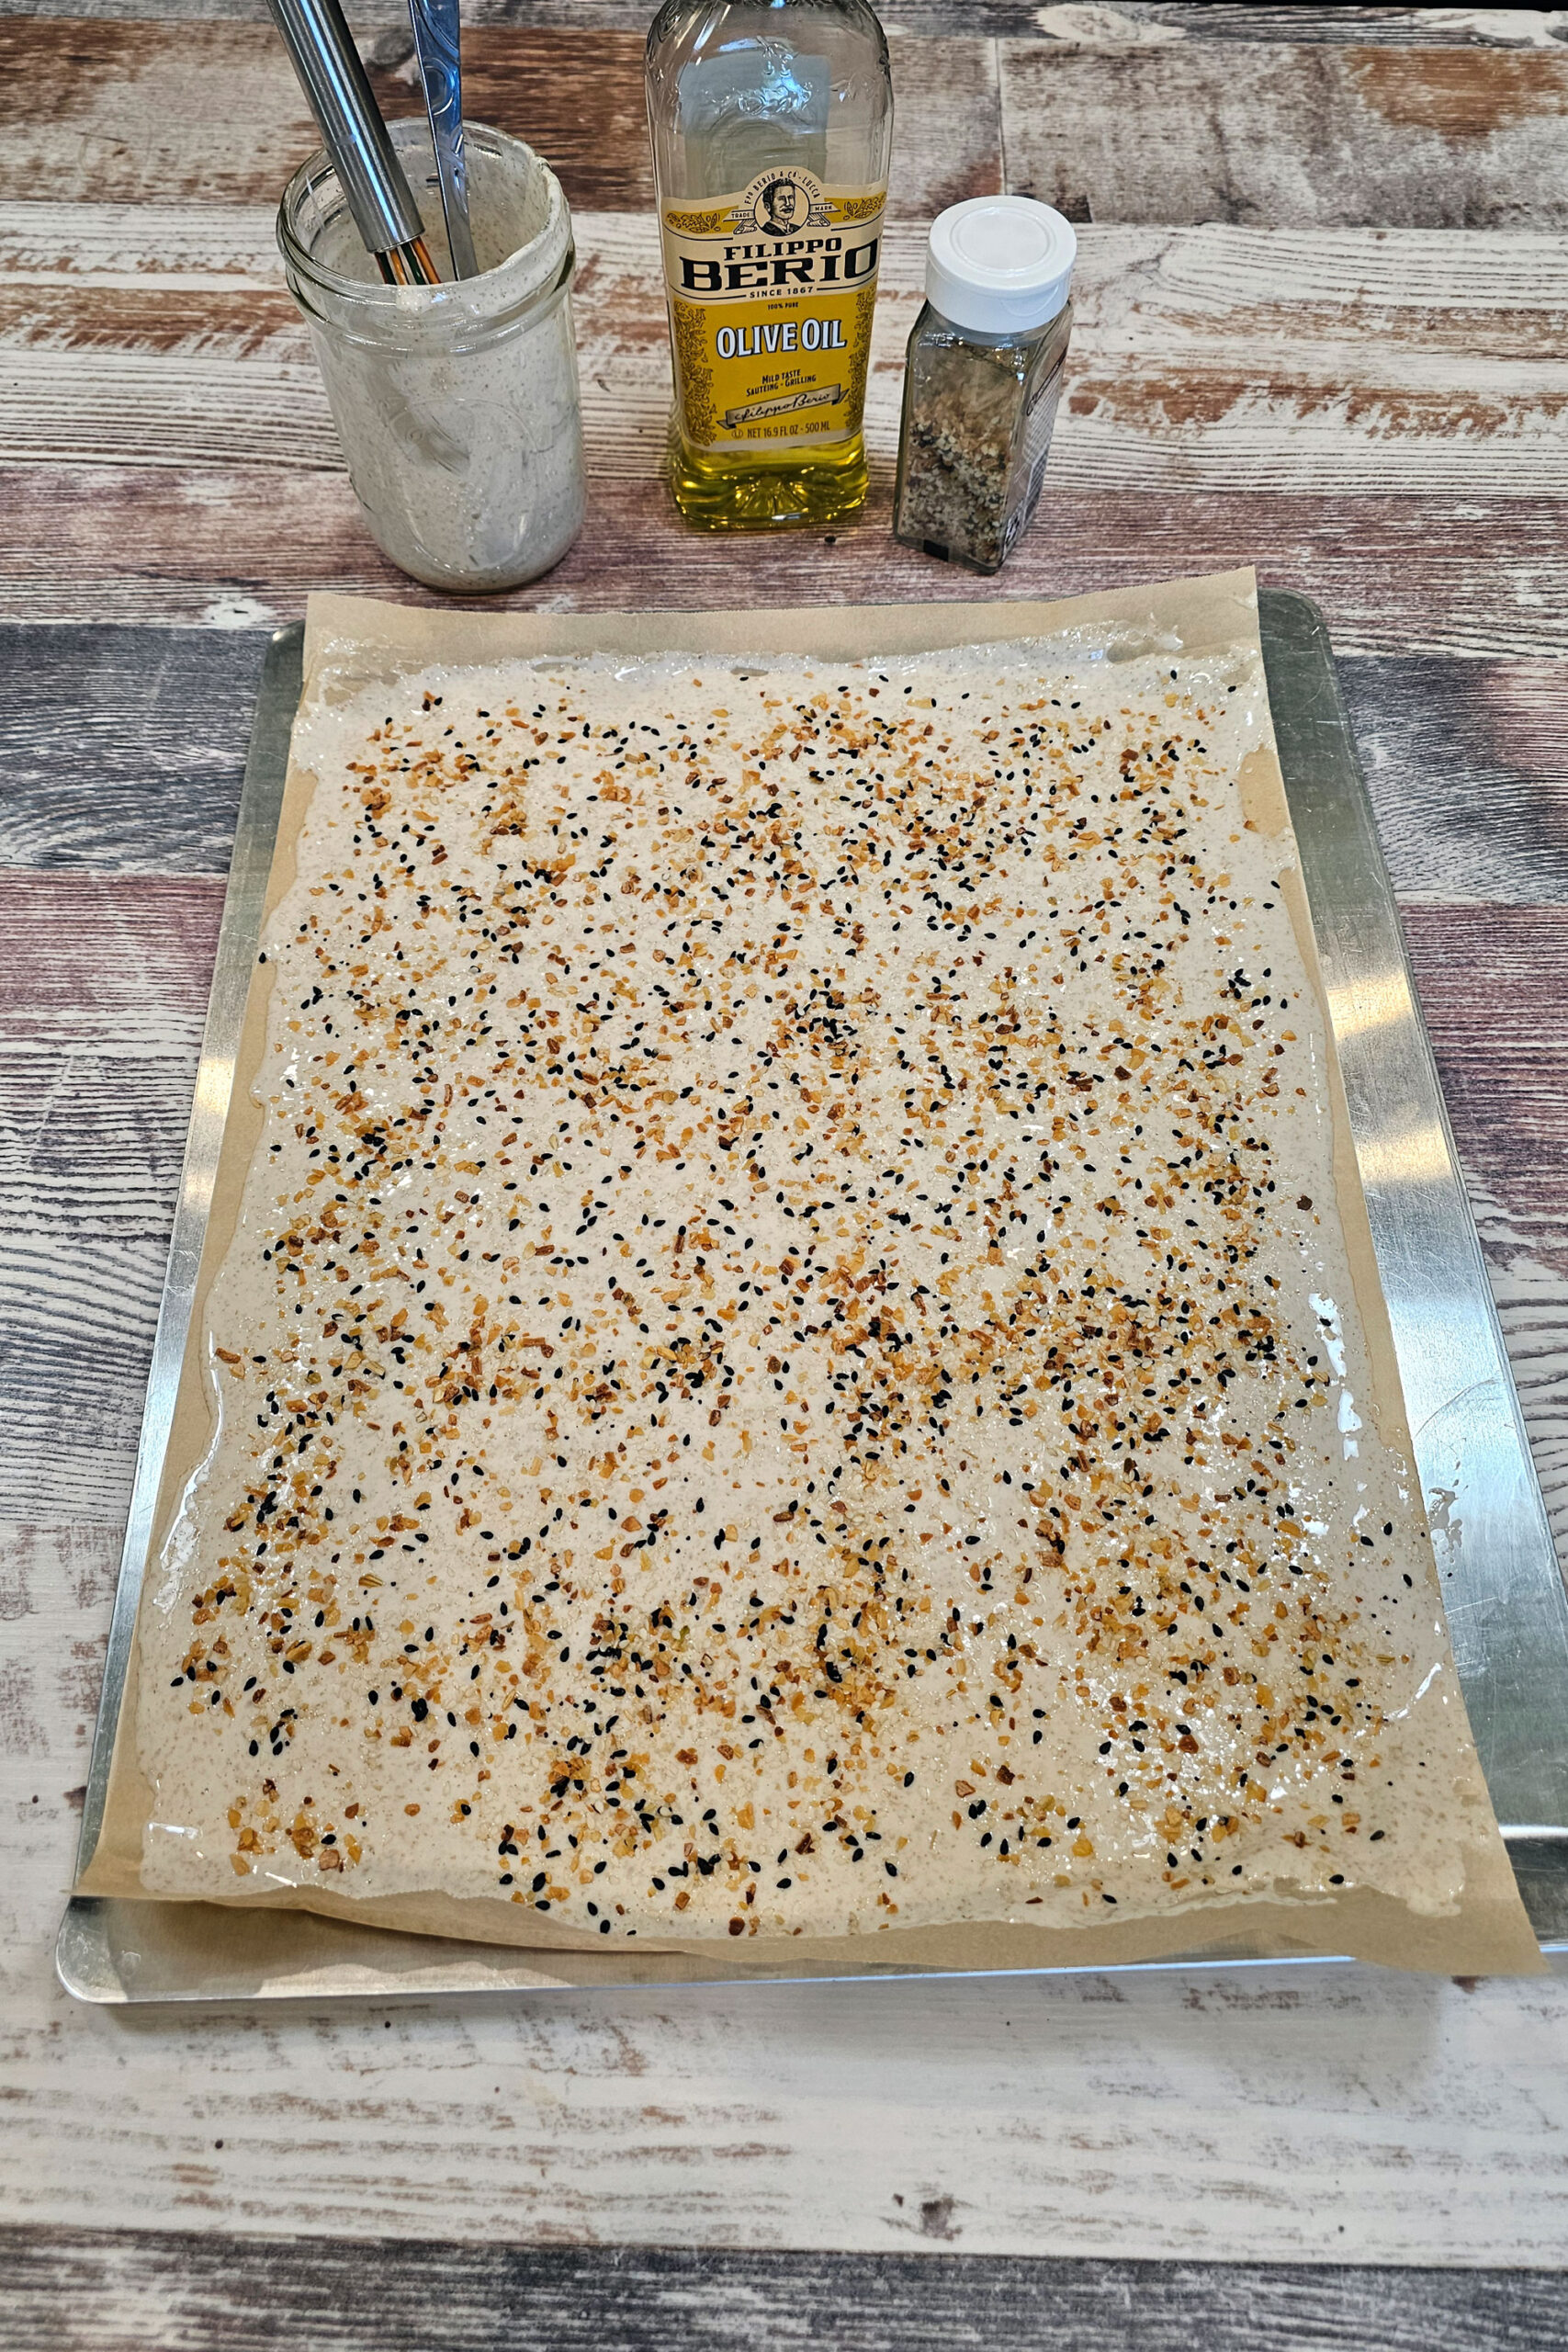
Crackers are easiest. Any basic sourdough discard cracker recipe will work. I brush the dough with olive oil and sprinkle on everything bagel seasoning and a bit of salt.
Pancakes are another favorite in our home. Melissa K. Norris has a great pancake recipe I use with sourdough discard.
And Farmhouse on Boone has the best recipe for sourdough discard cinnamon rolls. I even bake them in a cast iron pan like she does.

What I’m Still Learning
After my first bake with the new starter, I learned that I should have waited longer for the rise. The loaf was a bit dense and almost undercooked. But the bubbles and holes were abundant in it, and it tasted great. The rise was my mistake. So was the scoring. The knife caught in the dough as I pulled it through. Each time I learn something, and each time it gets better.
Remember that starter I dumped in the compost? It was ok in someone else’s kitchen, but this new one is mine, and it thrives in my kitchen.
What flour will you choose? How’s the water? And what ratio will free up your time? A bit of observation, and you’ll be baking up your best sourdough breads yet.
FAQs
That’s hooch, and it means your starter is hungry. It ate through everything you gave it and then kept going. A little bit now and then isn’t a crisis. You can pour it off or stir it back in, though stirring it w in will make your starter more sour. But if you’re getting hooch every tweleve hours the way I was, tthat’s not a quirk, that’s a signal. Either feed it more, feed it sooner, or move it somewhere cooler.
I’d rather you didn’t, and this one cost me about a week. Water softeners strip out the minderals taht yeast needs and swaps in sodium, which works against it. My starter was sitting there struggling and I kep blaming my flour and my schedule. The fix was purified water, and the hooch disappeared. If your house has a softener, that’s the first thing I’d check before you change anything else.
Sometimes, depending on how big the last meal was. That’s really what the ratios are for. A small feeding runs out fast, and a big one carries the starter further, so if you know you’ll be gone, feed it more, rather than hoping it’s enough. And if the day gets away from you anyway, the starter will usually fovive you. It’ll smell sharp and look tired, but a feeding or two brings it back. I’ve never actually lost one to amissed feeding. I’ve lost them to weeks of neglect, which is a different thing.
I do, and I’d suggest it. Flour settles differently in a cup every sigle time, so volume measuring makes our ratious drift without you knowing why. The whole purpose of a ratio like one to three to three is that it’s predictable. A cheap kitchen scale takes that variable off the table and makes it easier to tell wheter a problem is your schedule, your flour, or your water.
Leave a Reply